
Getting Started with Cubix Capture
Everything you need to turn your first screen recording into something ready to share.
Your first great screen recording is a few clicks away.
Record normally. Cubix Capture handles the zooms, cursor movement, backgrounds and polish for you.
1. Start with a recording
Pick what you want to capture, choose your mic and camera, then hit Record. You don't need to think about zooms while recording. Capture tracks what you're doing automatically.
- choose screen/window/region
- microphone
- system audio
- webcam
- start recording
- stop recording
Select display region, application window, or full screen mode.
Configure microphone, system audio, webcam, and trigger recording.
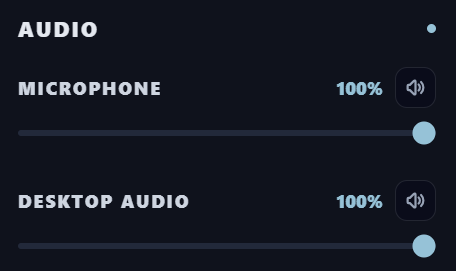
Adjust audio levels, studio noise cancellation, and mic sources.
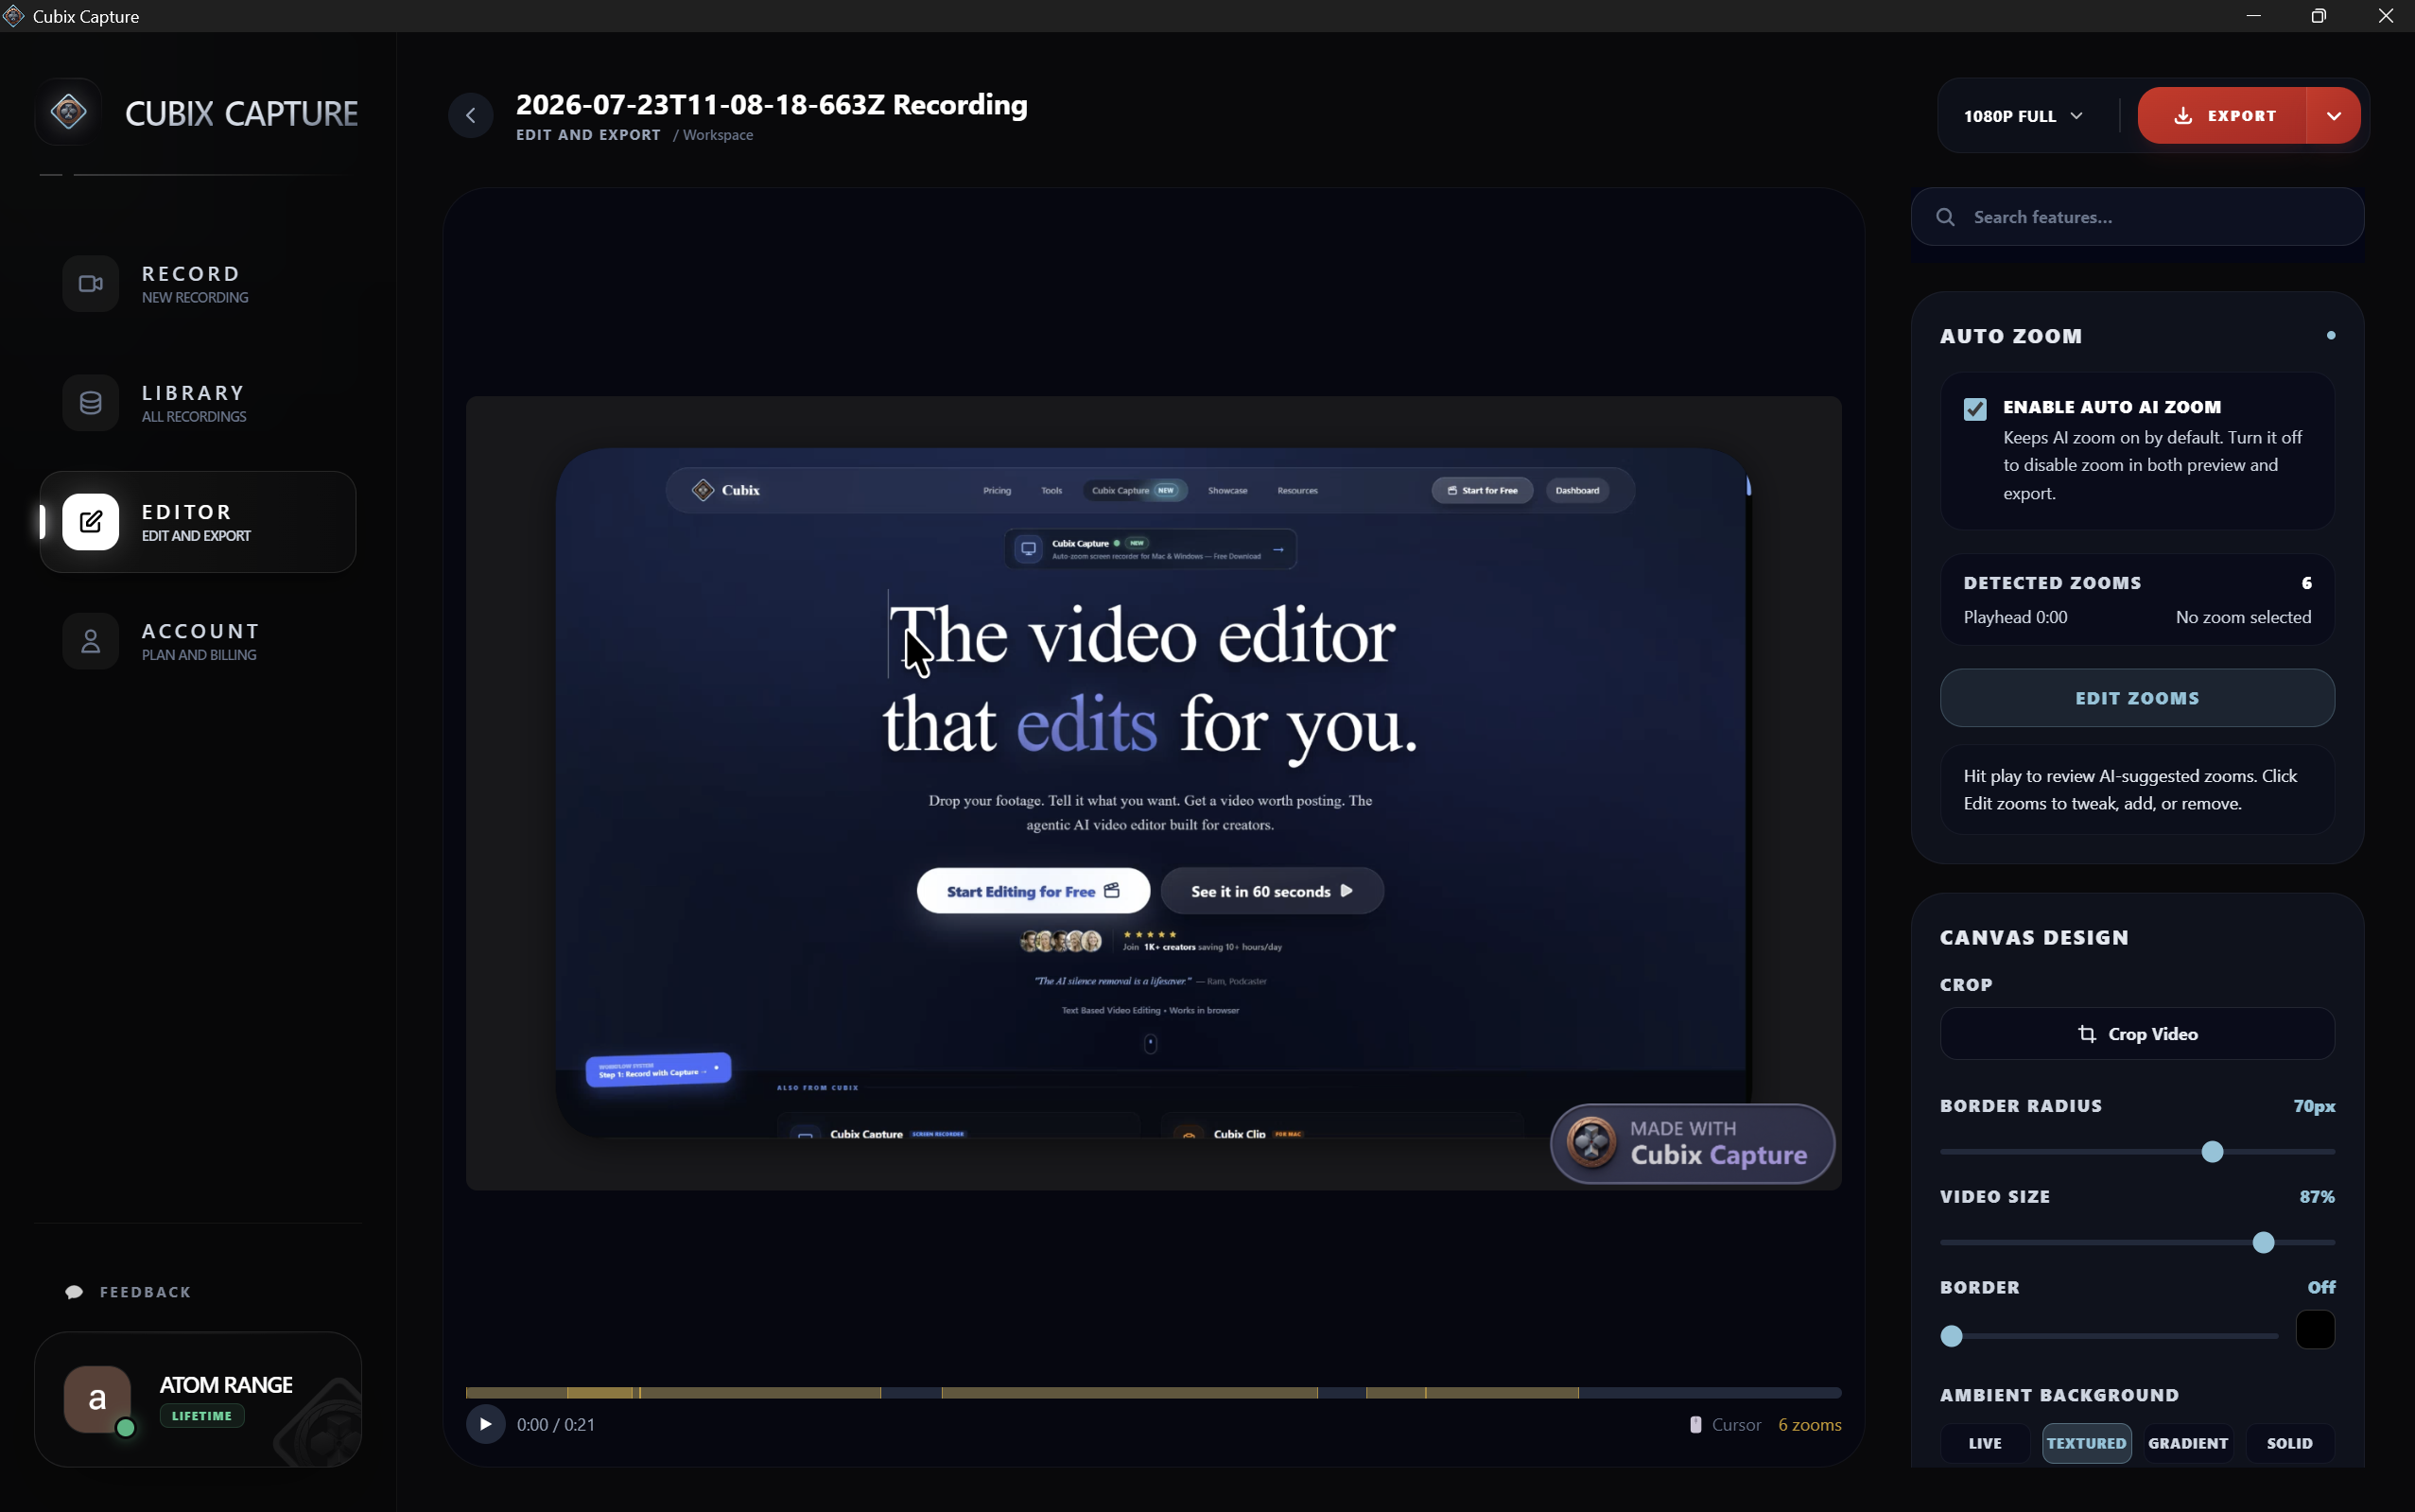
Overview of recorded canvas with intelligent mouse tracking.
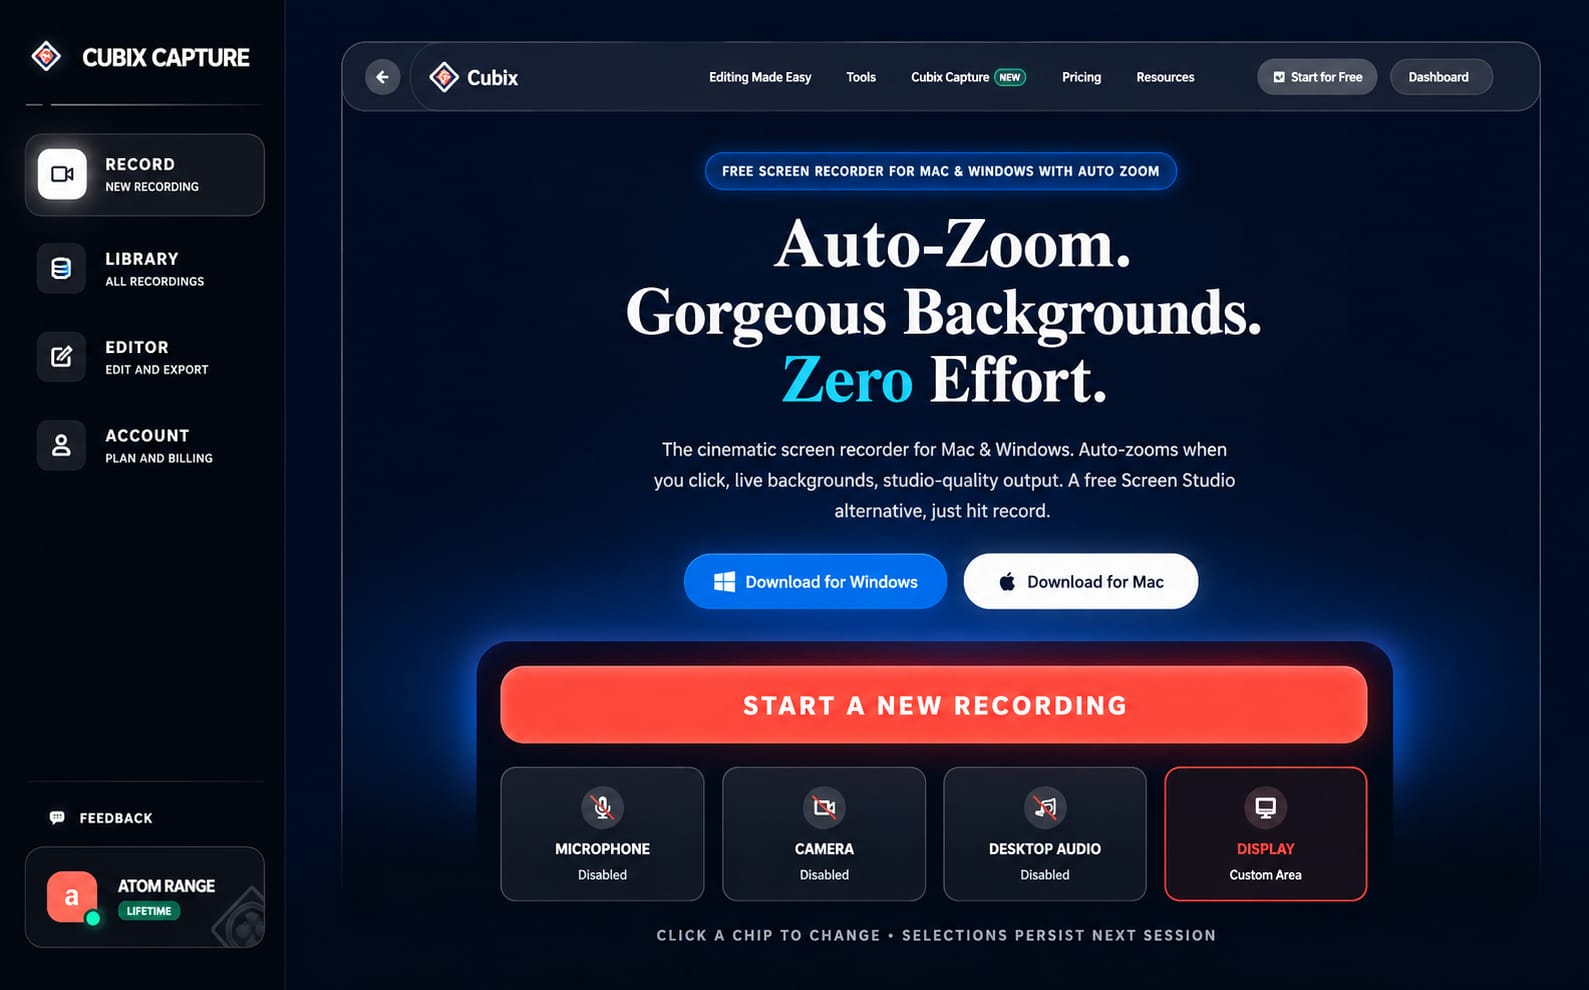
Real-time recording controls and active session status.
2. Let Capture follow the action
Click normally while you record. Capture detects important interactions and automatically zooms into the relevant part of your screen.
Raw static screen recording
Same recording with zooms
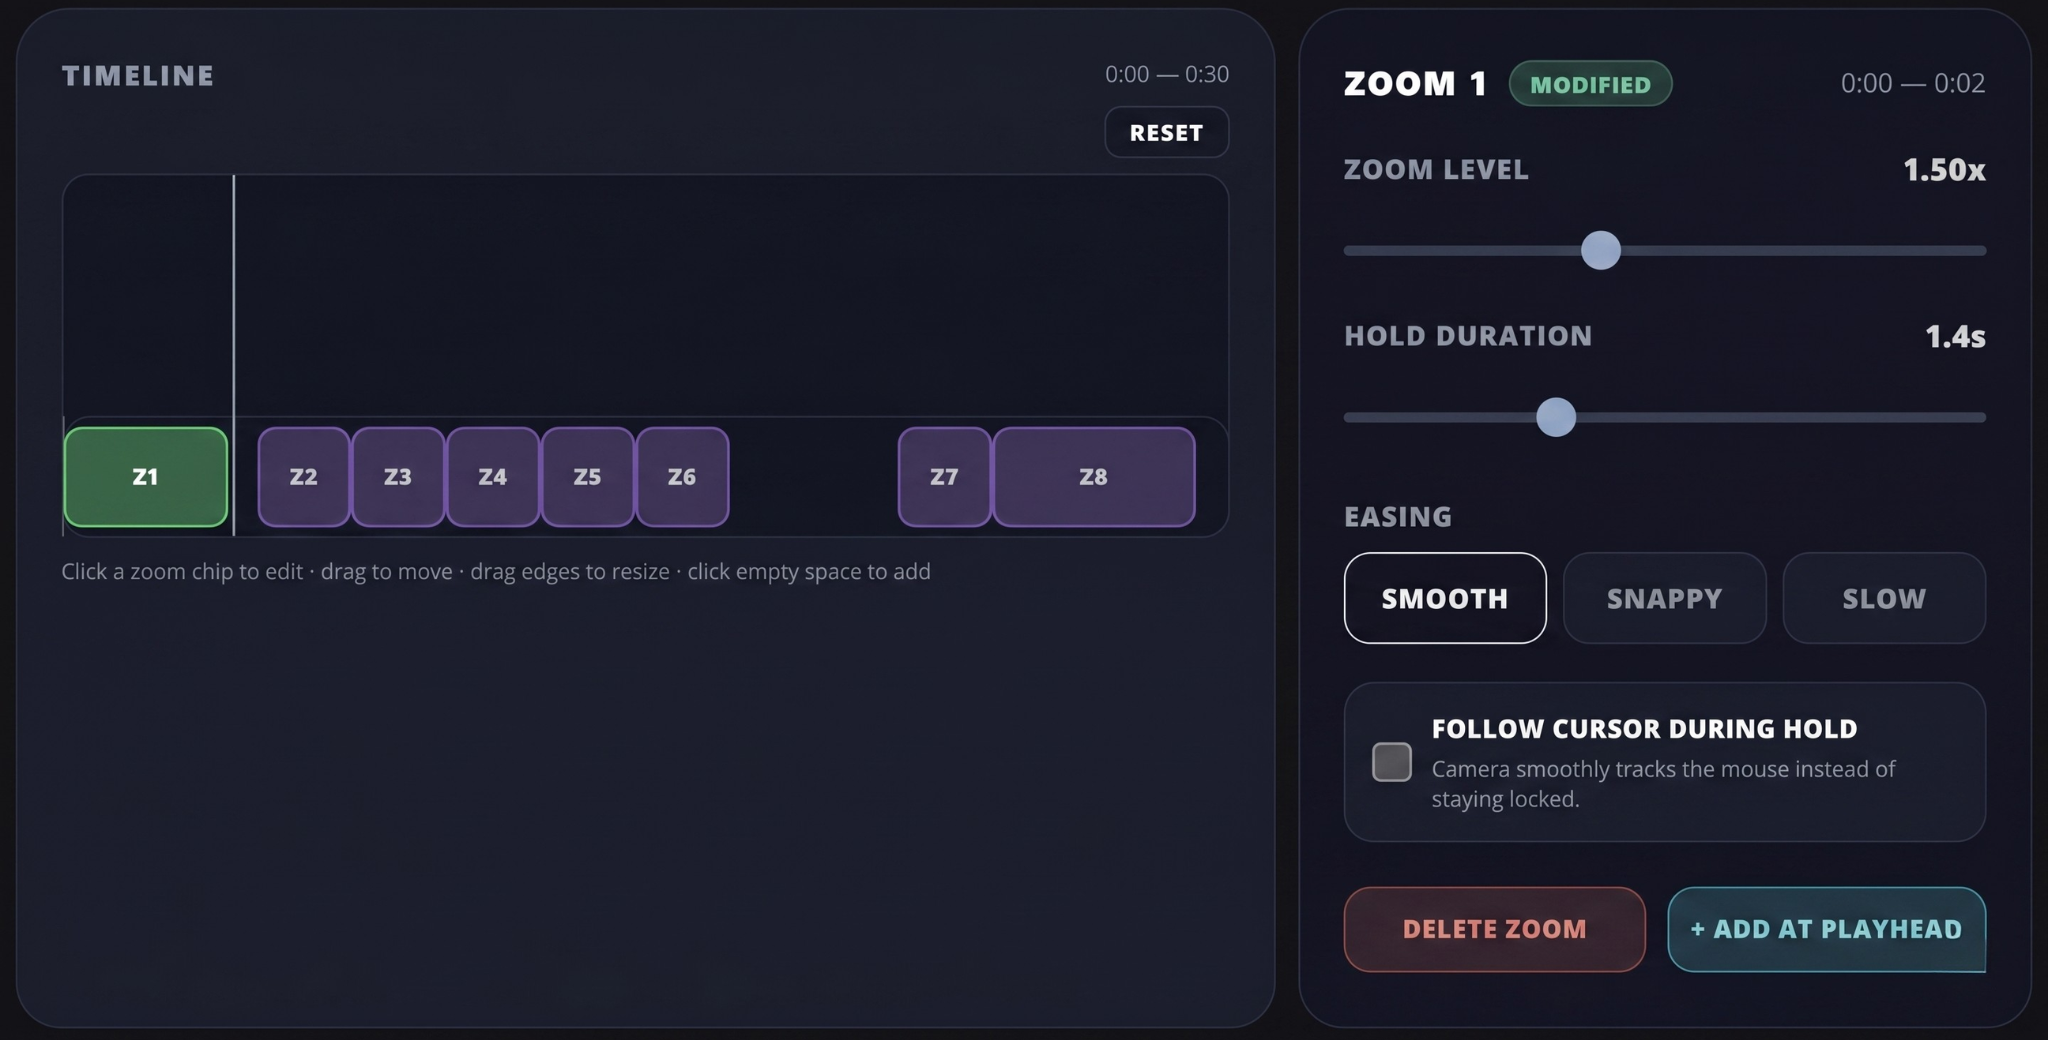
Want more control?
- move a zoom
- change duration
- remove a zoom
- manually add another zoom
3. Make every movement feel intentional
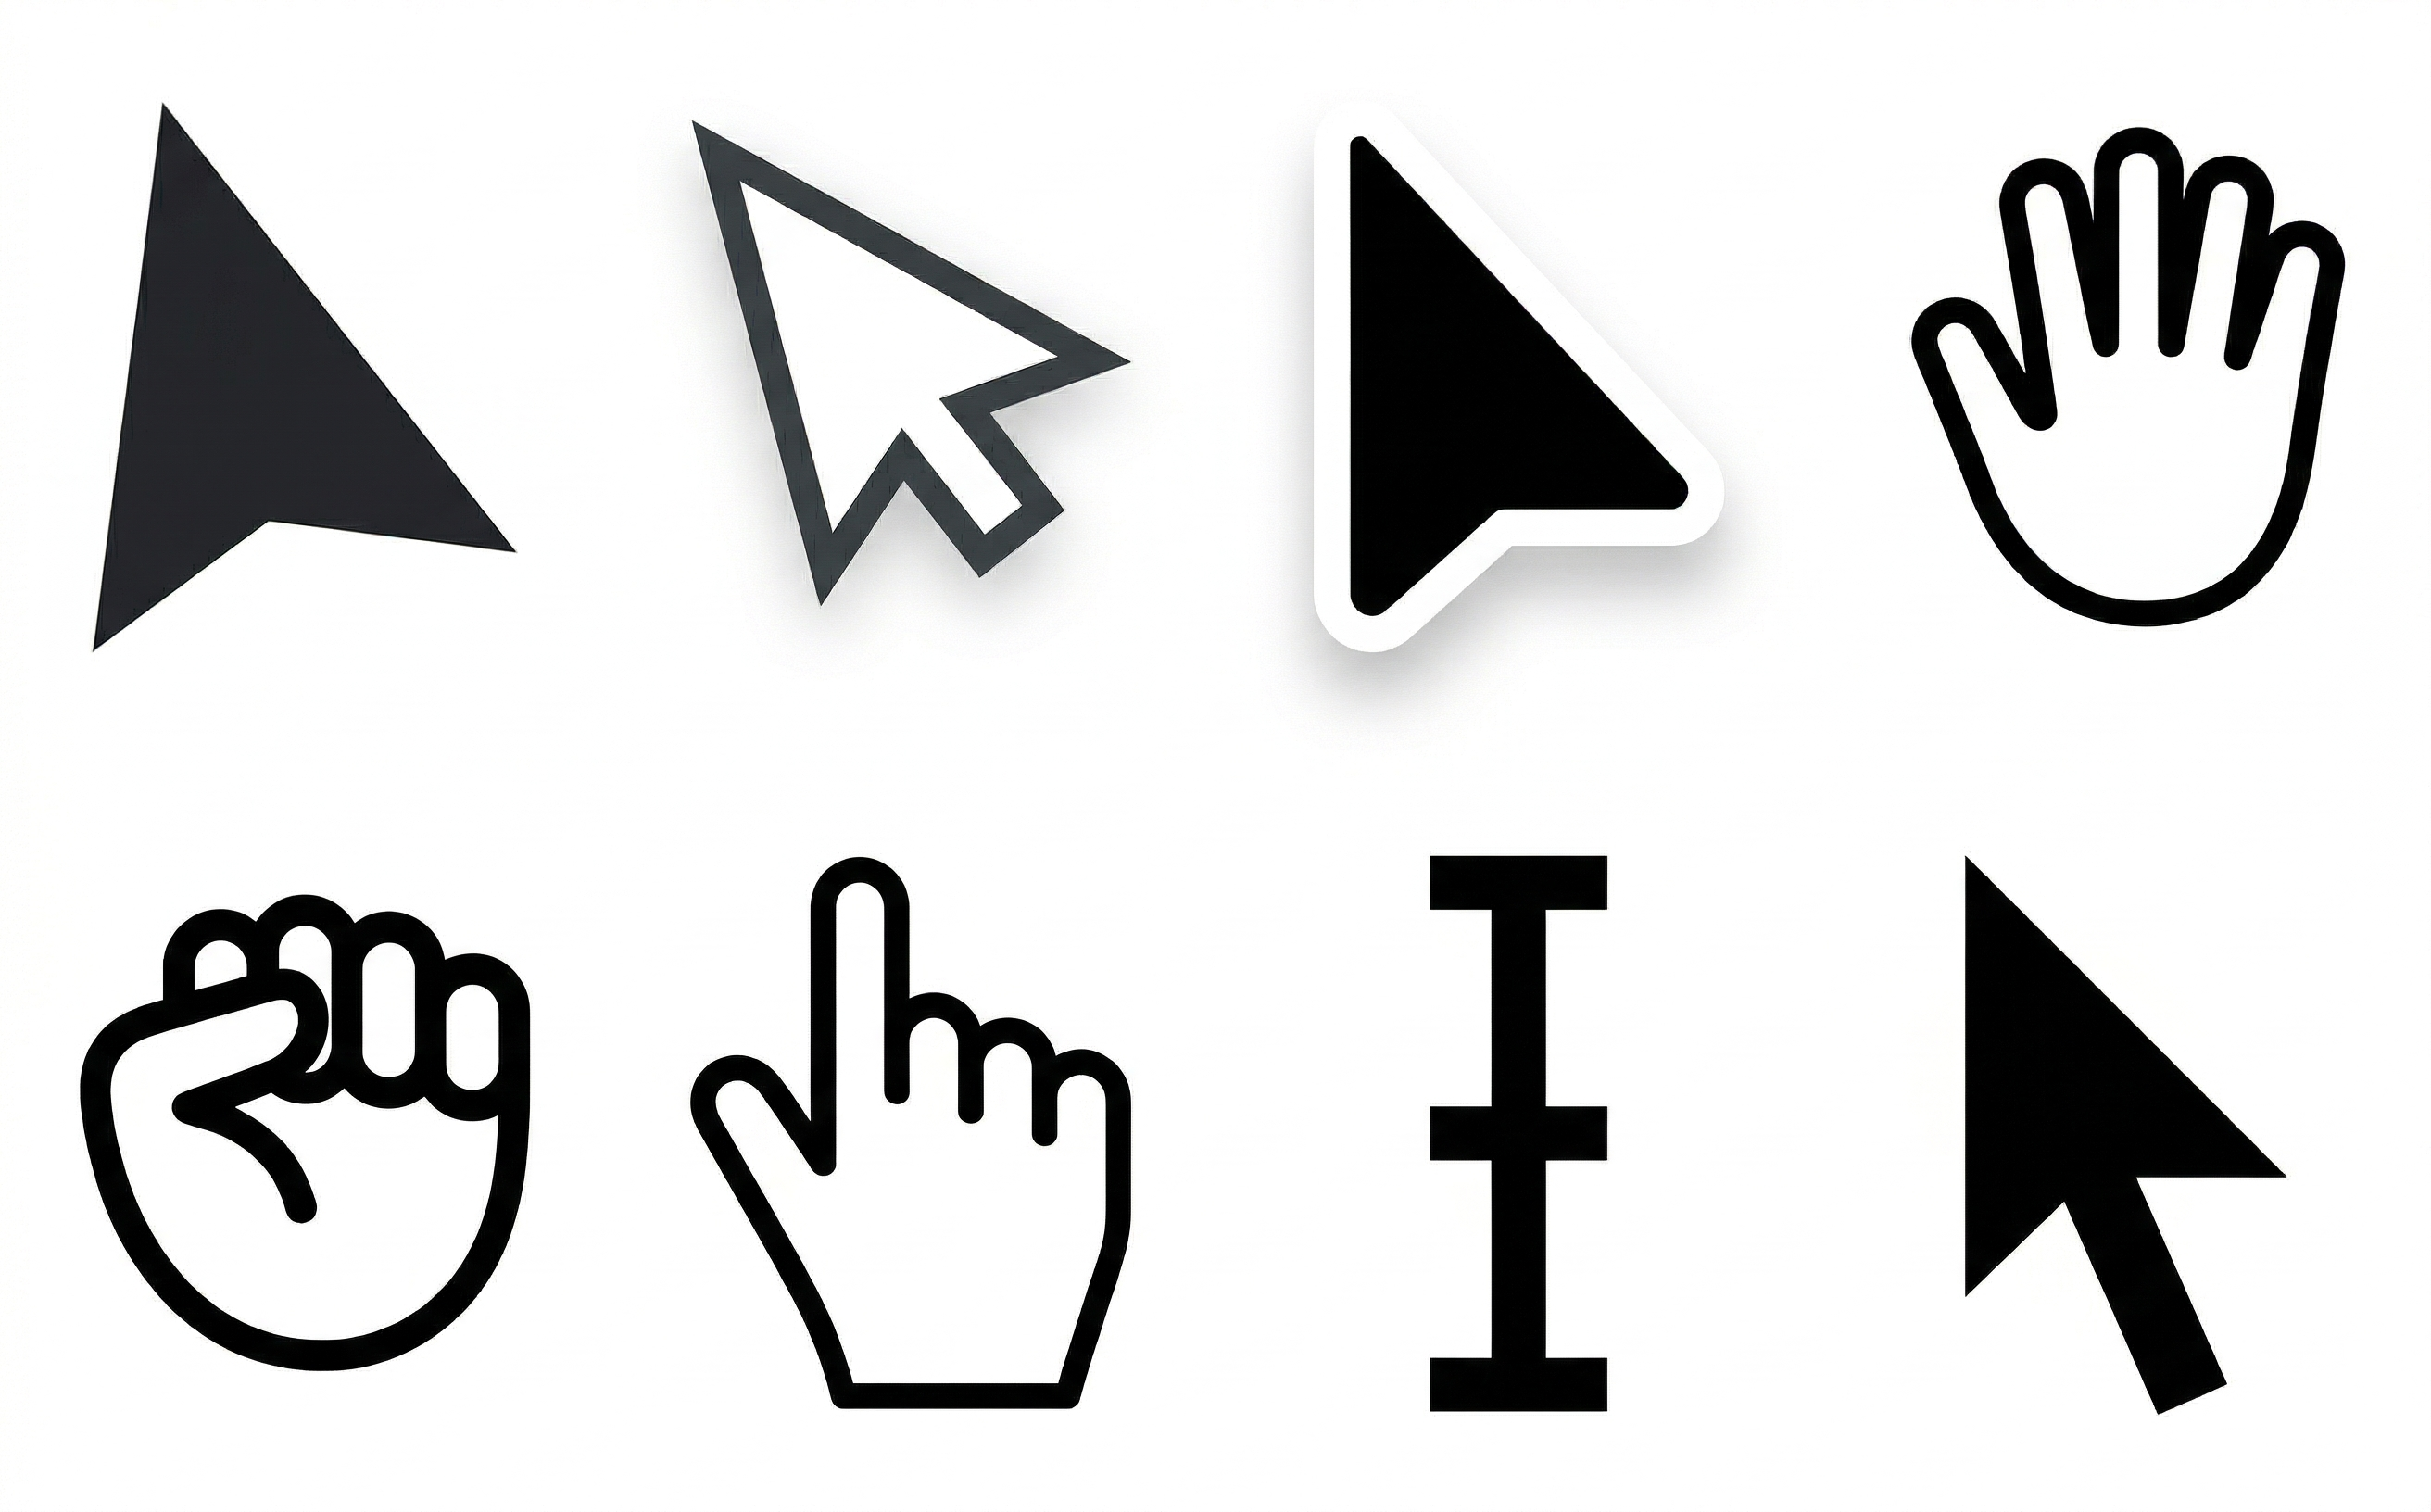
Capture smooths your cursor movement so viewers can follow what you're doing without every tiny mouse movement appearing in the final video.
Shaky, jittery cursor movement
Smoothed by Cubix Capture
4. Give your recording a better stage
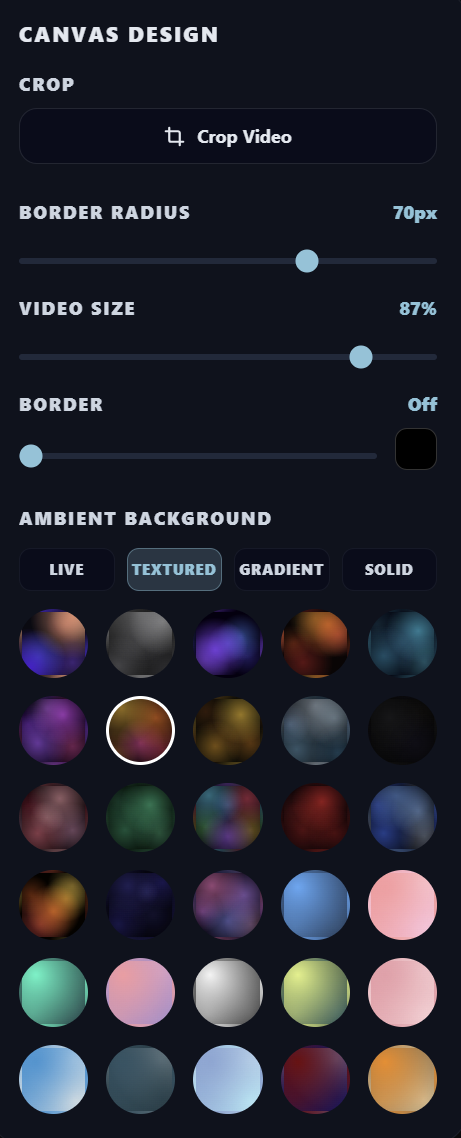
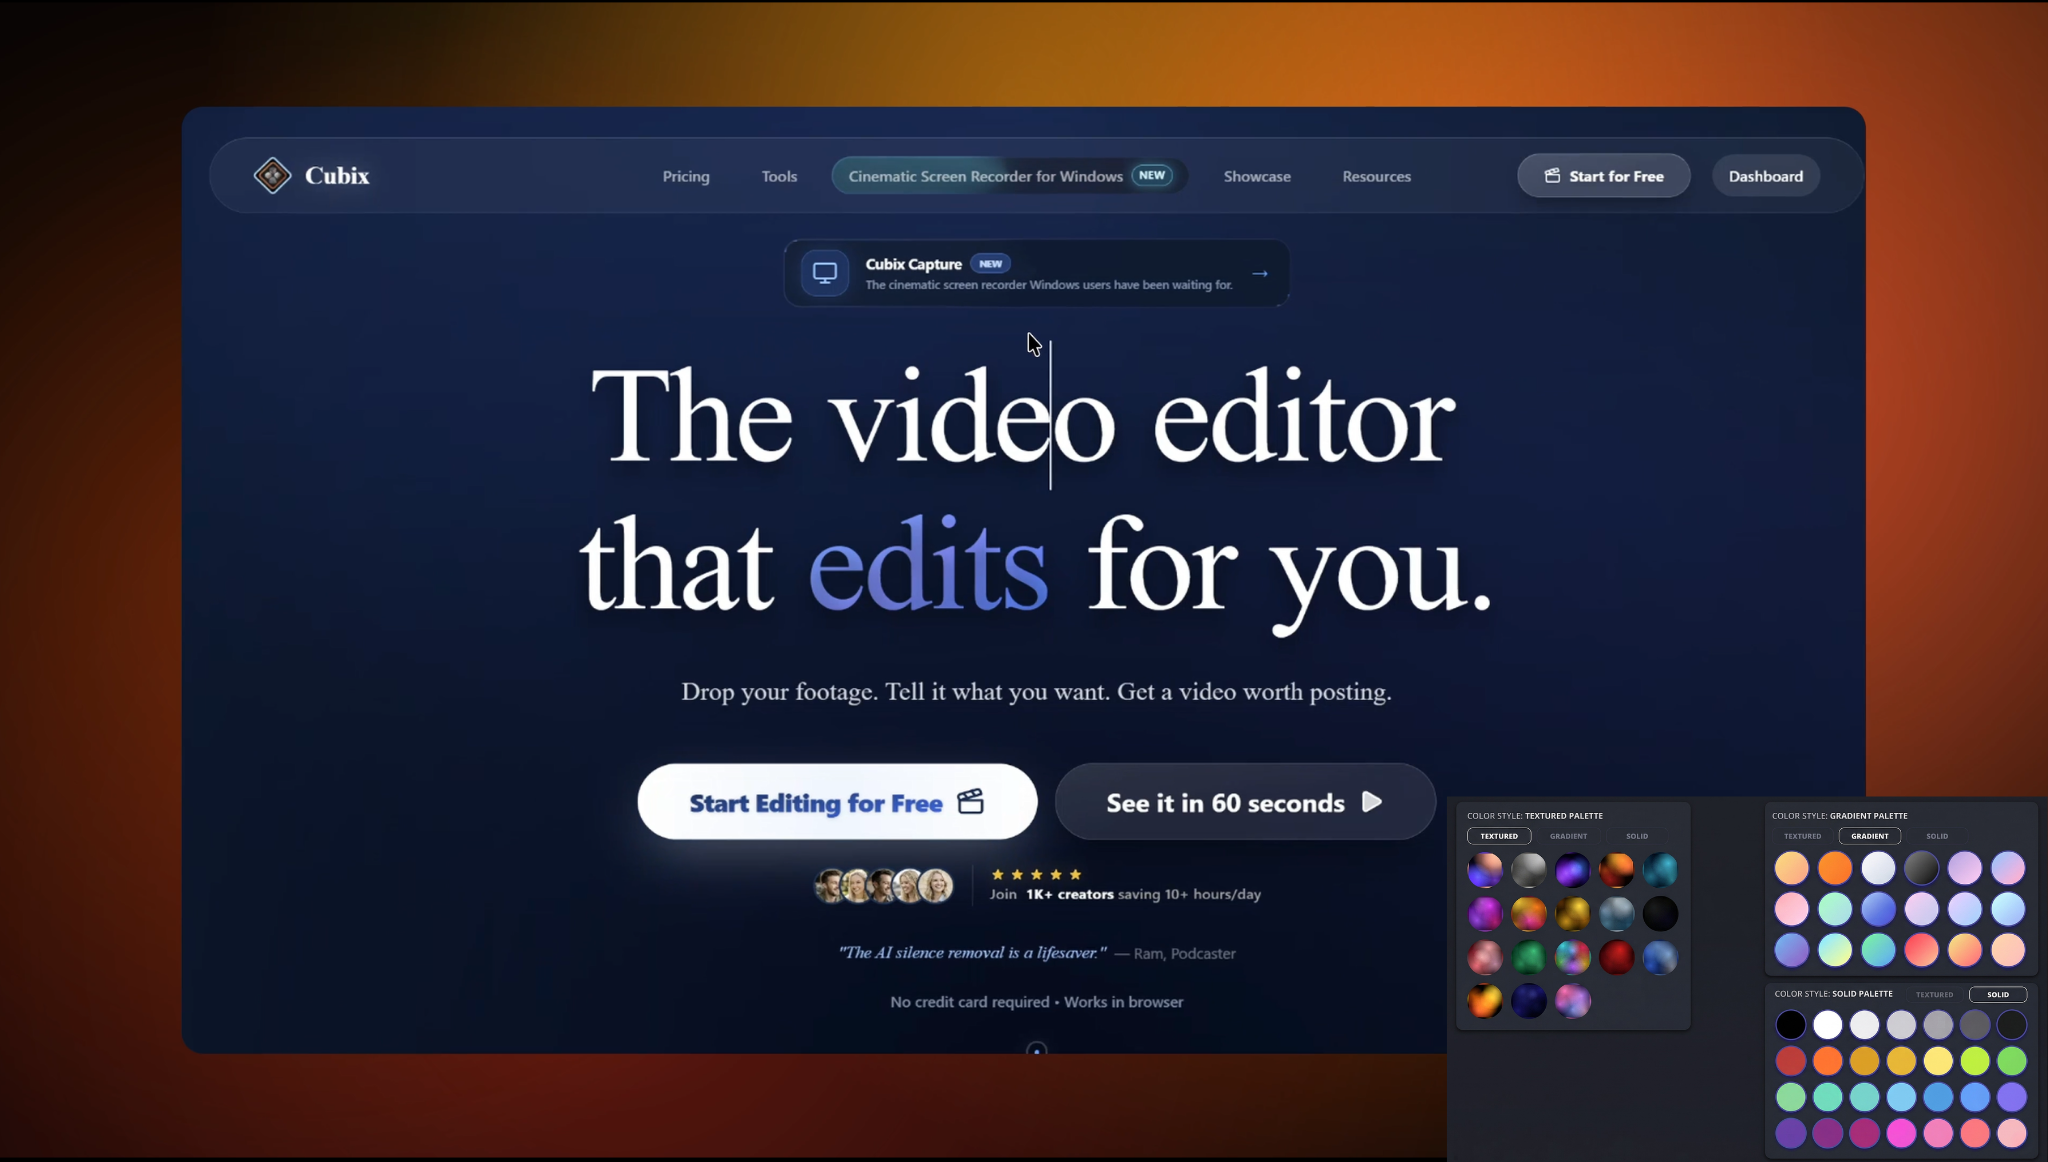
Swap the plain desktop look for a clean background, adjust the spacing around your screen and create a recording that feels designed before you touch another editor.
gradient
solid
dark
light
branded/custom
live background
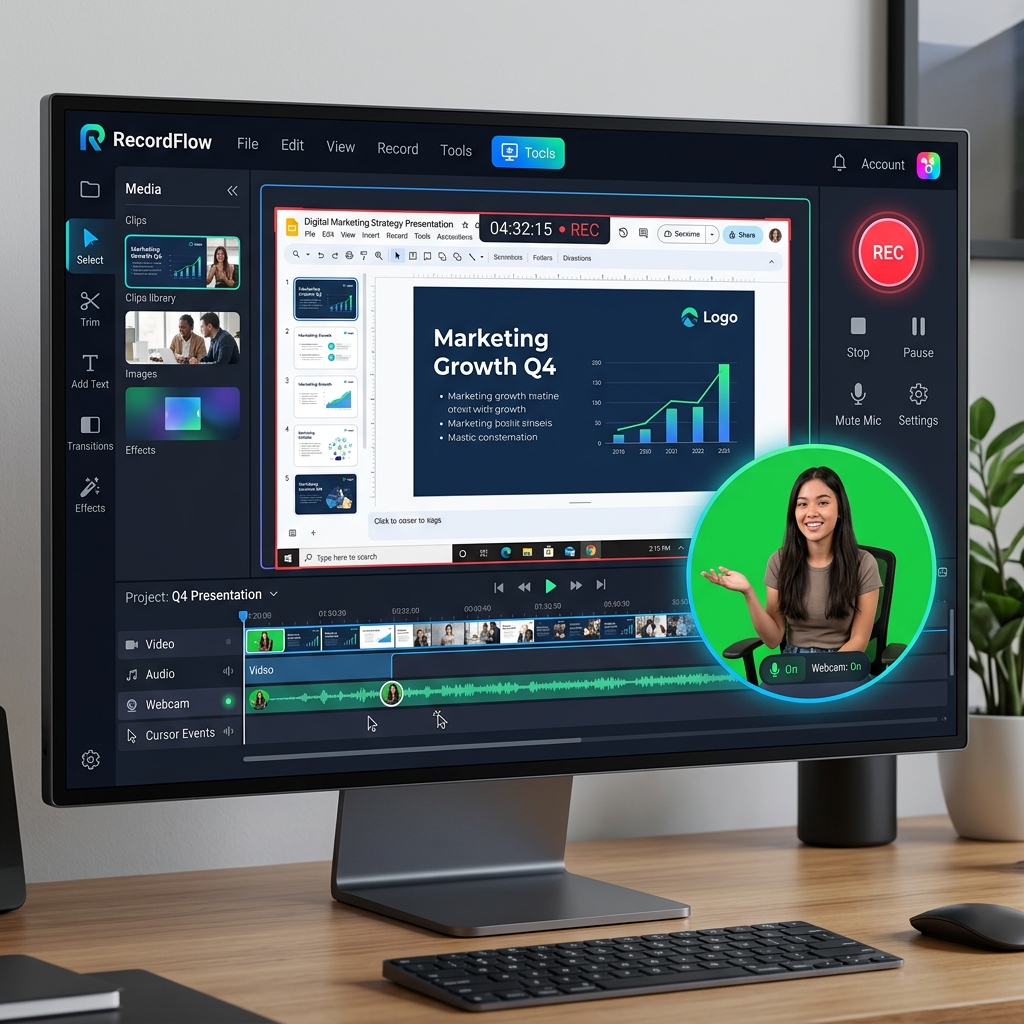
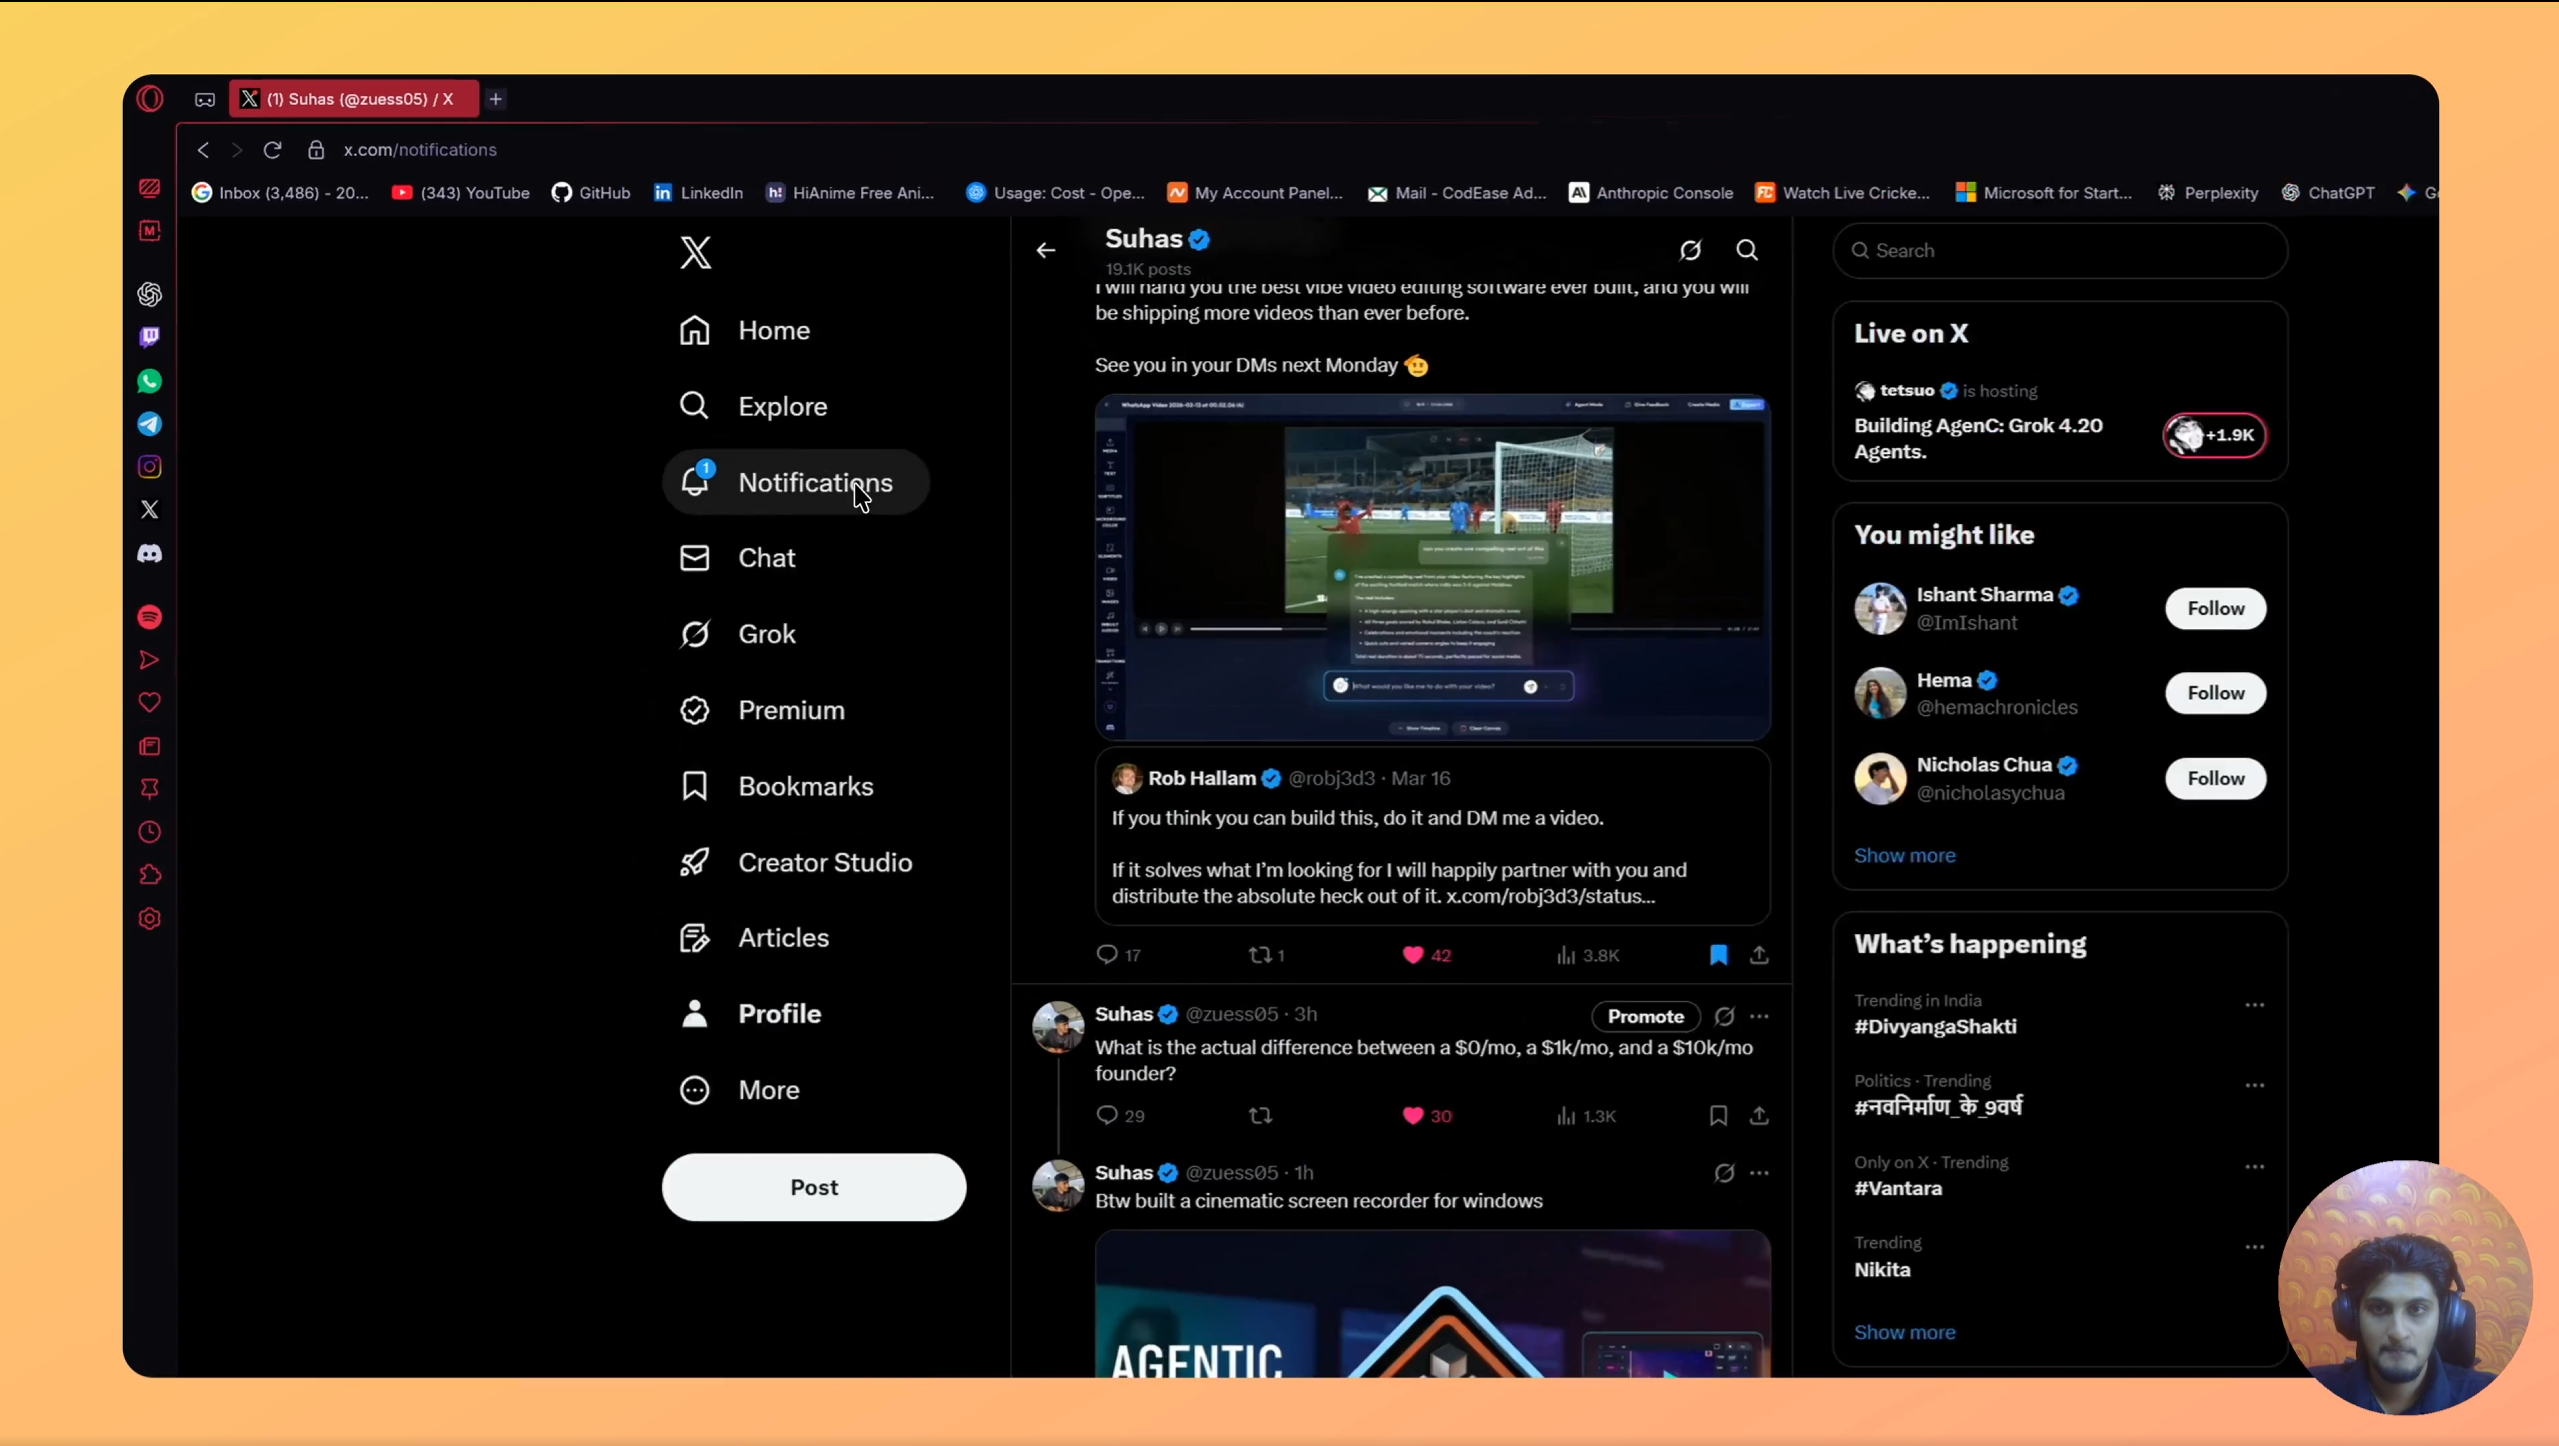
5. Make the camera yours
- webcam position
- webcam size
- shape
- camera background
- blur/remove/change camera background
- border/shadow
webcam position
webcam size
shape
camera background
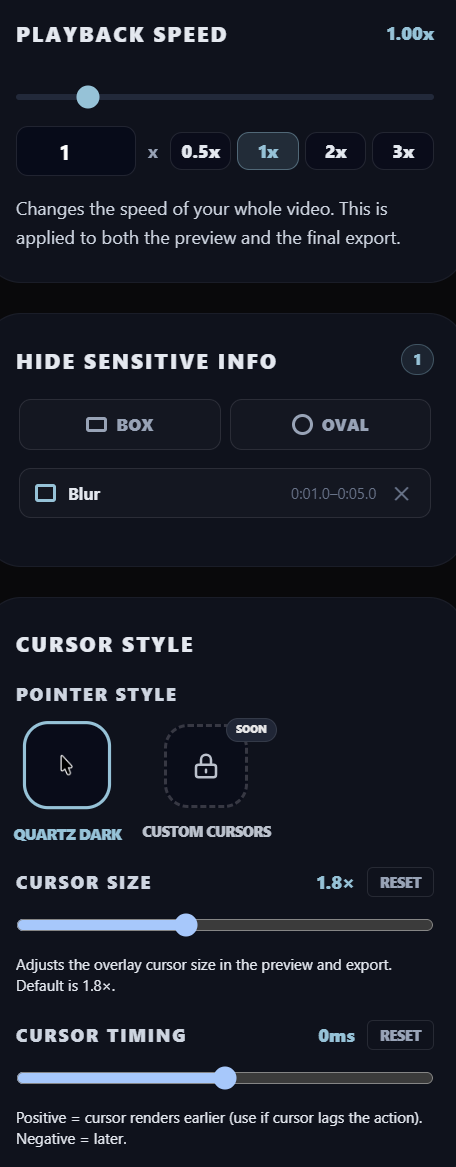
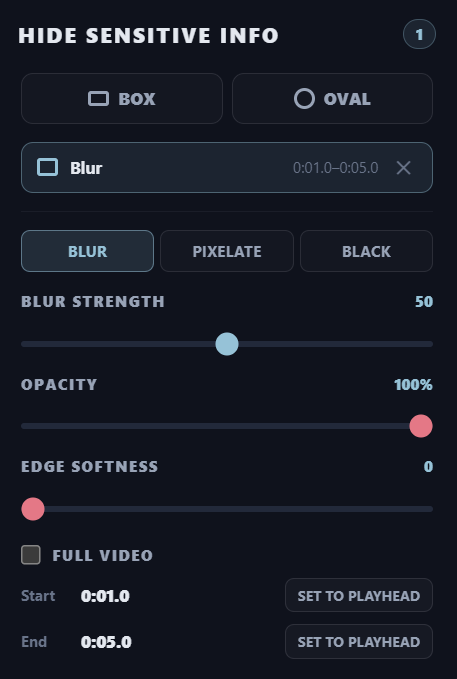
6. Hide anything you don't want to share
Recorded something private? Blur or redact sensitive information before you share the video.
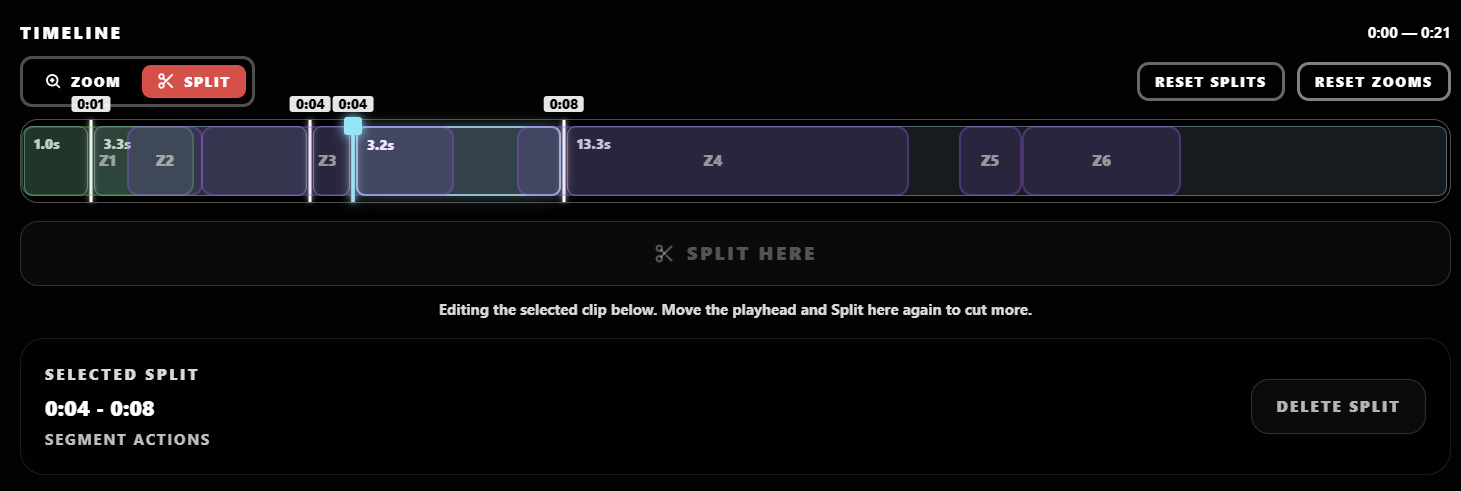
7. Fix the parts you don't need
Made a mistake? Cut it out. There's no need to record the whole thing again.
- trim
- cut
- split
- rearrange
- remove unwanted section
8. You're ready to share
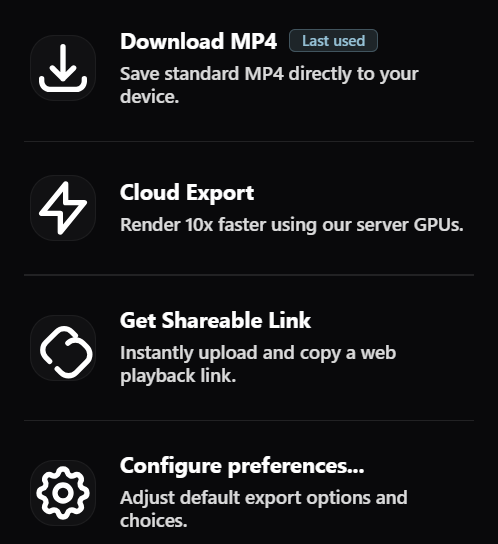
Export locally
Save the final video to your computer.
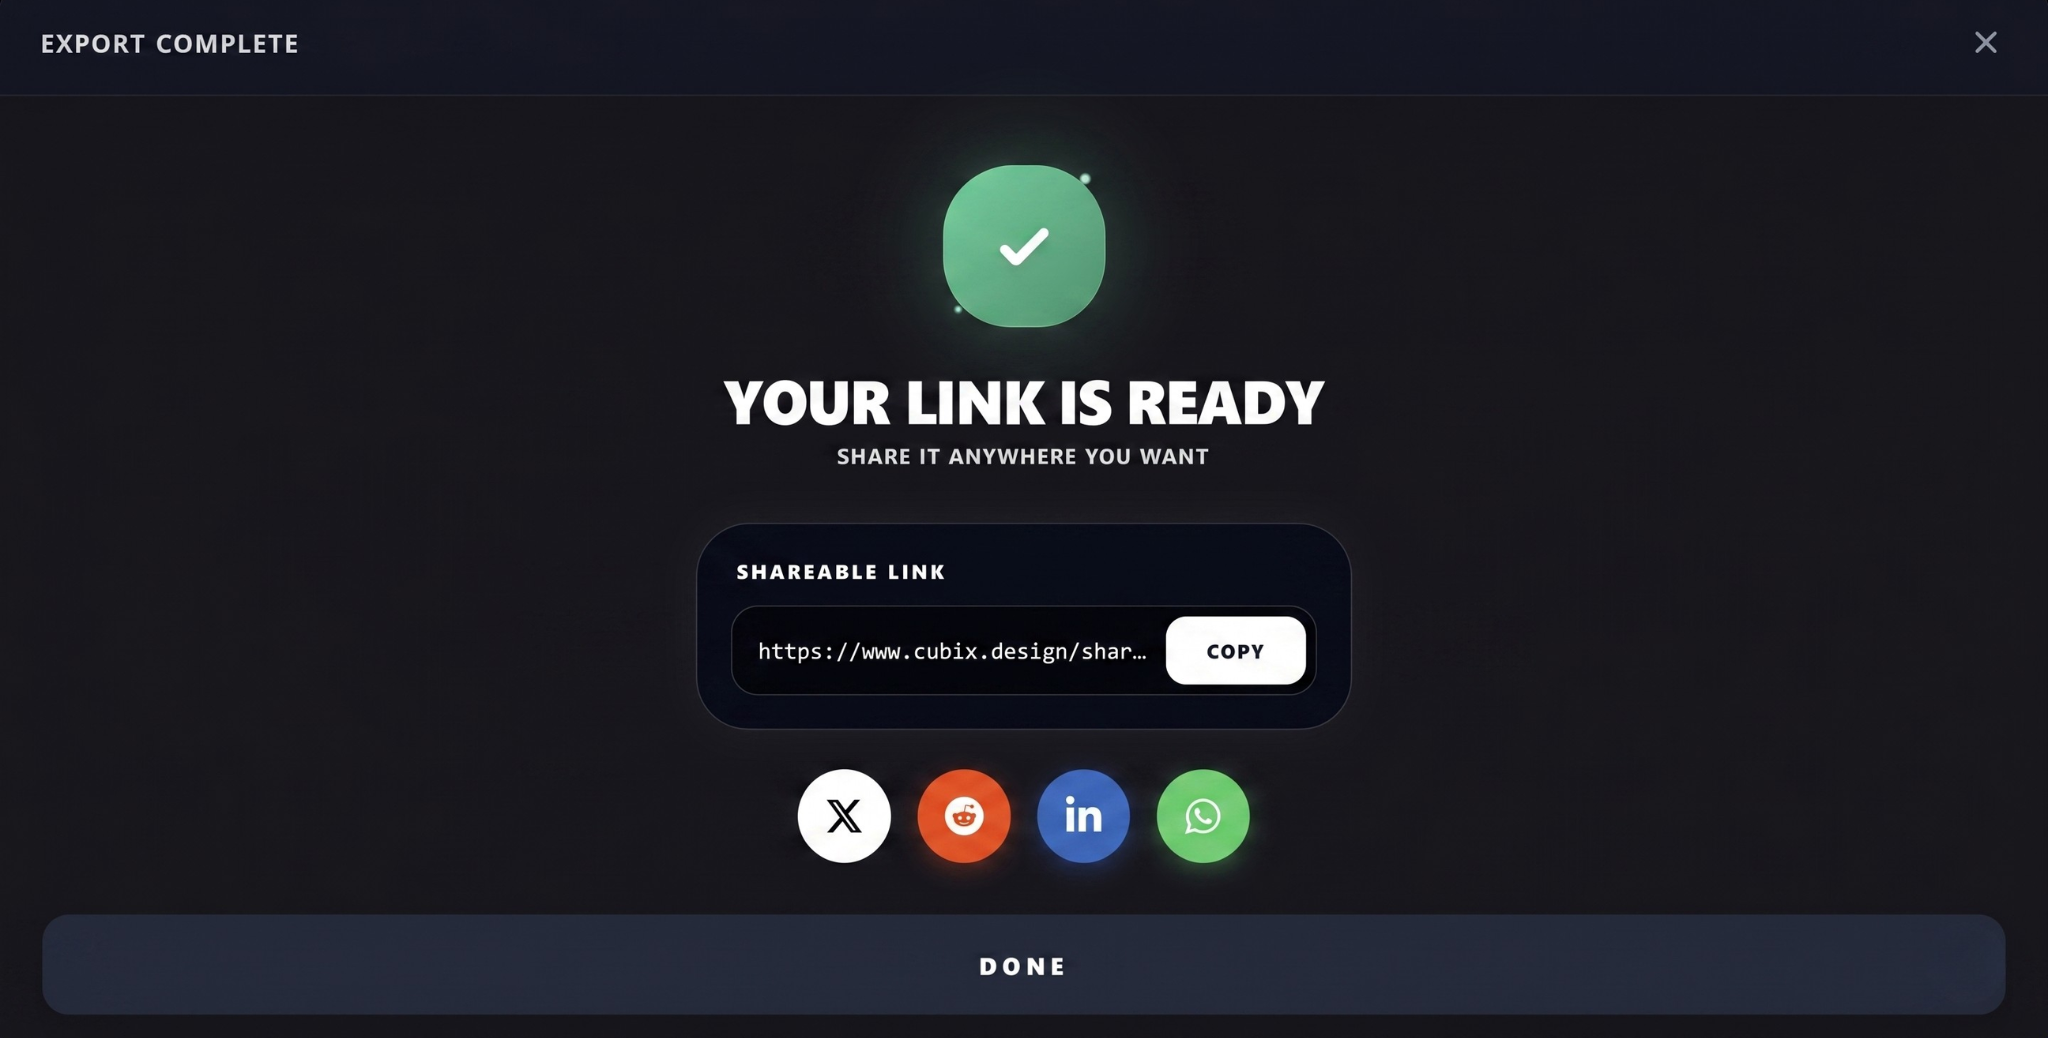
Share a link
Upload and send the recording without attaching a giant video file.
Try it yourself
The easiest way to understand Capture is to make one 30-second recording.
Try this:
- 1Open a website you use every day
- 2hit Record
- 3click through 3–4 things
- 4stop
- 5change the background
- 6check the automatic zooms
- 7export