Great cinematic screen recordings do not happen because someone owns expensive editing software. They happen because the creator controls three things: focus, motion, and pacing.
Most raw screen captures fail on those three dimensions. They are visually flat, motion is jittery, and the viewer has to guess where to look. That is why many tutorials feel "amateur" even when the information is excellent.
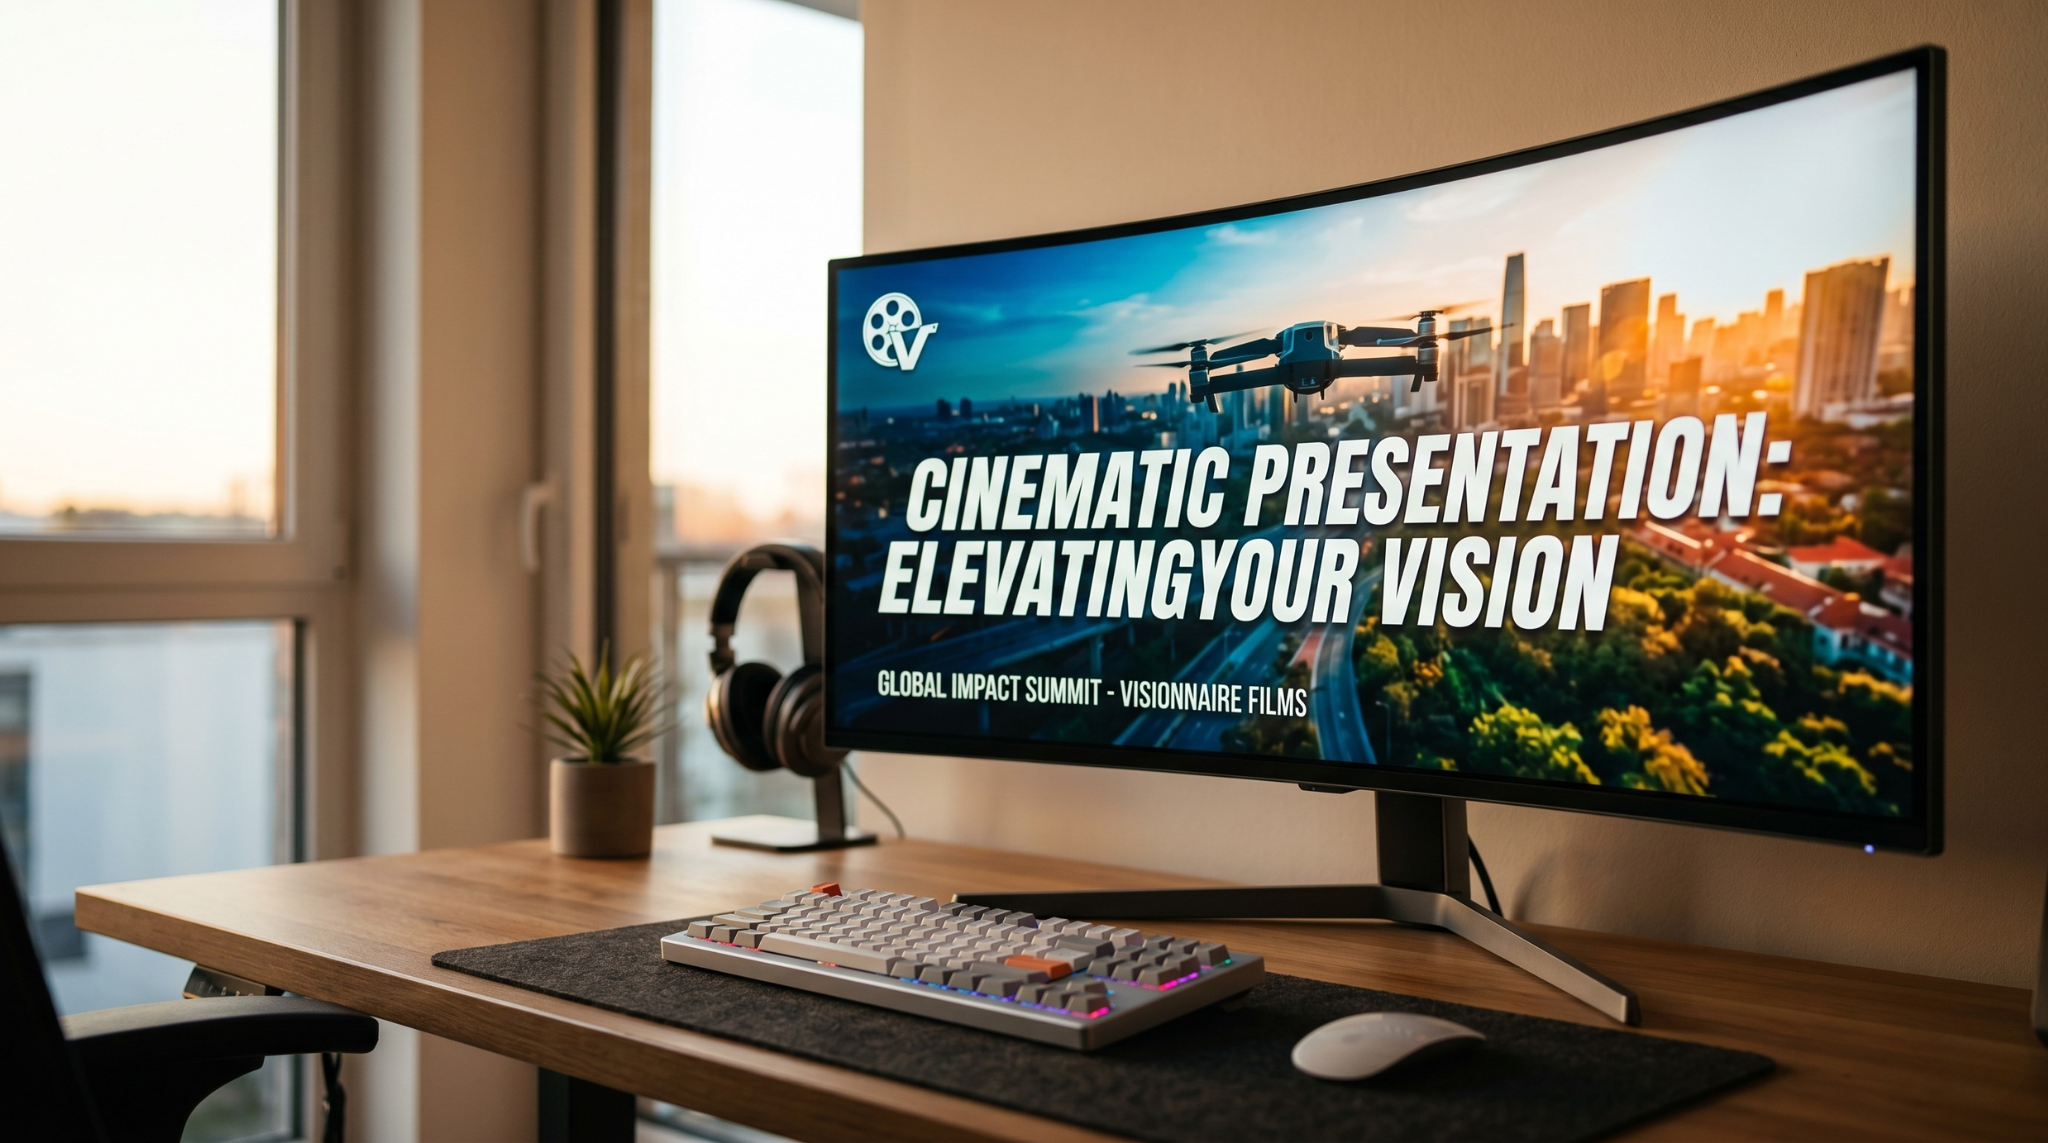
This guide shows how to create a cinematic feel without opening a timeline editor.
Principle 1: Bring the Camera to the Action
In film, the camera guides attention. In tutorials, your framing has to do the same thing.
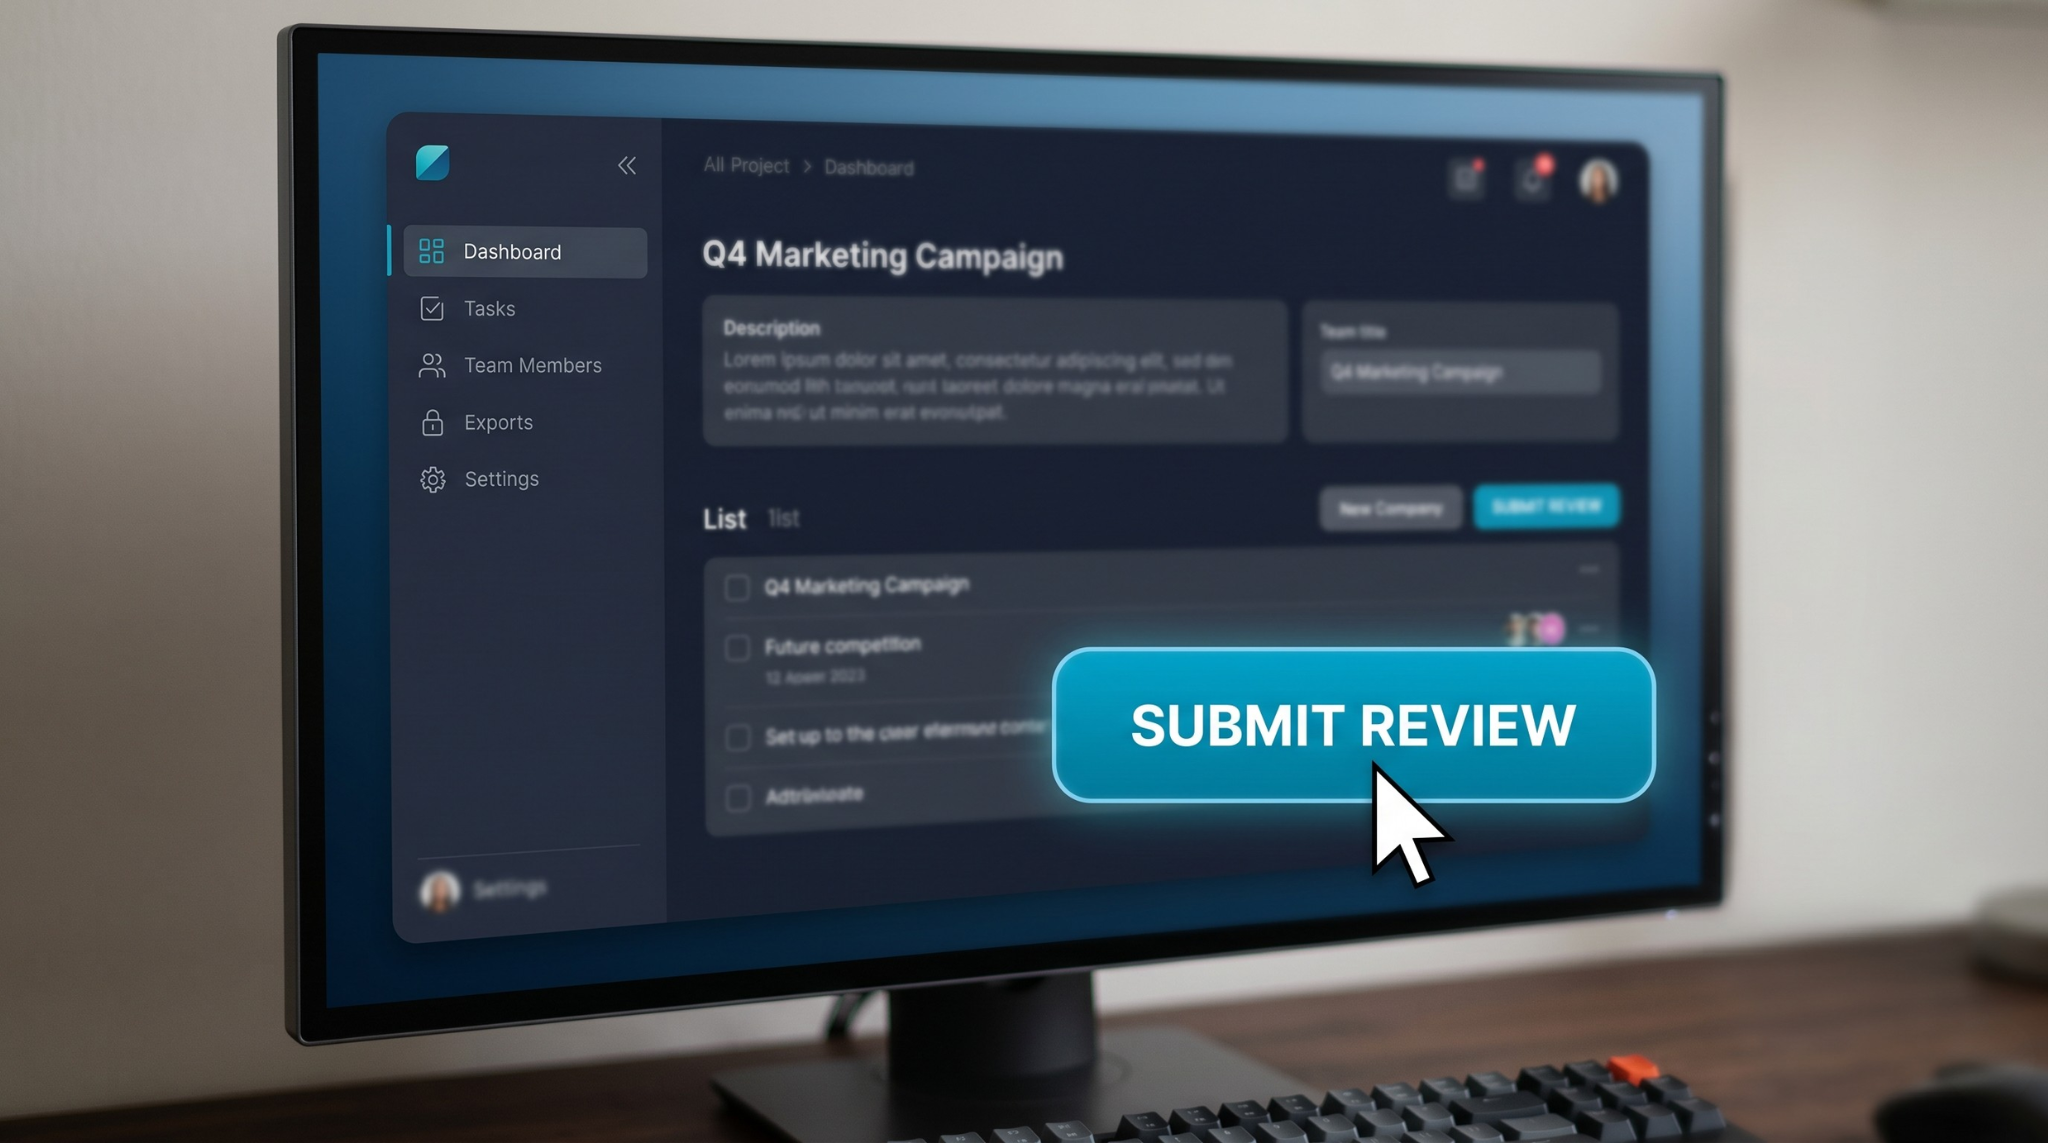
Static full-screen capture usually makes interface details too small and forces viewers to hunt for context. Cinematic recordings avoid this by introducing controlled push-ins when important actions happen.
Live auto-zoom is the fastest way to achieve this without keyframing later.
Framing Rules That Make Videos Feel Cinematic
Before recording, apply three framing rules:
- Keep your subject window centered with breathing room.
- Avoid edge-to-edge UI unless detail readability requires it.
- Maintain visual consistency between sections (no random scale shifts).
These are small choices, but they are what separate "clean" recordings from cinematic ones.
Principle 2: Choreograph Cursor Motion
Jittery cursor movement is one of the fastest ways to break the cinematic feel.
When cursor paths are calm and deliberate, your recording feels intentional. When they are frantic, the viewer feels rushed.
You can improve this manually by moving slower and pausing before clicks, or automate it with cursor smoothing during capture.
Motion Pacing: The Hidden Quality Lever
Many recordings feel amateur because motion never settles. A cinematic feel requires controlled rhythm:
- move -> pause -> click -> explain -> continue
This pattern gives the viewer time to process each action. Without that rhythm, even accurate tutorials feel hectic.
Principle 3: Set an Intentional Stage
Background is not neutral. It tells viewers whether the content is prepared or improvised.
Raw desktop capture introduces noise: random folders, messy wallpaper, and system clutter. A cinematic setup isolates the app and places it in a controlled visual environment.
Gradient or subtle live backgrounds create depth and make the software look presented, not merely captured.
Audio Matters as Much as Visuals
Cinematic visuals with poor audio still feel low quality. Keep audio clean:
- reduce room echo
- normalize voice level
- avoid abrupt volume shifts
- remove long dead-air moments
If viewers strain to hear you, visual polish cannot save retention.
The Cinematic Recipe in Practice
Use this quick recipe:
- Start with one narrative outcome (not a random feature tour)
- Apply clean background framing before recording
- Enable moderate auto-zoom for interaction points
- Keep cursor movement smooth and unhurried
- Maintain speaking rhythm with short, intentional pauses
When those five elements align, recordings feel cinematic even without post-editing.
Enjoying this read?
Get weekly insights on video editing, AI workflows, and creator growth straight to your inbox.
Example: Turning a Basic Tutorial Into a Cinematic One
Basic version: full desktop, no zoom control, fast cursor, noisy background.
Cinematic version: framed app window, controlled background, click-aware zoom, smooth cursor paths, deliberate narration.
Same product. Same script. Completely different perceived quality.
Common Mistakes That Break the Cinematic Look
- Over-zooming every few seconds
- Fast cursor movement + fast zoom at the same time
- Inconsistent framing between scenes
- Busy backgrounds with high motion
- Narration that outruns the visual action
Cinematic means controlled. If everything moves at once, the effect collapses.
Fast QA Before You Publish
Run this 60-second check:
- Is every key action visually obvious?
- Are zooms smooth and purposeful?
- Does cursor motion feel calm?
- Is audio clear and consistent?
- Can a first-time viewer follow at 1x playback?
If any answer is no, fix that one issue before publishing.
A No-Edit Workflow for Creators and Teams
If you need consistent output at speed:
- build 2-3 visual presets (background + zoom level)
- use one narration structure across all tutorials
- keep intros short and outcome-first
- trim only dead space after recording
This is how teams keep production quality high without building a heavy editing pipeline.
Scaling This Across a Team
When multiple people produce tutorials, standardize:
- one set of visual presets
- one narration template
- one publishing checklist
- one review rubric
Consistency is what creates a recognizable premium style.
Tooling Note
If you want this workflow in one tool, Cubix Capture applies background styling, auto-zoom, and cursor smoothing while recording, so you can get cinematic output without timeline editing.
Final Takeaway
Cinematic screen recording is not about complex effects. It is about guided attention. Control framing, motion, and pace, and your videos will feel premium even in a no-edit workflow.
Related reading:
- How to Record Your Screen with Gradient Backgrounds on Mac & Windows
- How to Make Your Screen Recordings Look Professional (Without Any Skills)
Don’t miss the next one.
Join our newsletter for exclusive tips, product updates, and the latest from the Cubix team.