Sharing your screen is the best way to show someone how a software or process works. But a disembodied voice talking over a computer screen can feel a little cold and disconnected.
When you add your face to the recording, everything changes. Whether you are creating a training video for your team, a tutorial for YouTube, or a sales pitch for a potential client, showing your face builds instant trust. It humanizes your content and keeps your viewers highly engaged.
However, trying to record your screen and your webcam at the same time often leads to a frustrating, clunky video. The webcam bubble might cover up important buttons on your screen, or the setup process might require complex software.
Here is how to record your screen and webcam simultaneously while keeping the final video looking incredibly professional and easy to watch.

The Picture-in-Picture Challenge
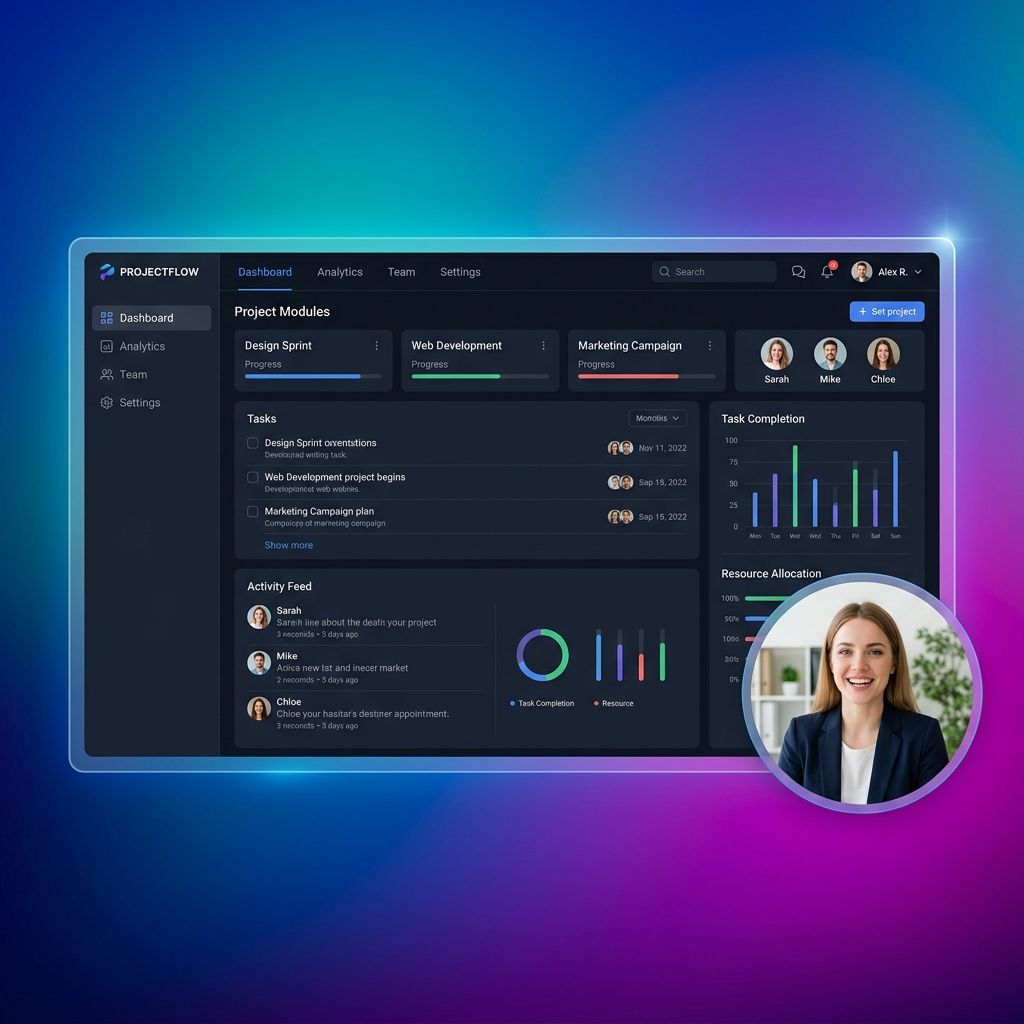
The standard way to record both sources is using a Picture-in-Picture (PiP) layout, where your screen fills the video and your facecam sits in a small bubble in the corner.
While this is effective, it introduces a major problem: your webcam bubble is now blocking a portion of your screen. If you are demonstrating a software and you need to click a button that happens to be exactly where your facecam is sitting, your viewer will not be able to see what you are doing.
To make a simultaneous recording work perfectly, you need a setup that directs attention rather than blocking it.
Step 1: Guide Focus with Camera Movement
When you have a screen recording and a webcam running at the same time, there is a lot of visual information competing for your viewer's attention. To prevent them from getting overwhelmed, you must guide their eyes to the action.
Instead of keeping the screen completely zoomed out, use a recording method that features auto-zoom. When you click on a specific menu or type in a text box, the screen portion of the video should smoothly zoom in on that action. This ensures that your screen content remains perfectly readable, and it naturally pulls the viewer's focus exactly where it needs to be, even with your facecam in the corner.
Step 2: Keep Cursor Motion Deliberate
Because your viewer's attention is split between your voice, your face, and the screen, any sudden or erratic movements will be highly distracting.
If your mouse cursor is jittering around the screen while you talk, the tutorial will feel chaotic. A professional dual-recording requires a calm visual guide. By ensuring your cursor movements are smoothed out automatically, your mouse pointer turns into a sleek, deliberate presentation tool. It glides calmly across the screen, making the entire video feel relaxed and expertly planned.
Enjoying this read?
Get weekly insights on video editing, AI workflows, and creator growth straight to your inbox.
Step 3: Keep the Visual Environment Cohesive
If you are recording a messy computer desktop while sitting in front of a cluttered room on your webcam, the resulting video will look incredibly unprofessional.
To create a cohesive, premium look, you need to set a stage. While you cannot always control the room behind you, you can control the digital space. By placing your screen recording over a beautiful color gradient or a subtle live background, you instantly elevate the production value. It ties the screen and the webcam together into one unified, broadcast-quality presentation.
Recommended Dual-Capture Workflow
If you try to record your webcam and screen separately and combine them later in a video editor, you will waste hours syncing the audio, adjusting the layout, and trying to add zoom effects manually.
To create these high-end presentations instantly, you need a smart screen recorder designed to capture both sources natively.
This is exactly why creators and professionals use Cubix Capture. It is built to handle the complexities of dual-recording automatically. Your facecam stays anchored in a corner that does not collide with the active UI, the screen pane tightens around the area you are demonstrating, and the cursor inside that pane is smoothed against your real input—so you never end up with a video where the talking head is sharp but the screen behind it is unreadable.
You do not need an advanced editing stack to make dual-capture videos work. You need clear layout rules and predictable capture behavior.
Dual-Capture Layout Tips
- keep webcam bubble away from active UI zones
- use consistent webcam size across videos
- maintain eye-line near camera during explanations
- avoid frequent webcam reposition changes mid-video
Common Mistakes to Avoid
- Webcam bubble blocking buttons/menus
- Over-zooming while webcam is visible
- Fast cursor movement plus dense narration
- Inconsistent lighting/audio in webcam feed
Related reading:
- How to Record Your Screen with Gradient Backgrounds on Mac & Windows
- How to Make Your Screen Recordings Look Professional (Without Any Skills)
Don’t miss the next one.
Join our newsletter for exclusive tips, product updates, and the latest from the Cubix team.