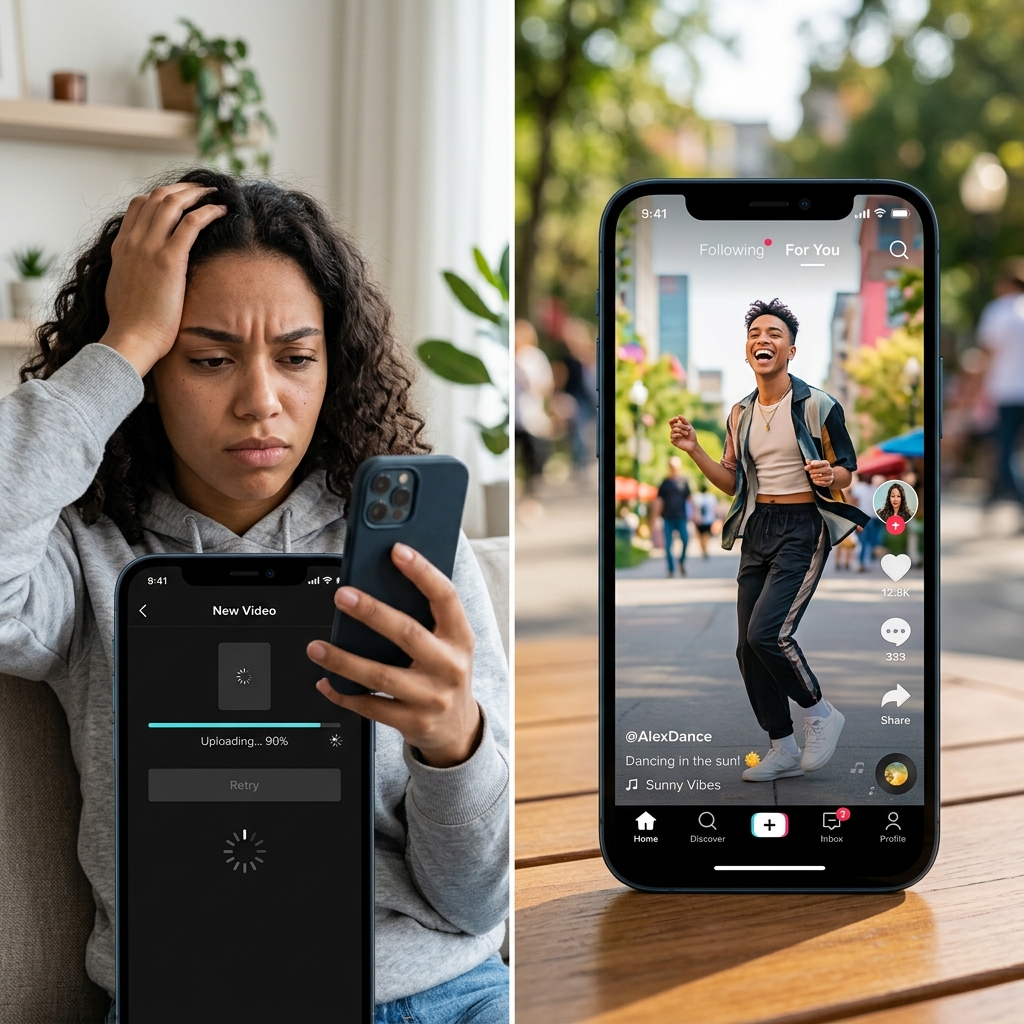
You just spent hours filming, editing, and perfecting a new TikTok. The transitions are flawless, the audio is synced perfectly, and the 4K video looks incredibly crisp on your camera roll.
You open the TikTok app, hit upload, and wait. And wait. The upload bar gets stuck at 90%. Or worse, the video finally posts, but when you watch it on your profile, it looks blurry, pixelated, and completely out of sync.
What went wrong?
The problem is your file size. TikTok is a platform built on speed. Its servers are designed to deliver millions of videos to users every second. If you try to upload a massive, uncompressed 4K video file, the app will either reject it, or its native compression algorithm will violently crush your video, destroying your visual quality in the process.
If you want your videos to look sharp and go viral, you have to feed the algorithm exactly what it wants. Here is your ultimate guide to compressing a video for TikTok, including the perfect file size, the right format, and how to keep your footage looking crystal clear.
The "Golden Rules" of TikTok Video Specs
Before you compress anything, you need to know TikTok’s exact limits. If you surpass these, you are begging the algorithm to ruin your video quality.
- Resolution: 1080 x 1920 pixels (1080p). This is the absolute maximum resolution TikTok displays. If you upload a 4K video, TikTok will squish it down to 1080p anyway, which often causes weird visual glitches and blurring.
- Aspect Ratio: 9:16 (Vertical).
- Format: .MP4 or .MOV. (MP4 is highly recommended as it is universally accepted and naturally compressed).
- File Size Limit: If you are uploading from an Android device, the app limits you to 72MB. If you are on an iPhone, the limit is 287.6MB.
The Secret: Even if you have an iPhone, aim to keep your videos under 70MB. Smaller files upload faster, process quicker, and suffer far less from TikTok's server-side compression.
Step 1: Turn on the Hidden High-Quality Toggle
Before we shrink your file, you must fix a setting inside your TikTok app. By default, TikTok limits the quality of your uploads to save your cellular data.
How to fix it:
- Open TikTok and begin the upload process for a video.
- Get to the final "Post" screen (where you write your caption).
- Scroll down and tap on More options.
- Find the toggle that says Allow high-quality uploads and turn it ON.
If you do not turn this on, TikTok will aggressively compress your video, regardless of how perfectly you formatted it.

Step 2: Compress with CapCut (The Mobile Method)
If you are editing on your phone, the best way to compress your video for TikTok is by using CapCut (which is actually owned by the same parent company as TikTok).
How to do it:
- Open your heavy video inside the CapCut app.
- In the top right corner, tap the resolution drop-down menu (it might say 4K or 1080p).
- Set the Resolution to 1080p.
- Set the Frame Rate to 30fps (unless you are posting slow-motion gaming clips, in which case 60fps is fine).
- Export the video. CapCut is highly optimized to output an MP4 file that is the perfect size and format for the TikTok algorithm.
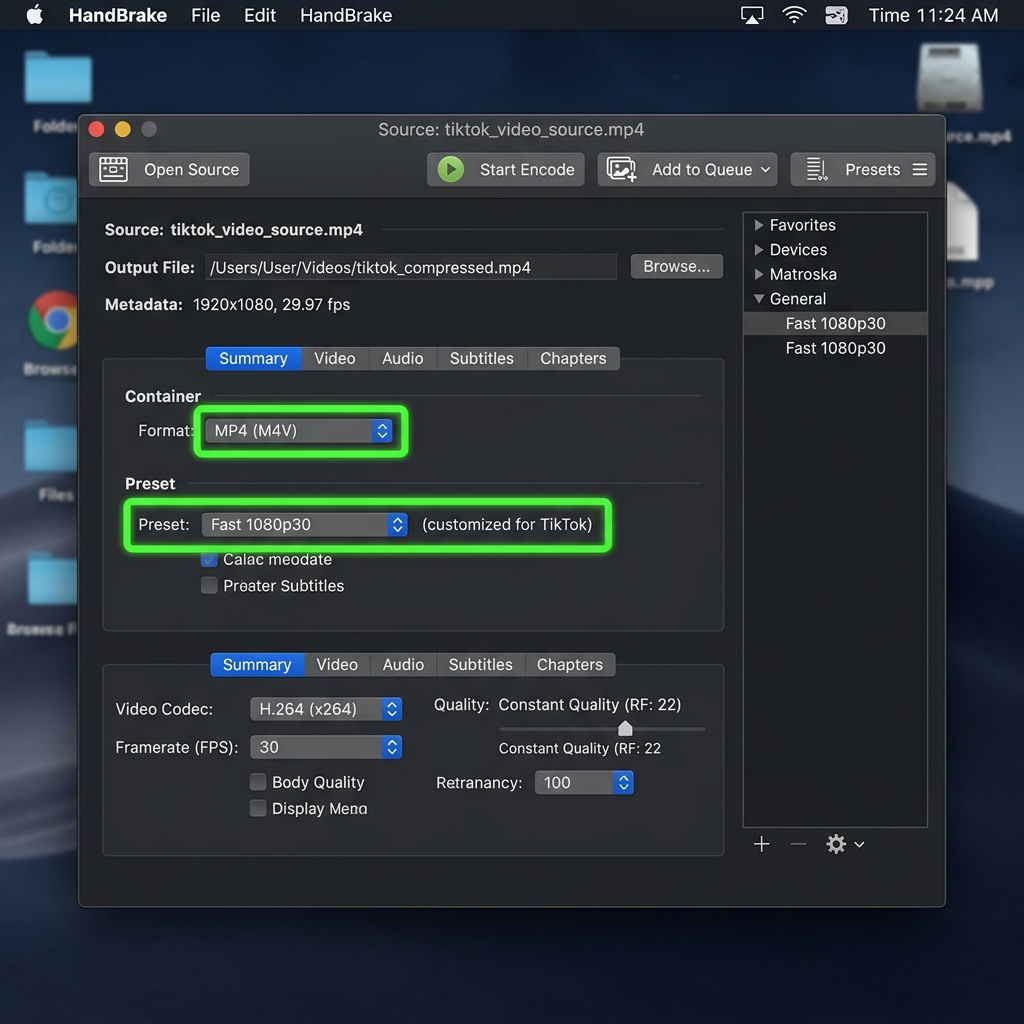
Step 3: Re-Encode with HandBrake or FFmpeg (Desktop)
If you exported your video from Premiere Pro, Final Cut, or DaVinci Resolve, the master file is often well over 500MB and uses a much higher bitrate than TikTok needs. Re-encoding before upload prevents TikTok's servers from doing it for you.
With HandBrake (GUI):
- Open your master file in HandBrake.
- Choose any 1080p preset, then set the framerate to 30 (or 60 for fast motion only).
- Switch the encoder to H.264 and lower the Average Bitrate (kbps) to roughly 6,000–8,000 for 1080p vertical—this is far below editor exports but still well above TikTok's display ceiling.
- Confirm the container is MP4 and start the encode.
With FFmpeg (one-liner, optional):
ffmpeg -i input.mov -c:v libx264 -b:v 7M -vf "scale=1080:1920,setsar=1" -c:a aac -b:a 128k output.mp4
A 500MB editor export typically lands somewhere between 30MB and 60MB after this step, with no perceptible quality loss on a phone screen.
The "TechTok" Dilemma: Screen Recordings
Compressing standard camera footage is easy enough. But what if you are a creator trying to upload a software tutorial, a coding demo, or a digital product walkthrough to TikTok?
Sharing computer screen recordings on a vertical app like TikTok is a nightmare. If you record your wide desktop and shrink it to fit a vertical phone screen, the text becomes completely microscopic. Furthermore, desktop screen recorders often output massive, clunky files that trigger TikTok's worst compression.
For the "TechTok" use case specifically, the better fix is choosing a recorder that produces TikTok-friendly clips natively. Cubix Capture records a tight, click-following frame instead of the full desktop, so a 1080p horizontal export crops cleanly into a vertical TikTok without losing the focus area. Combined with the high-quality upload toggle you turned on earlier, that usually means TikTok's server-side compression has very little visible work left to do.
Don't Let the Algorithm Win
You have great ideas, and your content deserves to be seen in the best possible light.
By keeping your resolution at 1080p, turning on the high-quality app toggle, and ensuring your file sizes stay lightweight, you will stop fighting the TikTok algorithm and start letting it push your crisp, flawless videos to the For You Page.
For one-off compressions when you are not recording fresh, our TikTok video compressor applies the right preset automatically.
Related reading: