You finally memorized the keyboard shortcuts. You successfully captured the digital receipt, the flight boarding pass, or the recipe your mother sent you.
But taking the screenshot is only half the battle. If you just used a tool that copies the image to your invisible clipboard, that image will disappear the second you copy a piece of text or restart your computer. If you want to keep that screenshot forever, or if you need to hand a physical, paper copy to someone else, you have to know how to properly save and print it.
Whether you are using a Mac or a Windows PC, here is the definitive guide to getting your screenshot out of your computer's short-term memory and into a permanent file (or onto a piece of paper).
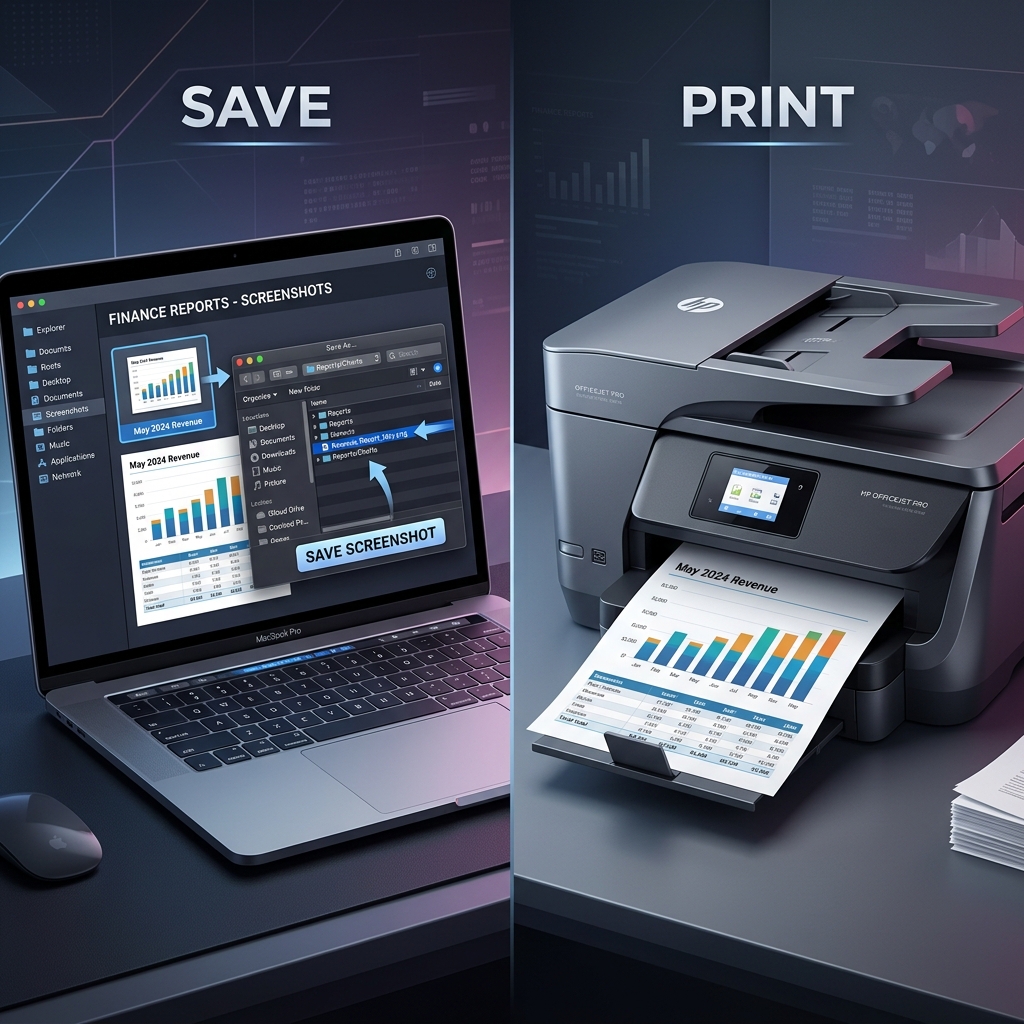
Part 1: How to Save a Screenshot as a File
If you want to email an image, upload it to a portal, or keep it for your records, it needs to be an actual file (like a PNG or JPEG) sitting in a folder on your hard drive.
On Windows 11
- The Auto-Save Method: If you want to instantly save a full picture of your entire monitor, press
Windows + PrtScn. Your screen will briefly flash. The file is instantly saved. Open your File Explorer and go to Pictures > Screenshots to find it. - The Snipping Tool Method: If you pressed
Windows + Shift + Sto crop a specific area, that image is only on your clipboard. To save it, click the small notification that pops up in the bottom right corner of your screen. This opens the Snipping Tool editor. Click the Floppy Disk icon in the top right corner (or pressCtrl + S), choose a folder, and save it.
On a Mac
- The Auto-Save Method: Apple makes this incredibly easy. Whenever you press
Command + Shift + 3(full screen) orCommand + Shift + 4(cropped area), your Mac automatically saves the image as a.pngfile directly to your Desktop. - Change the Save Location: If you are tired of your desktop being cluttered with screenshots, press
Command + Shift + 5. On the toolbar that appears, click Options. Under the "Save to" menu, you can permanently change your screenshot destination to your Documents folder, or any other folder you prefer.
Enjoying this read?
Get weekly insights on video editing, AI workflows, and creator growth straight to your inbox.
Part 2: How to Print Your Screenshot
Once your screenshot is saved—or even if it is just sitting on your clipboard—getting it onto a physical piece of paper is a simple, two-step process.
Method 1: Print Directly from the Saved File (The Standard Way)
If you followed the steps in Part 1 and have your screenshot saved in a folder or on your desktop, you do not need to insert it into a document to print it.
- Locate the file on your computer.
- Double-click the image.
- On Mac: It will open in the Preview app.
- On Windows: It will open in the Photos app.
- Press the universal print shortcut:
Ctrl + P(on Windows) orCommand + P(on Mac). - The print dialog box will appear. Select your printer, choose your paper size, and click Print.
Method 2: Print from the Clipboard (The "Quick & Dirty" Way)
If you just took a quick screenshot of a map or a recipe using the Snipping Tool (Windows) or the Control-modifier (Mac), the image is sitting on your invisible clipboard. You do not actually need to save it as a file just to print it.
- Open a blank document in Microsoft Word or Google Docs.
- Press
Ctrl + V(Windows) orCommand + V(Mac) to paste the screenshot directly onto the blank page. - Drag the corners of the image to resize it if it is too small.
- Press
Ctrl + PorCommand + Pto print the document. - Once it prints, you can simply close the document without saving it.
Coming soon: Cubix Snap. For the moment before you save, we're building an effortless way to beautify a screenshot — set it against a clean background, annotate it, or remove its background — so what you keep or print actually looks the part.
When Paper and PNGs Fall Short
Saving and printing screenshots is essential for keeping receipts, records, and reference sheets organized. But handing someone a printed JPEG, or emailing a cluttered one, is rarely the clearest way to explain how something actually works.
When a task has moving parts, a recorded walkthrough replaces a whole folder of saved images. If you catch yourself printing and annotating captures just to explain a process, Cubix Capture lets you record your screen and share a clean, auto-zoomed video instead, with no printer and no editing timeline in sight.
Don’t miss the next one.
Join our newsletter for exclusive tips, product updates, and the latest from the Cubix team.