You shipped pixel-perfect frames—and now you have to sell the story.
Client update, eng handoff, portfolio reel: the recording is part of the deliverable. Flying around the infinite canvas in a raw QuickTime capture creates viewer motion sickness and makes mobile frames unreadable.
Present Mode, polished at capture: Cubix Capture zooms on interactions, smooths cursor paths, and stages the prototype window—stakeholders see the design, not your layers panel. Try free · Windows · Mac
Deep Figma-specific guide: Best Screen Recorder for Figma Designs.
The "Infinite Canvas" Problem (And Viewer Motion Sickness)
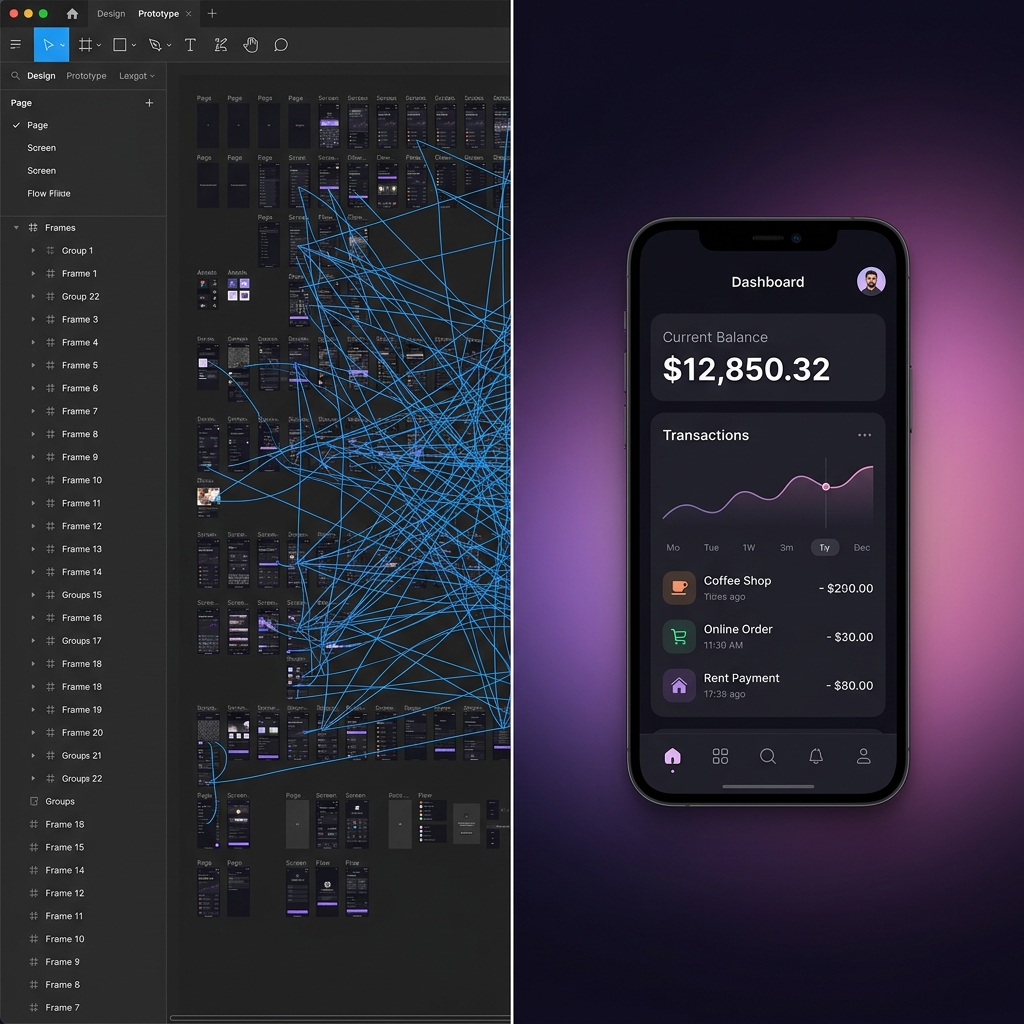
Figma is built on an infinite canvas, which is an incredible feature for designers. But it is an absolute nightmare for viewers.
When you navigate a Figma file, you naturally zoom out to see the big picture, pan violently to the left to find a specific frame, and zoom rapidly back in. Because you are the one controlling the mouse, your brain anticipates the movement.
But when a client or a developer is passively watching your screen recording, these rapid, erratic movements are visually jarring. It causes "viewer motion sickness." Instead of focusing on your beautiful micro-interactions, they are distracted by the chaotic zooming and the massive, confusing web of prototyping noodles.
Furthermore, if they are watching your presentation on a mobile phone, capturing your entire desktop means your meticulously crafted mobile UI screens will look like microscopic, blurry rectangles.
The 3 Rules of a High-End Design Presentation
To get stakeholders to approve your designs, you have to present your work with the exact same level of polish you applied to the UI itself. Top-tier designers follow this three-step recipe for their video walkthroughs:
1. Hide the Kitchen (The Framing Rule)
Your client does not need to see your messy left-hand layers panel, your massive list of local variables, or your cluttered Google Chrome bookmarks. You are presenting a finished product, not your kitchen tools. You must isolate the specific design or prototype window and crop out the distracting UI of Figma itself.
2. Spotlight the Action (The Zoom Rule)
Instead of manually zooming in and out of the canvas, present your prototype in "Present Mode" and let the camera do the work. If you are explaining a complex dropdown menu or a hover state, the camera must smoothly push in on that specific interaction so the viewer cannot look at anything else.
Enjoying this read?
Get weekly insights on video editing, AI workflows, and creator growth straight to your inbox.
3. Glide, Don't Twitch (The Cursor Rule)
Designers use keyboard shortcuts and high-speed mouse movements to work fast. But in a presentation, a frantic cursor makes your interface look difficult and chaotic. Your mouse must act as an elegant pointer, gliding smoothly from one interactive element to the next.

The Old Way: Post-Production Purgatory
In the past, the only way to achieve this "Apple-level" presentation quality was to endure hours of manual video editing.
You had to record a raw QuickTime video, import it into Adobe After Effects or Premiere Pro, and painstakingly add zoom keyframes to every single click. You had to mask out your Figma interface and try to smooth out your mouse path by hand.
If you are a UI/UX designer, your time is highly valuable. Spending your weekend acting as a motion graphics animator just to send a client update is completely unsustainable.
Record in Present Mode with Cubix Capture
- Open prototype → Present (not raw canvas tour).
- Hide layers panel from frame if you must screen-share live; Capture stages the window.
- Narrate one user path; click deliberately.
- Stop—export MP4 for client Loom, Notion, or Slack.
Re-keyframe in After Effects only for hero portfolio pieces—not weekly client updates.
Use-case cluster
- How to Record a Live Demo for a VC Pitch
- How to Create an App Explainer Video
- Best Screen Recorder for Google Slides Presentations
Related reading:
Don’t miss the next one.
Join our newsletter for exclusive tips, product updates, and the latest from the Cubix team.