You launched the app. Traffic hits the landing page and bounces.
Visitors will not read three screens of feature bullets. They want to see the outcome in under a minute. A tight explainer is the highest-leverage marketing asset you can ship without an agency invoice.
Ship a polished demo faster: Cubix Capture frames your app at capture time, auto-zoom on clicks, smooth cursor, staged backgrounds—so your explainer is share-ready when you hit stop. Get started free · Windows · Mac
This guide is the $0 path (script + native record + light edit). For full SaaS demo structure, see How to Record a SaaS Product Demo That Converts.

Step 1: Write the Pain-Solution script (under 60 seconds)
Treat the video like a salesperson, not a README.
| Beat | Time | Job |
|---|---|---|
| Hook | 0–10s | Name the pain in their words |
| Solution | 10–40s | Show the one "Aha!" workflow |
| CTA | 40–60s | One action: install, start trial, book demo |
Word budget: ~130 spoken words. One core workflow—not every settings screen.
Example hook: "Still chasing invoice status in three different tabs?"
Example CTA: "Start your free trial—link in the description."
Step 2: Record the app (free capture paths)
| Platform | Free option | Caveat |
|---|---|---|
| iPhone | Control Center → Screen Recording | UI looks tiny on desktop viewers unless you frame in edit |
| Android | Quick Settings → Screen record | Same readability issue |
| Mac | Cmd + Shift + 5 | Mic + system audio need explicit toggles (no audio fix) |
| Windows | Snipping Tool video or Win + G Game Bar | Set Audio to record: All if you narrate over UI sounds |
Move slowly. One finger / one click per idea.
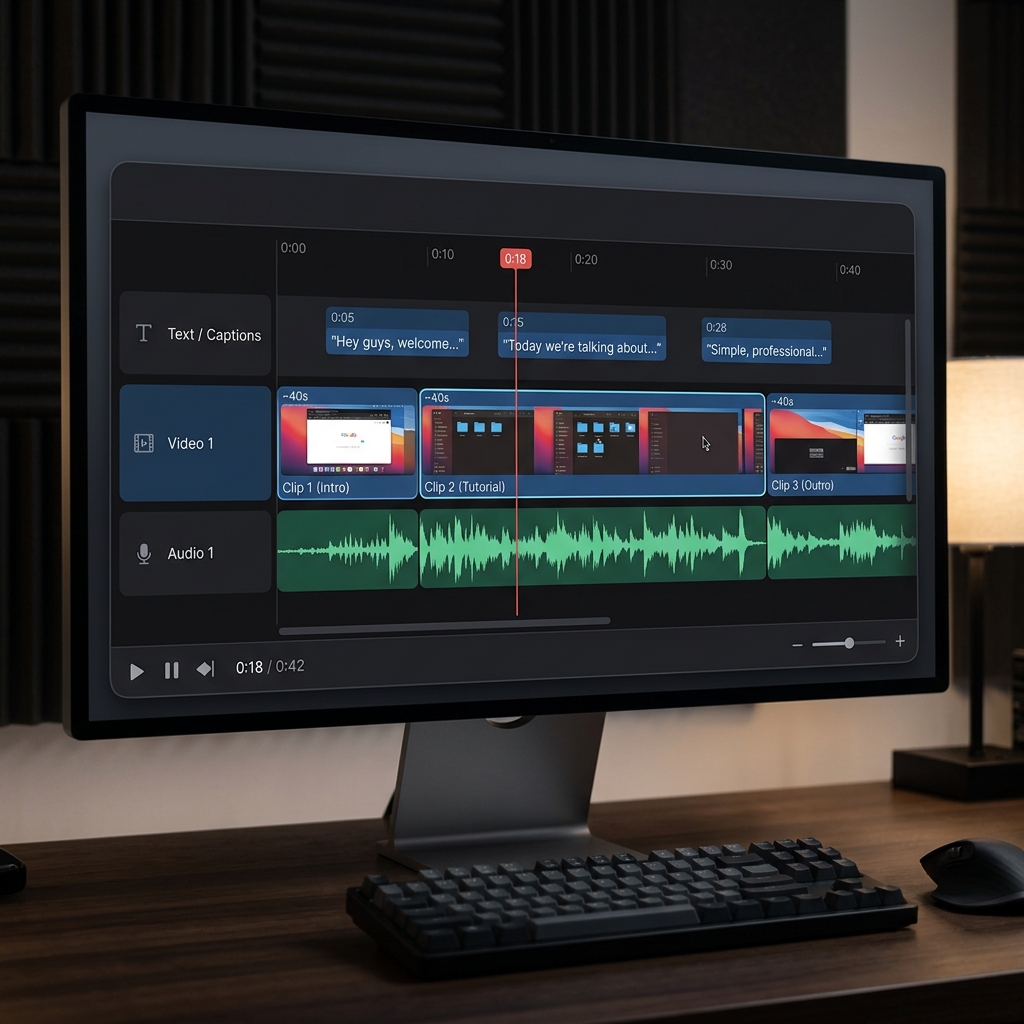
Step 3: Assemble in a free editor (optional)
You may have: voice memo narration + screen clips.
- Import to CapCut or Canva Video (free tiers).
- Lay audio first, picture second.
- Trim loading states and false starts.
- Low-volume music bed (optional).
- Captions—most landing-page traffic is muted on mobile.
That stack works. It also hides a cost: manual zoom if the UI was recorded wide.
Enjoying this read?
Get weekly insights on video editing, AI workflows, and creator growth straight to your inbox.
The hidden cost of "free" explainers
| Symptom | Why it hurts conversion |
|---|---|
| Bookmarks + tabs visible | Looks like a side project |
| Tiny UI on phone | Viewer assumes product is complex |
| Shaky cursor under zoom | Feels anxious, not confident |
| Hours of keyframes in CapCut | "Free" becomes expensive in founder time |
Agency polish is not magic—it is framing + calm motion + clean stage. You can buy that with time in an NLE, or with capture-time tools.
When to skip the edit bay: record with presentation capture
For web and desktop apps, record the Solution beat with Cubix Capture:
- Auto-zoom tracks clicks so buttons read on a phone
- Smooth cursor keeps motion presenter-calm
- Live backgrounds hide desktop noise
Optional post: captions or a tight trim in Cubix—not another full re-zoom project.
Quality checklist before you embed
- Hook names pain in first 5 seconds
- Only one workflow shown
- Text readable at 50% phone width (preview on your phone)
- CTA spoken and on-screen
- File under email/Slack limits (file size fix)
Use-case cluster (more guides)
- How to Make an Onboarding Video for New Customers
- How to Record a Live Demo for a VC Pitch
- Best Screen Recorder for SaaS Founders in 2026
Related reading:
Don’t miss the next one.
Join our newsletter for exclusive tips, product updates, and the latest from the Cubix team.