You need to record a software tutorial for a new hire, capture a multi-step bug to send to your development team, or record a presentation to share with a client.
If you use the basic tools built into your Mac, you are going to end up with a massive, raw .mov file. Your viewer will have to squint to see where your mouse is clicking, the audio might sound like it was recorded inside a tin can, and if you make a mistake, you are stuck spending hours in Final Cut Pro trying to edit it out.
Standard screen recording is a chore. But it doesn't have to be.
If you want to create highly professional, engaging video content, you need to graduate from raw capture tools and move to a modern, automated recording platform. Here is the definitive guide to recording your screen on a Mac, starting with the absolute best method available in 2026.
1. The Ultimate Way: Cubix Capture
If you are recording a video for work, client communication, or content creation, static recordings are no longer acceptable. You need your videos to be dynamic, easy to follow, and perfectly polished.
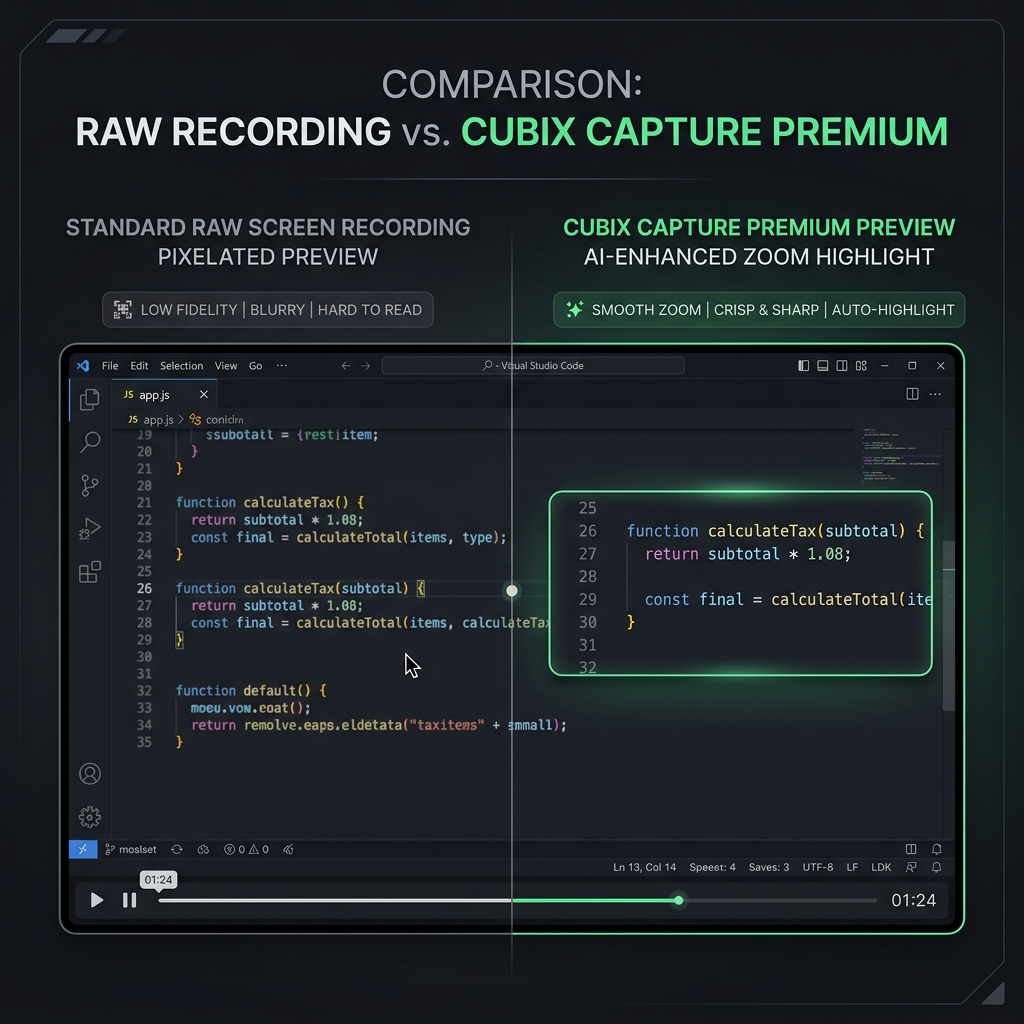
Instead of recording a raw video and spending three hours manually zooming in on your mouse clicks in a video editor, Cubix Capture does all the heavy lifting for you automatically in real-time.
Why Cubix Capture is the superior alternative:
- Cinematic Auto-Zoom: As you move your mouse and click through a workflow, Cubix automatically tracks your cursor and generates smooth, professional zooms and pans. Your viewers will never have to squint to see a tiny dropdown menu again.
- Zero Video Editing: You never have to touch a timeline. The software instantly applies professional backgrounds, smooth transitions, and perfect pacing the second you hit "Stop."
- Flawless Audio Routing: It bypasses Apple's restrictive audio permissions, allowing you to seamlessly capture both your microphone and your internal system audio without downloading clunky third-party virtual cables.
- Instant Cloud Sharing: Instead of waiting for a 2GB file to render and upload to a drive, Cubix generates an instant, shareable link as soon as your recording is finished.
If your goal is to look like a professional without doing the work of a professional video editor, Cubix Capture is the first and only tool you should open.
2. The Native Way: The macOS Capture Menu
If you are just sending a quick, disposable visual note to a friend and do not care about professional polish, Apple has a very capable recording engine built directly into macOS.
The Shortcut: Command + Shift + 5
Pressing this combination summons a sleek, floating toolbar at the bottom of your screen.
How it works:
- Look at the middle of the toolbar. You have two options:
- Record Entire Screen: Click this icon, then click anywhere on your monitor to instantly start recording your entire display.
- Record Selected Portion: Click this icon, drag a box over a specific area of your screen, and click "Record."
- Crucial Step: Before you hit record, click Options. By default, your Mac records without audio. You must select your MacBook Microphone from this menu if you want to narrate your video.
- How to Stop: When you are finished, click the tiny Stop icon (a square inside a circle) located in the top-right corner of your Mac's menu bar, or press
Command + Control + Esc.
The Downside: The file will save directly to your desktop as a large, uncompressed .mov file, with no zooms or visual tracking.
Enjoying this read?
Get weekly insights on video editing, AI workflows, and creator growth straight to your inbox.
3. The Legacy Way: QuickTime Player
If you prefer launching applications from your Dock rather than memorizing keyboard shortcuts, you can use Apple's classic media player to achieve the exact same result.
How to do it:
- Open QuickTime Player from your Applications folder.
- In the top menu bar, click File > New Screen Recording.
- Note: On modern macOS versions, clicking this simply triggers the exact same
Command + Shift + 5toolbar mentioned above. It is just a different door to the same room.
The Mac "Internal Audio" Problem (And Why Alternatives Win)
If you decide to use the built-in macOS tools (Method 2 or 3), you are going to immediately run into Apple’s most frustrating security feature.
For privacy reasons, Apple explicitly blocks its native screen recorder from capturing "System Audio." This means if you record a Zoom meeting, a Spotify song, or a YouTube video using Command + Shift + 5, the resulting video will be completely silent.
The painful workaround: To record internal audio using native Mac tools, you have to download an open-source virtual audio cable (like BlackHole), route your Mac's speaker output into a virtual microphone, and open your MIDI setup app to ensure you can still hear the audio through your headphones while it records. It is a massive technical headache.
The better solution: This is exactly why dedicated software exists. By using a platform like Cubix Capture or advanced broadcasting tools like OBS Studio, the software handles the complex audio routing for you, allowing you to record pristine system audio and your microphone simultaneously with a single click.
Don’t miss the next one.
Join our newsletter for exclusive tips, product updates, and the latest from the Cubix team.