You just finished recording the perfect software tutorial. Your pacing was excellent, you did not stumble over your words, and your on-screen demonstration was flawless.
You hit play to review the video, and your heart sinks.
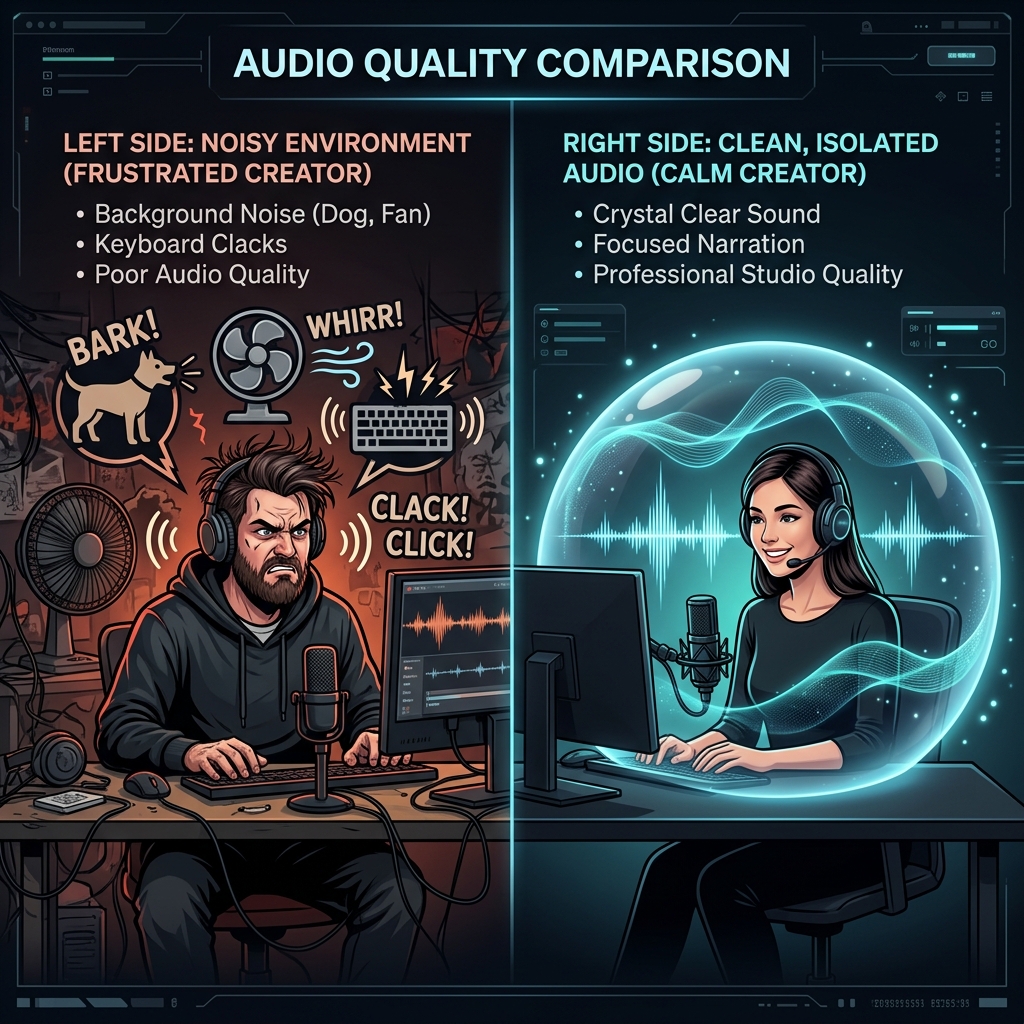
Underneath your voice, you can hear the loud hum of your air conditioner. In the background, a dog is barking, and every time you typed a keyboard shortcut, it sounded like you were hitting the keys with a hammer.
Bad audio is the fastest way to lose a viewer's trust. People will watch a video with mediocre visuals, but if the audio is distracting, echoey, or filled with background noise, they will click away immediately.
If you want your screen recordings to sound like they were filmed in a professional podcast studio—even if you are just sitting at your kitchen table—here is the ultimate guide to eliminating background noise before it ruins your content.
Step 1: Fix Your Environment (The Free Solution)
The absolute best way to remove background noise is to stop it from entering your microphone in the first place. Before you buy expensive gear or download software, look around your room.
- Kill the Hum: Turn off your ceiling fan, pause your air conditioning, and move away from loud desktop computer towers. Our brains naturally filter out these constant "hums," but a microphone captures them perfectly.
- Soak Up the Echo: If you are recording in a room with hardwood floors and bare walls, your voice will bounce around and sound like you are in a bathroom. Bring soft items into the room. Close the curtains, throw a blanket over your desk, or put down a rug. Soft surfaces absorb sound waves and instantly make your voice sound warmer and closer.
- The Keyboard Problem: If you are doing a coding tutorial or typing heavily, move your microphone away from your keyboard. Do not place a desktop microphone on the exact same surface as your keyboard, as the vibrations will travel directly up the mic stand.
Step 2: Choose the Right Microphone
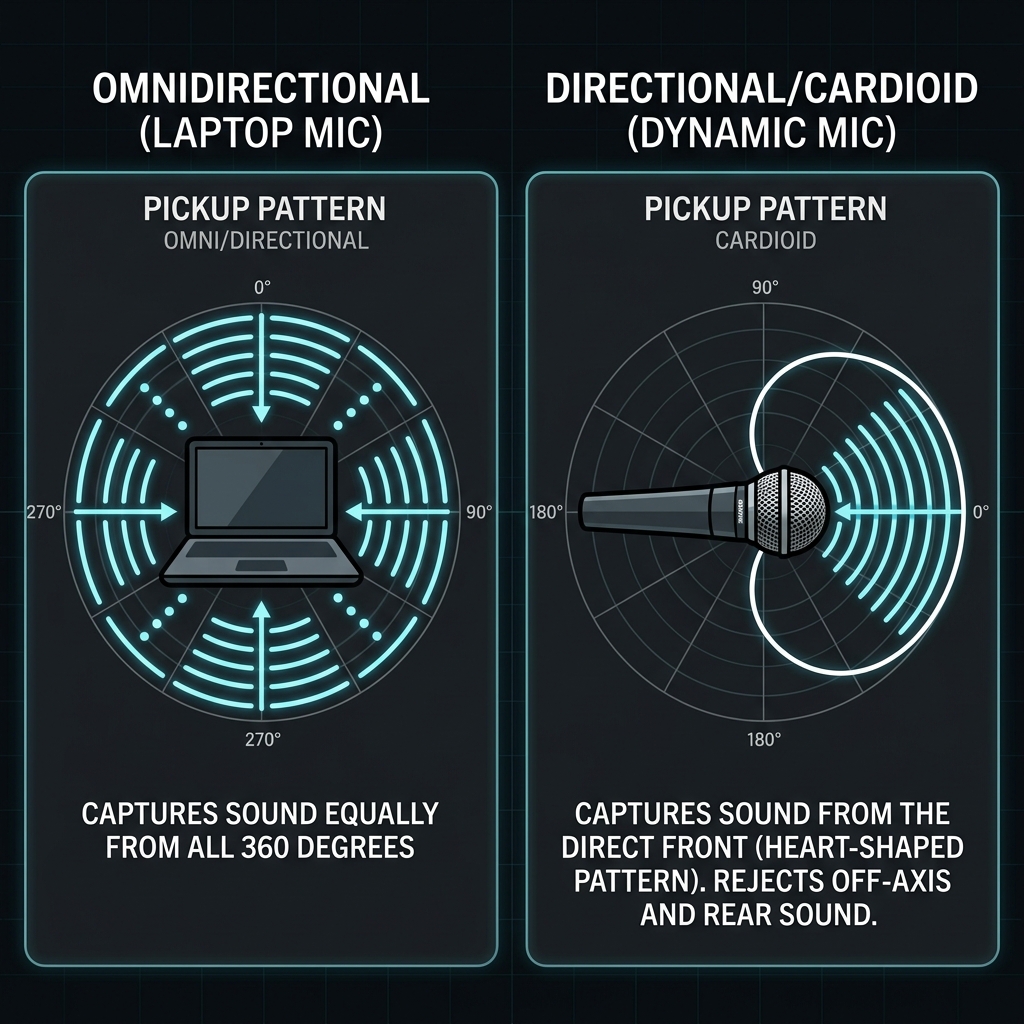
If you are using the built-in microphone on your laptop, you are fighting a losing battle. Laptop mics are "omnidirectional," meaning they are designed to pick up every single sound in the room equally.
To record clear vocals, you need a dedicated external microphone, and you need to choose the right type.
Condenser vs. Dynamic Microphones:
- Condenser Microphones (like the popular Blue Yeti) are incredibly sensitive. They capture beautiful, detailed audio, but they will also pick up a roommate talking two rooms away. If you do not have a perfectly quiet house, a condenser mic will cause you headaches.
- Dynamic Microphones (like the Shure SM7B or budget-friendly Samson Q2U) are much less sensitive. They are highly directional and only pick up sound that is right in front of them. If you record in a noisy environment, switching to a dynamic microphone is the biggest upgrade you can make.
Step 3: Master Your Mic Technique
Buying a great microphone will not help if you use it incorrectly. How you position yourself makes a massive difference in how much background noise makes it into your final video.
- Get Close (The Proximity Effect): You should be speaking about three to five inches away from your microphone. When you are close to the mic, your voice is incredibly loud compared to the background noise. This allows you to turn down the overall sensitivity (gain) of the microphone.
- Turn Down the Gain: "Gain" is how sensitive your microphone is. Many beginners turn their gain all the way up, which essentially turns the mic into a magnifying glass for background noise. Turn your gain down to about 50%, get close to the mic, and speak confidently.
Step 4: Use AI Noise Cancellation Software
In 2026, technology has advanced to the point where software can perform miracles on bad audio. If you absolutely cannot control your environment—maybe there is construction outside your window or thin apartment walls—you can use AI to digitally scrub the noise from your recording.
- Real-Time AI Filters: Tools like Krisp or NVIDIA Broadcast run silently in the background of your computer. They use artificial intelligence to separate the sound of a human voice from everything else. They completely mute keyboard clicks, dog barks, and sirens in real-time before the audio ever reaches your screen recorder.
- Built-in Enhancers: Many modern video tools and editors now feature "AI Voice Enhancement" buttons. If a little bit of hiss or hum makes it into your final recording, these post-production tools can strip it away with a single click, leaving only your polished voice.
Match Great Audio with Great Visuals
Clear audio is only half the battle. If you have spent the time to make your voice sound like a professional broadcaster, your video presentation needs to match that level of quality.
If your crisp audio is paired with a raw, unedited, zoomed-out screen recording where the viewer cannot read the text, the professional illusion is broken.
To ensure your visuals are as perfect as your audio, you need a screen recorder that does the heavy lifting for you. A tool like Cubix Capture complements a clean audio setup by automatically zooming in on your screen actions, smoothing out your mouse cursor, and placing your presentation over a studio-style background—so a podcast-grade voice never gets paired with a noisy, raw screen.
You can have flawless studio sound and flawless studio visuals without ever touching a complex editing timeline. Secure your audio environment first, then upgrade your visuals.
Related reading: