Every device you own can record its own screen — no app store, no purchase, nothing to install. The methods only really split into two families: the touchscreen devices in your pocket and the computers on your desk. Learn the pattern for each family and you can record anything you pick up.
So rather than march through devices one by one, this guide groups them the way they actually behave, then tackles the two things that matter on every platform: getting the audio right, and what to do when the recording fails. A quick-reference cheat sheet sits at the end.

Family 1: Pocket devices (iPhone, iPad, Android)
Every modern touchscreen hides its recorder in the swipe-down control panel. The principle is identical across all three — the only difference is what the panel is called.
iPhone and iPad share the exact same system. The recorder lives in Control Center, but you may need to add it first: Settings → Control Center → add Screen Recording. Then swipe down from the top-right corner and tap the round record icon. The footage saves straight to Photos. (iPad works identically — the larger screen is the only real difference.)
Android calls its panel Quick Settings. Swipe down twice from the top, find the Screen record tile — adding it with the edit/pencil button if it is missing — and tap to start. Footage saves to your gallery.
The reason recording is so painless here is that the screen is small to begin with, so whatever you capture stays perfectly readable when you share it.
Family 2: Computers (Mac and Windows)
Desktops keep their recorder behind a keyboard shortcut or a utility app, and they capture a far larger canvas.
Mac: press Command + Shift + 5, choose the full screen or a region, enable your mic under Options, and click record. Stop from the menu bar.
Windows 11: open the Snipping Tool, click the video-camera icon, draw a box, and press Start. (For full-screen games, use Windows + G instead.)
Getting the audio right on any device
Audio is where most recordings go wrong, and the rule differs by family:
- Your voice (mic): available everywhere — just make sure it is toggled on first. On iPhone you have to long-press the record button to find the mic switch.
- Internal/app sound: easy on phones, hard on computers. macOS blocks recorders from capturing internal audio outright, and Windows handles it inconsistently. If a tutorial depends on the sound coming out of a computer, plan for it.
When the recording fails
A few quick fixes for the most common dead ends:
- Black screen on playback (phones): the app you recorded uses copy protection — streaming and banking apps do this deliberately. Nothing on your end will fix it.
- No sound: the mic was off, or you expected internal audio the device won't capture (see above).
- File is huge: computers record at full monitor resolution; trim the clip or record a smaller region instead of the whole screen.
The cheat sheet
- iPhone / iPad: Control Center → Record icon
- Android: Quick Settings → Screen record
- Mac: Command + Shift + 5
- Windows: Snipping Tool (or Windows + G for games)
The catch with computer recordings
Phone footage shares effortlessly. Computer footage does not — a full monitor recording shrinks into an unreadable blur the moment someone opens it on a phone, and the mouse jitters the whole way through.
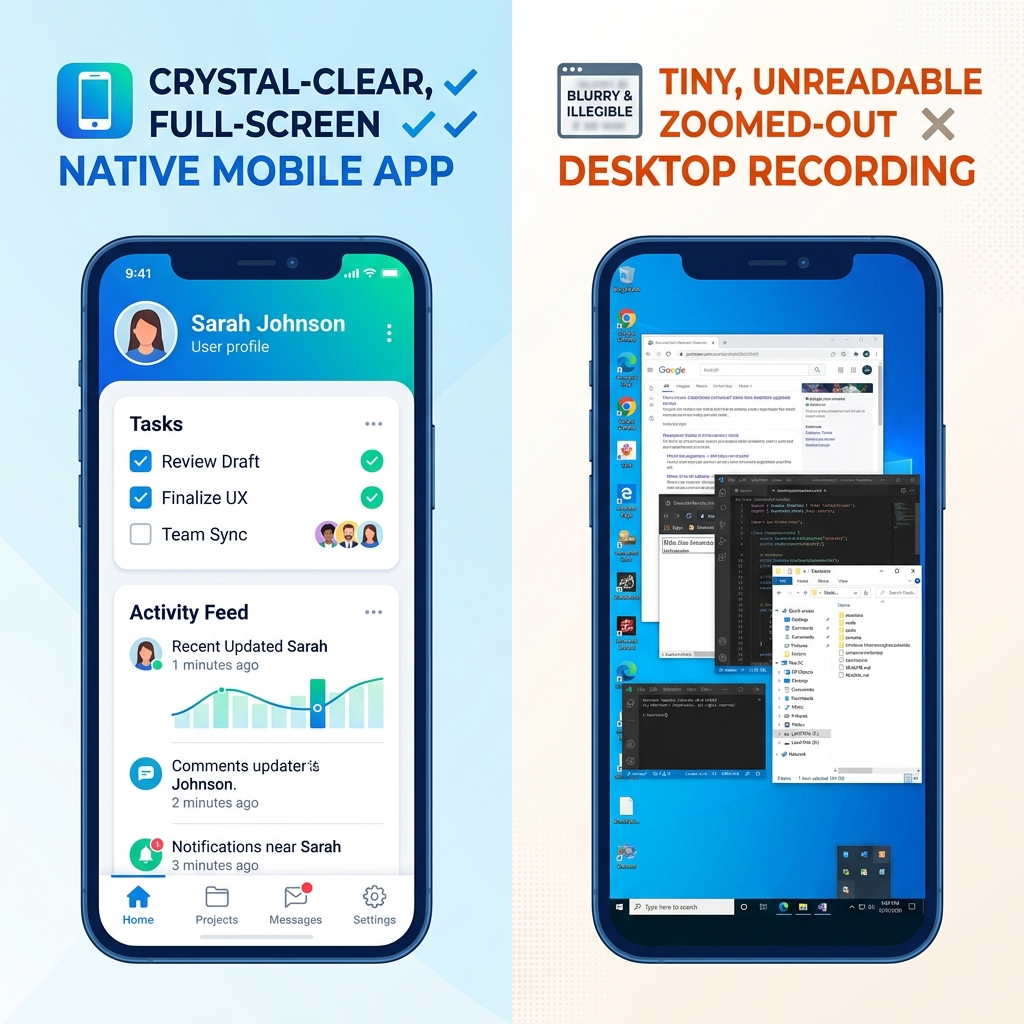
If your recordings come from a computer and other people need to follow them, Cubix Capture closes that gap automatically — it zooms in on the action and smooths the cursor as you record, so a desktop tutorial reads as clearly on a phone as anything filmed on the phone itself. No editing step required. The built-in tools above cover every device you own; reach for an automatic recorder only when your computer footage needs to look as effortless as your phone footage.