Whether your MacBook keyboard suddenly stopped working, you are using a Mac mini as a home theater PC with just a mouse, or you rely on accessibility features to navigate macOS, relying on Command + Shift + 4 isn't always an option.
Apple is famous for its keyboard shortcuts, but macOS is also deeply integrated with powerful accessibility tools and mouse-driven menus. You do not need a working keyboard to capture your screen.
Here is the definitive guide to every built-in method for taking a screenshot on a Mac using only your mouse, your voice, or virtual tools.
Method 1: The Native "Screenshot" App (Mouse Only)
Most Mac users don't realize that the Command + Shift + 5 shortcut is actually just triggering a hidden application. You can open this app manually using only your mouse or trackpad.
How to find it:
- Open a Finder window.
- In the left sidebar, click on Applications.
- Scroll down and open the Utilities folder.
- Double-click the app named Screenshot.
Alternative route: If you use Launchpad (the grid of apps on your Dock), open it, find the folder named Other, and click the Screenshot icon.
How it works: Launching this app brings up a floating toolbar at the bottom of your screen. Using just your mouse, you can click the icons to capture the entire screen, a specific window, or a dragged selection. Once you have made your choice, simply click the Capture button on the toolbar.
Method 2: The Preview App Trick
The default Mac app for viewing images and PDFs (Preview) has a fully functional screen capture tool built directly into its top menu bar.
How to do it:
- Open the Preview app from your Dock or Applications folder.
- Look at the menu bar at the very top of your Mac's screen. Click File.
- Scroll down to Take Screenshot.
- A side menu will pop out with three options: From Selection, From Window, or From Entire Screen.
- Click your desired option. Preview will instantly take the screenshot and open it as a new, unsaved image canvas. You can then use your mouse to click File > Save.
Method 3: Voice Commands (Hands-Free)
If your keyboard is broken and your hands are full, you can completely bypass your physical hardware and ask your Mac to do the work for you. macOS has two different voice-driven methods.
Option A: Using Siri If you have Siri enabled on your Mac (usually found in the top-right corner of your menu bar next to the clock), simply click the icon and say aloud: "Take a screenshot." Siri will instantly capture your entire display and save it to your desktop.
Option B: Using Voice Control (Accessibility) If you rely on voice navigation for your Mac, Voice Control is a much faster, system-level tool.
- Use your mouse to go to Apple Menu > System Settings > Accessibility > Voice Control.
- Toggle Voice Control On.
- A small microphone icon will appear on your screen. Simply say the phrase aloud: "Take screenshot."
Enjoying this read?
Get weekly insights on video editing, AI workflows, and creator growth straight to your inbox.
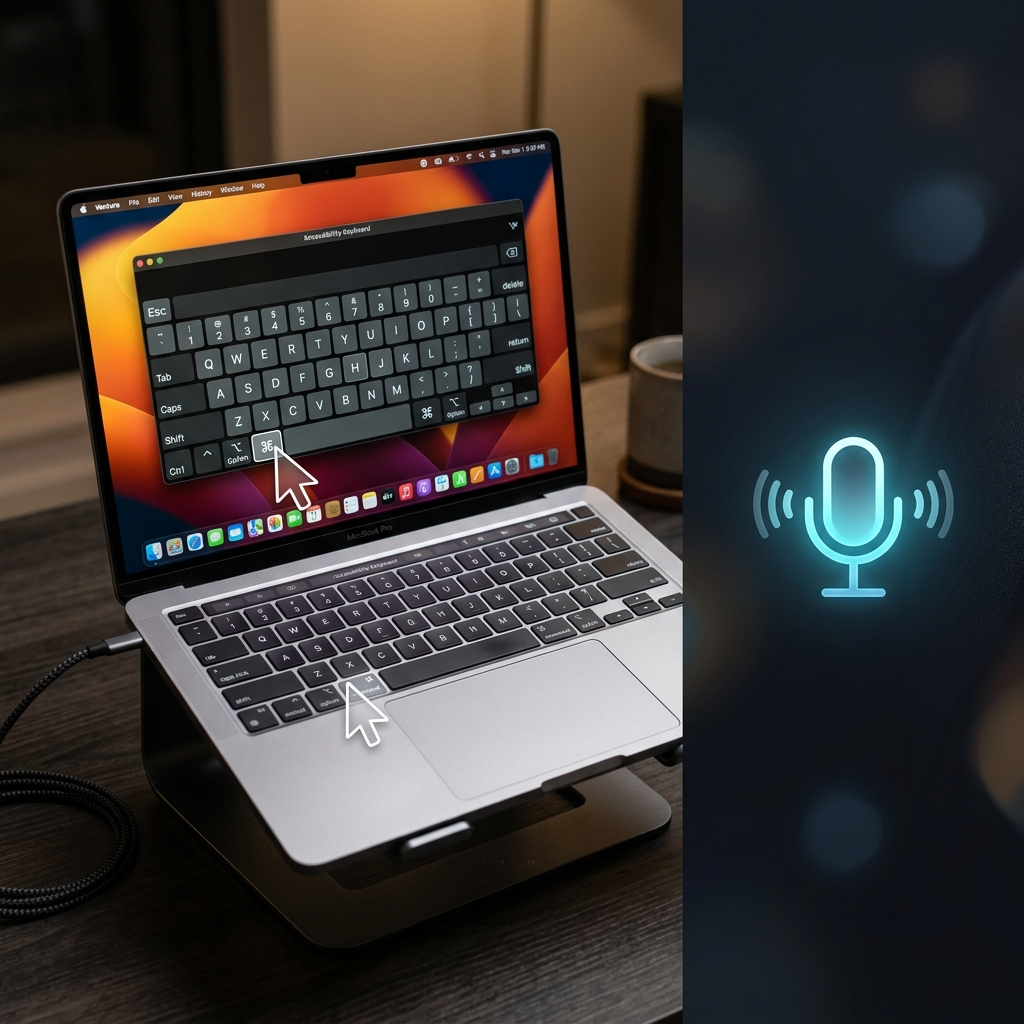
Method 4: The Accessibility Keyboard (Virtual Keyboard)
If you still want the precision of the classic keyboard shortcuts (like copying a screenshot directly to your clipboard) but your physical keyboard is unresponsive, you can summon a virtual keyboard onto your screen and click the "keys" with your mouse.
How to set it up:
- Go to Apple Menu > System Settings > Accessibility > Keyboard.
- Toggle on the Accessibility Keyboard.
- A large virtual keyboard will appear on your screen.
- Using your mouse, click the Command key, then the Shift key, and then the number 4 (or 3, or 5).
- The crosshairs will appear, and you can drag your mouse to capture the screen just as if you had typed the shortcut.
Method 5: The Touch Bar Button (For Older MacBooks)
If you are using a MacBook Pro manufactured between 2016 and 2022 that features the OLED Touch Bar above the keyboard, you can add a dedicated screenshot button right to the digital strip.
How to add it:
- Go to Apple Menu > System Settings > Keyboard.
- Click on Touch Bar Settings (or "Customize Control Strip").
- A menu of icons will drop down from the top of your screen.
- Use your mouse to drag the Screenshot icon (it looks like a small camera) down off the bottom of your screen and onto your physical Touch Bar.
- Now, you can just tap that digital button anytime to instantly summon the capture menu.
Coming soon: Cubix Snap. However you captured it, we're working on a simpler way to make a screenshot beautiful instantly: rich backgrounds, fast annotations, and one-click background removal.
When Clicking Isn't Enough
Capturing your screen with a mouse, your voice, or an on-screen keyboard is a genuinely useful workaround when the hardware will not cooperate. But once the keyboard is back, the harder problem remains: a still image can only ever show one frozen moment of whatever you are trying to explain.
For anything with steps, like pointing out a bug, demoing a portal, or recording a how-to, a short video does what a screenshot cannot. If you would rather record your Mac screen once and share a smooth, auto-zoomed walkthrough, Cubix Capture handles both the recording and the polish for you.
Don’t miss the next one.
Join our newsletter for exclusive tips, product updates, and the latest from the Cubix team.