You are reviewing a PDF on the couch, reading a long article, or taking notes during a Zoom call. You spot a typo or a graph you need to save, so you instinctively reach for the "Print Screen" key only to realize your Type Cover keyboard is detached and sitting on a desk across the room.
The Microsoft Surface Pro is an incredible, versatile hybrid device. It seamlessly transitions from a high-powered Windows laptop into a sleek touchscreen tablet. But this form-shifting design means the way you capture your screen changes entirely depending on how you are holding the device at that exact moment.
Whether your keyboard is attached, you only have the tablet in your hands, or you are holding the Surface Pen, here is the definitive guide to taking a screenshot on your Surface Pro in 2026.
Method 1: Tablet Mode (No Keyboard Attached)
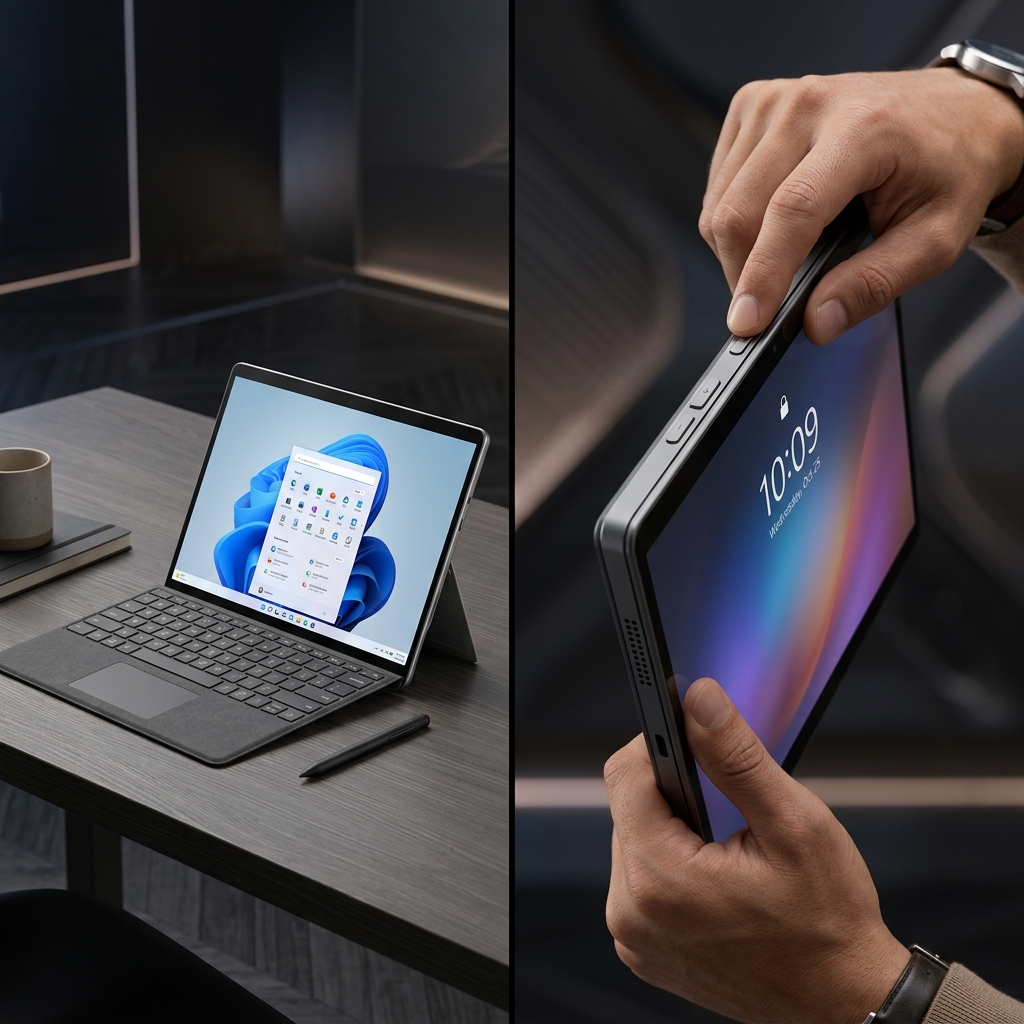
If you are using your Surface Pro strictly as a tablet, you have to rely on the physical hardware buttons built into the edge of the screen.
Warning: If you are used to taking screenshots on an iPhone or an Android device, you have to unlearn your muscle memory. The Surface Pro uses the exact opposite volume button.
How to do it:
- Locate the Power button and the Volume Up button along the edge of your Surface Pro.
- Press both buttons at the exact same time and release them quickly.
- The screen will briefly dim or flash, confirming the screenshot was taken.
- The image of your entire screen is instantly saved. You can find it by opening your File Explorer and navigating to Pictures > Screenshots.
Method 2: The Modern Standard (Keyboard Attached)
The Shortcut: Windows + Shift + S
If your Type Cover keyboard is currently snapped onto the device, you have access to the absolute best screen capture workflow in Windows 11: The Snipping Tool.
How it works:
- Press all three keys simultaneously.
- Your screen will dim, and a sleek capture toolbar will appear at the top center of your display.
- Your mouse cursor (or your finger, if using the touch screen) will turn into a crosshair. Click and drag a box over the exact paragraph or image you want to capture.
- The image is instantly copied to your clipboard. You can now press
Ctrl + Vto paste it directly into an email, Slack, or Word document.
(Note: The Snipping Tool now features native Optical Character Recognition. If you capture a slide with text on it, click the notification popup to open the editor and you can instantly extract and copy the text).
Enjoying this read?
Get weekly insights on video editing, AI workflows, and creator growth straight to your inbox.
Method 3: The Surface Pen Shortcut
If you are an artist or a heavy note-taker and constantly have the Surface Pen in your hand, you do not need to touch the keyboard or the power buttons at all. Microsoft built a shortcut right into the physical pen.
How to do it:
- Double-click the Eraser Button on the top back-end of your Surface Pen.
- This will instantly launch the Snipping Tool (acting exactly like
Windows + Shift + S). - Use the tip of your pen to draw a box around the area you want to capture.
(If this does not work, you may need to configure your pen settings. Go to Settings > Bluetooth & devices > Pen & Windows Ink and ensure the "Double-click" shortcut is set to open the Snipping Tool).
Method 4: The Auto-Save Keyboard Shortcut
The Shortcut: Windows + PrtScn (or Windows + Fn + PrtScn)
If your keyboard is attached and you are watching a live presentation or a video where you don't have time to carefully drag a selection box, use this shortcut to instantly save everything on your screen.
How it works:
- Locate the PrtScn (Print Screen) key on the top row of your Type Cover keyboard. (If it shares a key with another icon, like F8, make sure to hold down the Fn key as well).
- Press the Windows key and the PrtScn key simultaneously.
- Your screen will briefly flash or dim.
- The image of your entire monitor is automatically saved as a PNG file directly to your hard drive (Pictures > Screenshots).
Coming soon: Cubix Snap. We're building a dead-simple app that takes the raw screenshots you grab on your Surface Pro and makes them genuinely presentable — clean backgrounds, quick annotations, and one-tap background removal, with no design skills needed.
When Screenshots Can't Keep Up
A clean capture is perfect for saving a boarding pass, marking up a piece of digital art, or jotting a quick visual note while your Surface Pro is in tablet mode. But the moment you need to walk a colleague through a multi-step process, a frozen image starts to fall apart.
Stitching together half a dozen captures and burying them under red arrows often takes longer than the task you are trying to explain, and the person on the other end is still left guessing. If you would rather record your Surface Pro screen once and hand over a crisp, auto-zoomed video that narrates the workflow for you, take a look at Cubix Capture. No video timeline to learn.
Don’t miss the next one.
Join our newsletter for exclusive tips, product updates, and the latest from the Cubix team.