You are doing research for a project and find the perfect, in-depth article. Or maybe you are reviewing a massive string of code, a long Slack thread, or a towering Figma artboard. You want to capture the entire thing in one clean image.
You press Apple’s famous Command + Shift + 4 shortcut, click your mouse, and start dragging down. But when your cursor hits the bottom of the screen, the page refuses to scroll.
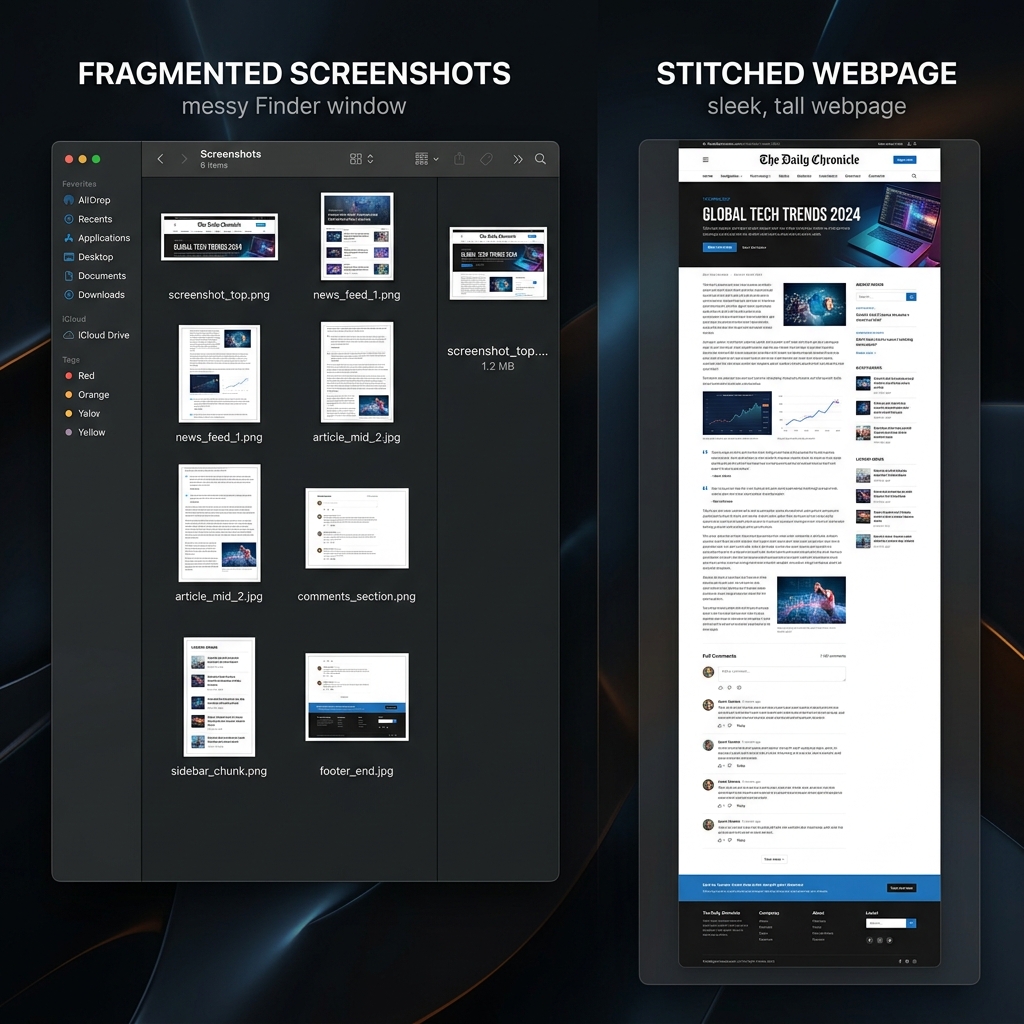
It is one of the most baffling omissions in the Apple ecosystem: macOS does not have a native, built-in scrolling screenshot feature. While iPhones and Androids can seamlessly stitch long pages together, your Mac forces you to rely on workarounds.
If you are tired of taking five different screenshots and trying to manually stitch them together in Preview, here is the definitive guide to capturing a scrolling screen on your Mac in 2026.
Method 1: The Google Chrome "Dev Tools" Hack (No Apps Required)
If the thing you are trying to capture is a webpage, you do not need to download any third-party software. Google Chrome (and Microsoft Edge) has a brilliant scrolling screenshot tool hidden deep inside its developer menu.
How it works:
- Open the webpage you want to capture in Google Chrome.
- Press
Command + Option + Ito open the Developer Tools panel (a window with code will pop up on the right side of your screen). - Press
Command + Shift + Pto open the Command Menu. - Type the word "full" into the search bar.
- You will see an option pop up that says Capture full size screenshot. Click it.
Chrome will silently scan the entire webpage from top to bottom and automatically download a perfect, seamless PNG image of the entire site directly to your Downloads folder.
Method 2: The Safari "Save as PDF" Workaround
If you are a dedicated Safari user and do not want to mess with developer code, Apple offers a native workaround. It won't give you a standard image file (like a JPEG or PNG), but it will cleanly capture a long webpage for you to read or share later.
How it works:
- Open the long article or webpage in Safari.
- Go to the top menu bar and click File > Export as PDF.
- Choose where you want to save it and click Save.
(Note: If you are trying to capture an article without the ads and website clutter, click the Reader Mode icon in the Safari URL bar before you export the PDF. It will strip away the ads and give you a perfectly clean, scrolling document).
Method 3: The Ultimate Fix (Third-Party Software)
The browser hacks above are great for capturing websites. But what if you need to take a scrolling screenshot of a long Slack conversation, an Excel spreadsheet, or a local PDF document?
Because macOS restricts system-wide scrolling capture, you have to use a third-party app. Fortunately, the Mac developer community has built some incredible tools for this exact problem.
Enjoying this read?
Get weekly insights on video editing, AI workflows, and creator growth straight to your inbox.
1. Shottr (The Fast, Lightweight Option)
Shottr is a tiny, incredibly fast screenshot app built specifically for modern Macs.
- How it works: Once installed, you just press your custom shortcut, click "Scrolling Capture," and select the area you want. The app will automatically scroll your screen down, take multiple photos, and stitch them together in milliseconds. It even removes fixed floating headers (like sticky navigation bars) so they don't ruin the image.
2. CleanShot X (The Premium Power-User Choice)
If you take screenshots all day for your job, CleanShot X is the gold standard replacing Apple's default tool entirely.
- How it works: When you take a screenshot, an overlay appears with an icon for "Scrolling Capture." You just click it, scroll your mouse wheel at your own pace, and the software perfectly maps and stitches the image together in real-time, regardless of what app you are using.
Coming soon: Cubix Snap. On the same theme, we're building a way to take any screenshot on your Mac and beautify it instantly — drop it onto a designer background, annotate it cleanly, or remove the background with a single click.
When a Tall Image Becomes Unreadable
A stitched, full-length capture is perfect for filing away a long article or a Slack thread on your Mac. But the taller a screenshot gets, the harder it is for anyone to actually read it, and pinch-zooming through a six-thousand-pixel image is nobody's idea of a good briefing.
When the goal is to show something rather than archive it, a recorded walkthrough wins every time. If you build tutorials, bug reports, or client demos, Cubix Capture records your Mac screen and turns it into a sharp, auto-zoomed video that is far easier to follow than any towering image.
Don’t miss the next one.
Join our newsletter for exclusive tips, product updates, and the latest from the Cubix team.