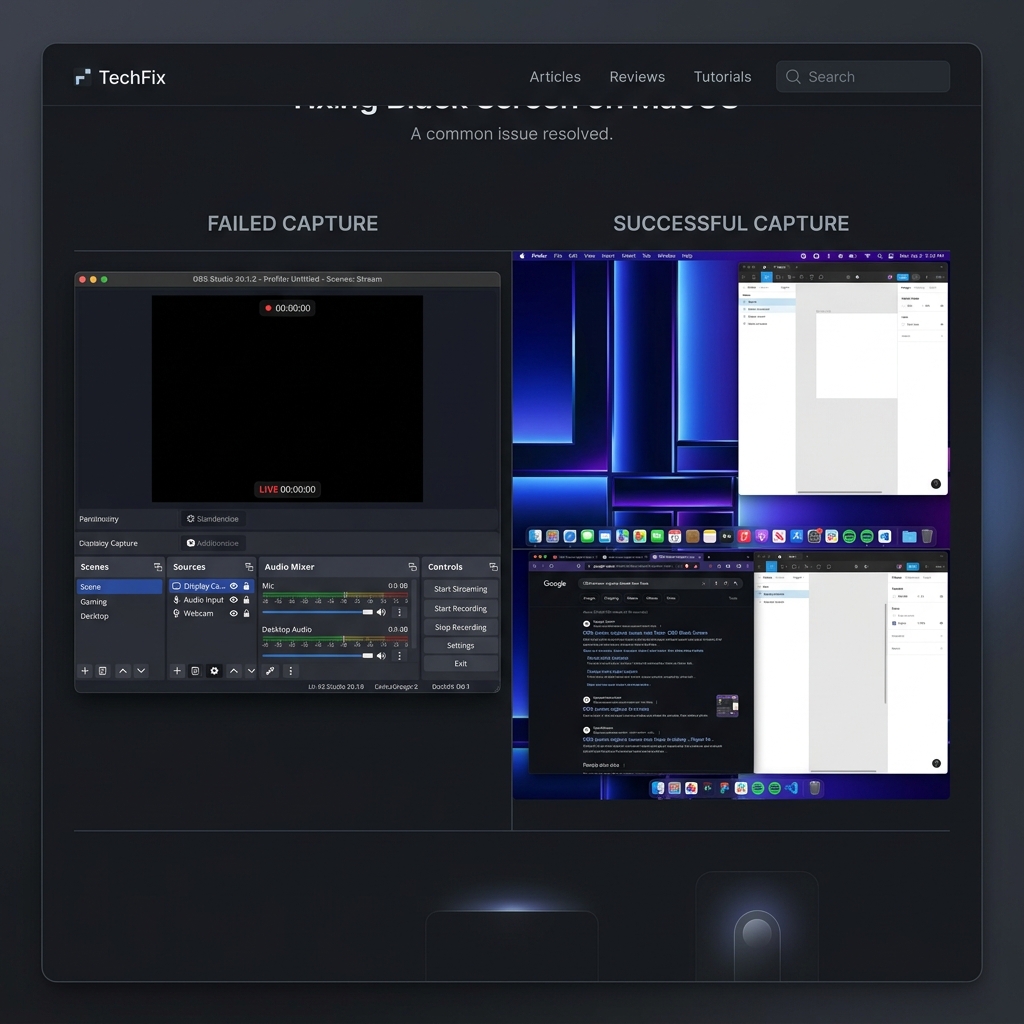
If you have ever clicked "Start Recording" or "Start Streaming" in OBS Studio, only to be greeted by a stubborn, completely black window where your desktop or gameplay should be, you are not alone. The dreaded OBS Black Screen is one of the most common—and frustrating—bottlenecks in content creation.
Because OBS Studio is a professional-grade broadcasting utility, it doesn't just display a generic mirror of your desktop. It binds directly to your hardware's graphics pipelines. If your system permissions, graphics processing units (GPUs), or application security frameworks aren't perfectly aligned, the video stream drops into pitch blackness.
Whether you are on Windows 11 or macOS, here is the complete, diagnostic blueprint to identify every cause and deploy the exact solution.
Step 1: Run OBS as an Administrator (The Fast Fix)
Before rewriting your system graphics drivers, check for basic Windows security blocks. If you are trying to capture a high-performance video game or an application running with elevated system rights, Windows will actively block OBS from hooking into its visual memory buffer.
- The Fix: Close OBS Studio completely. Right-click the OBS Studio shortcut icon on your desktop or start menu and select Run as administrator. If your screen capture instantly lights up, you have a permissions conflict.
- Make it Permanent: Right-click the OBS shortcut icon, select Properties, head to the Compatibility tab, check the box for Run this program as an administrator, and click Apply.
Step 2: Fix the Multi-GPU Power Tug-of-War
If you are running OBS on a modern gaming laptop or a desktop workstation with both an integrated CPU graphics chip (Intel UHD/AMD Radeon) and a dedicated high-performance graphics card (NVIDIA RTX/AMD Enterprise), your system is likely experiencing an architecture mismatch.
Windows tries to save battery by running background applications on your integrated low-power chip, while your video games run on your heavy dedicated card. If OBS is on a different chip than the application it is trying to capture, it will display a black screen.
-
Open Windows Graphics Preferences: Access your core OS display settings. Press the Windows Key, type Graphics settings into your search bar, and hit Enter.
-
Locate OBS Studio in the App List: Find the OBS execution file. Scroll down the list of applications. If OBS Studio is missing, click the Browse button and find its installation path (usually located at
C:\Program Files\obs-studio\bin\64bit\obs64.exe). -
Adjust the GPU Preference Plan: Select the precise processing profile. Click on OBS Studio in your graphics application list and click Options. A pop-up menu will present three distinct choices.
-
Lock in Your Target Performance Mode: Match the GPU to your specific source type.
- If you want to use "Display Capture" (Full Desktop): Select Power Saving mode (this forces OBS onto your integrated graphics chip to mirror your desktop canvas).
- If you want to use "Game Capture" (3D Applications): Select High Performance mode (this forces OBS onto your dedicated graphics card to match the performance output of your games). Click Save and restart OBS.
Enjoying this read?
Get weekly insights on video editing, AI workflows, and creator growth straight to your inbox.
Step 3: Grant System Screen Recording Permissions (macOS)
If you are a Mac user encountering a black screen when trying to capture your monitor, it is almost never a graphics card issue. Apple treats screen capture as a strict user privacy setting. If you haven't explicitly whitelisted OBS, macOS will output an empty black window to protect your personal data layout.
- Click the Apple logo in the top-left menu bar and select System Settings.
- Navigate to Privacy & Security in the left sidebar and scroll down to click Screen & System Audio Recording.
- Locate OBS in the application array. If the toggle is switched off, click to switch it On.
- You will be prompted to enter your Mac password and click Quit & Reopen for the new system security architecture to apply.
Step 4: Deal with DRM and Protected Video Layers
If your screen recording displays your full desktop, icons, and application bars perfectly, but suddenly drops into a completely black frame the exact moment you play a video inside a web browser (like Netflix, Prime Video, or Disney+), you have run face-first into Digital Rights Management (DRM) blocks.
Web browsers are built to actively black out screen recording tools to prevent unauthorized media duplication.
- The Quick Fix: Open your browser settings (Chrome, Edge, or Brave), search for Hardware Acceleration in the settings search bar, and toggle it to Off. Restart your browser.
- Warning: Turning off hardware acceleration offloads video processing from your GPU onto your main processor CPU, which can make your web browsing feel significantly less fluid during heavy workloads.
Tired of Troubleshooting? The Frictionless Alternative
While OBS Studio is an incredible powerhouse for live broadcasters and technicians who need granular encoder control over raw hardware data pipelines, dealing with constant source mapping, permissions errors, and multi-GPU black screens can completely destroy your creative workflow.
If you are a professional, online course creator, or founder trying to record elite software tutorials and product walk-throughs without playing IT support technician every week, it is time to upgrade your engine to Cubix Capture.
Instead of functioning like a rigid broadcast console that breaks under basic hardware shifts, Cubix Capture operates on a completely modernized, cross-platform capture engine:
- Zero-Configuration Window Isolation: It completely bypasses the multi-GPU tug-of-war. You simply pick the specific software window or application you want to teach, and Cubix Capture perfectly isolates and frames it without any black screen errors.
- Algorithmic Click-Based Auto-Zooms: Forget manual timeline editing. As you naturally navigate your workspace, Cubix Capture dynamically glides in and magnifies active menus and input blocks, keeping text perfectly legible on mobile screens automatically.
- AI Cursor Path Smoothing: It intercepts jittery micro-movements from your physical trackpad or mouse and translates them into an elegant, fluid sweep across your presentation.
If you are building an advanced multi-camera live stream for Twitch, taking the time to audit your system settings and configuring OBS to run as an administrator will clear your black screen blockages. But if you want to save your afternoon, bypass technical troubleshooting, and produce gorgeous, mobile-optimized software tutorials instantly, shifting your setup to an automated recorder like Cubix Capture handles the entire production pipeline for you seamlessly.
Don’t miss the next one.
Join our newsletter for exclusive tips, product updates, and the latest from the Cubix team.