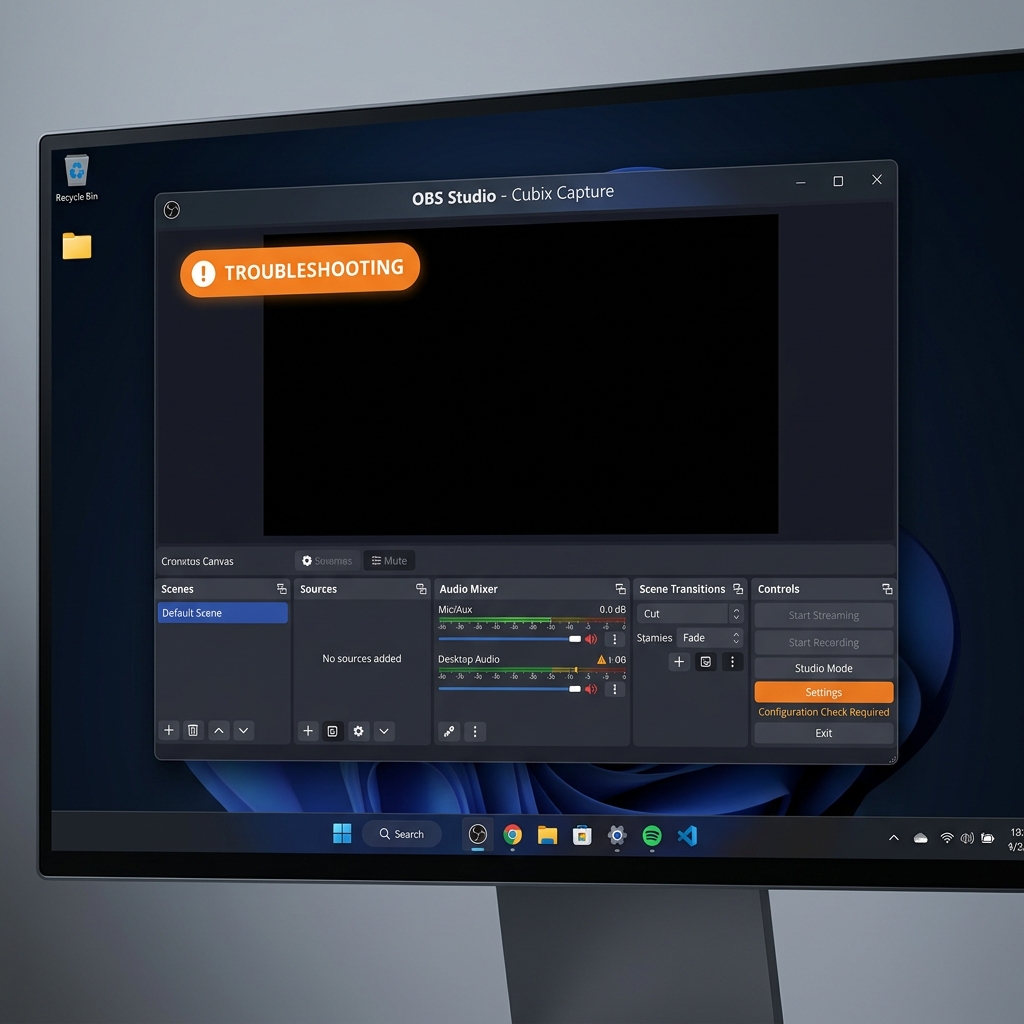
You set up your scenes, plugged in your microphone, and clicked "Start Recording" only to be greeted by a stubborn, completely black window where your game or desktop should be.
The dreaded OBS Black Screen is a classic right of passage for creators on Windows 11. Because OBS Studio is a professional-grade broadcasting console rather than a basic screen recorder, it hooks directly into your computer’s core graphics pipelines. If Windows 11 security settings or your graphics processing units (GPUs) aren't perfectly aligned, the video stream drops into pitch blackness.
Fortunately, this is almost never a broken software glitch; it is simply a routing conflict. Here is your definitive, step-by-step diagnostic guide to clearing the black screen and getting your video feed back instantly.
Step 1: Force Administrative Privileges
Windows 11 features strict user account controls designed to prevent background apps from spying on your screen memory. If you are trying to capture a high-performance video game, a secure web browser, or administrative system tools, Windows will actively block OBS from hooking into those visual frames.
-
Find the OBS Launcher: Locate the software anchor point. Press the Windows Key, type OBS Studio, right-click the application icon, and select Open file location. This takes you to a shortcut folder.
-
Open the Advanced Shortcut Settings: Access the system properties panel. Right-click the OBS Studio shortcut icon inside that folder and select Properties from the context menu.
-
Toggle Administrative Rights: Bypass standard user profile blocks. Navigate to the Compatibility tab at the top of the properties window. Look toward the bottom and check the box labeled Run this program as an administrator.
-
Apply and Relaunch: Lock in your Windows 11 execution rules. Click Apply, then click OK to close the window. Double-click your newly configured shortcut to launch OBS. If your display or game capture instantly lights up, your black screen was a basic permission block.
Step 2: Resolve the Dual-GPU Tug-of-War
If you are running OBS Studio on a modern Windows 11 laptop or a multi-GPU desktop workstation, your system houses two separate graphics processors: an integrated energy-efficient chip (Intel UHD/AMD Radeon) for rendering your basic desktop frames, and a dedicated heavy-duty card (NVIDIA RTX/AMD Radeon Pro) for processing 3D applications and games.
Windows 11 dynamically shifts apps between these chips to preserve battery. However, OBS can only capture things running on the exact same GPU it is using. If OBS is running on your high-performance card, but you try to use "Display Capture" to record your desktop (which runs on the integrated chip), OBS will output a solid black frame.
- Open the Windows 11 Start Menu, type Graphics settings into the search bar, and hit Enter.
- Under the "Custom settings for apps" section, click the Browse button.
- Navigate to your local OBS installation path (the default Windows location is
C:\Program Files\obs-studio\bin\64bit\) and double-click obs64.exe. - Once OBS Studio appears in the graphics app directory list, click on it and select Options.
- Set your precise hardware strategy based on your target capture type:
- To fix a black screen on "Display Capture" (Desktop/Browser): Select Power Saving (this forces OBS onto your integrated graphics chip to match the desktop layer).
- To fix a black screen on "Game Capture" (3D Gameplay): Select High Performance (this forces OBS onto your heavy dedicated card to align with your games).
- Click Save, close OBS completely, and restart your computer to let the Windows graphics kernel lock in the new paths.
Enjoying this read?
Get weekly insights on video editing, AI workflows, and creator growth straight to your inbox.
Step 3: Switch Off Hardware Acceleration in Browsers
If your OBS layout captures your Windows desktop, file folders, and application bars flawlessly, but instantly blanks out into a dark void the second you play a video inside a browser tab (like Netflix, YouTube, or Prime Video), you are experiencing Digital Rights Management (DRM) blocks.
Modern web browsers use hardware acceleration to offload rendering to the GPU, allowing platforms to black out recording applications to prevent unauthorized media piracy.
- The Fix: Open your preferred browser’s settings menu (Chrome, Edge, or Brave), type Hardware Acceleration into the internal settings search bar, and toggle Use graphics acceleration when available to Off.
- Relaunch your browser and attempt to record the tab again in OBS. (Note: Turn this back on when you are finished recording, as running your browser without hardware acceleration offloads everything onto your main CPU, making web scrolling feel noticeably slower during heavy tasks).
Tired of Troubleshooting? Shift to Zero-Edit Automation
While OBS Studio remains a stellar open-source powerhouse for live broadcasters and technicians who need raw data signal mapping, constantly troubleshooting system permissions, hunting down missing graphics executables, and managing dual-GPU profiles can completely stall your creative momentum.
If you are a professional, online educator, founder, or content creator whose main goal is simply producing crisp software tutorials and product walk-throughs without playing IT support technician every week, it is time to upgrade your workspace to Cubix Capture.
Instead of acting like a rigid, passive recording console that breaks under basic Windows 11 hardware configurations, Cubix Capture operates on a completely modernized, automated recording architecture:
- Instant Application Isolation: It completely bypasses the multi-GPU tug-of-war. You simply click the exact application window or website you want to teach, and Cubix Capture isolates and hooks into that visual frame perfectly with zero black screen vulnerabilities.
- Context-Aware Auto-Zooming: Since over half of your audience watches tutorials on smartphones, recording a flat, full-monitor screen layout makes application labels look microscopic. Cubix Capture tracks your active cursor targets and automatically glides the camera inward to magnify dropdown menus, text blocks, and settings panels dynamically while you talk.
- AI Cursor Path Smoothing: It intercepts naturally jerky or frantic micro-movements from your physical trackpad or mouse and translates them into an elegant, fluid sweep that calmly guides the viewer's eye.
- Studio-Grade Canvas Staging: It automatically places your captured windows against gorgeous, dynamic canvas backdrops while setting your facecam into a clean floating geometric circle with hardware-accelerated background blurring natively.
If your core goal is setting up an advanced multi-cam live stream layout for a broadcast platform, walking through the Windows 11 graphics configurations and running OBS as an administrator will clear your pipeline blocks. But if you want to protect your calendar, eliminate technical troubleshooting, and output polished, mobile-optimized tutorials the exact millisecond you click stop recording, moving your creator setup to a smart platform like Cubix Capture handles the entire production pipeline for you dynamically.
Don’t miss the next one.
Join our newsletter for exclusive tips, product updates, and the latest from the Cubix team.