
OBS never asks you where to put your recordings. It picks a default the first time it runs, keeps using it silently, and that is the last you hear about it until you go looking for a file.
This is the reference for that default: where it points on each operating system, how to change it correctly, and the two configuration quirks that cause people to change the path and find their files somewhere else anyway.
If your recording is already missing and you need it back right now, this is the wrong page. Go to OBS can't find recording, which walks through reading the log to get the exact path OBS used.
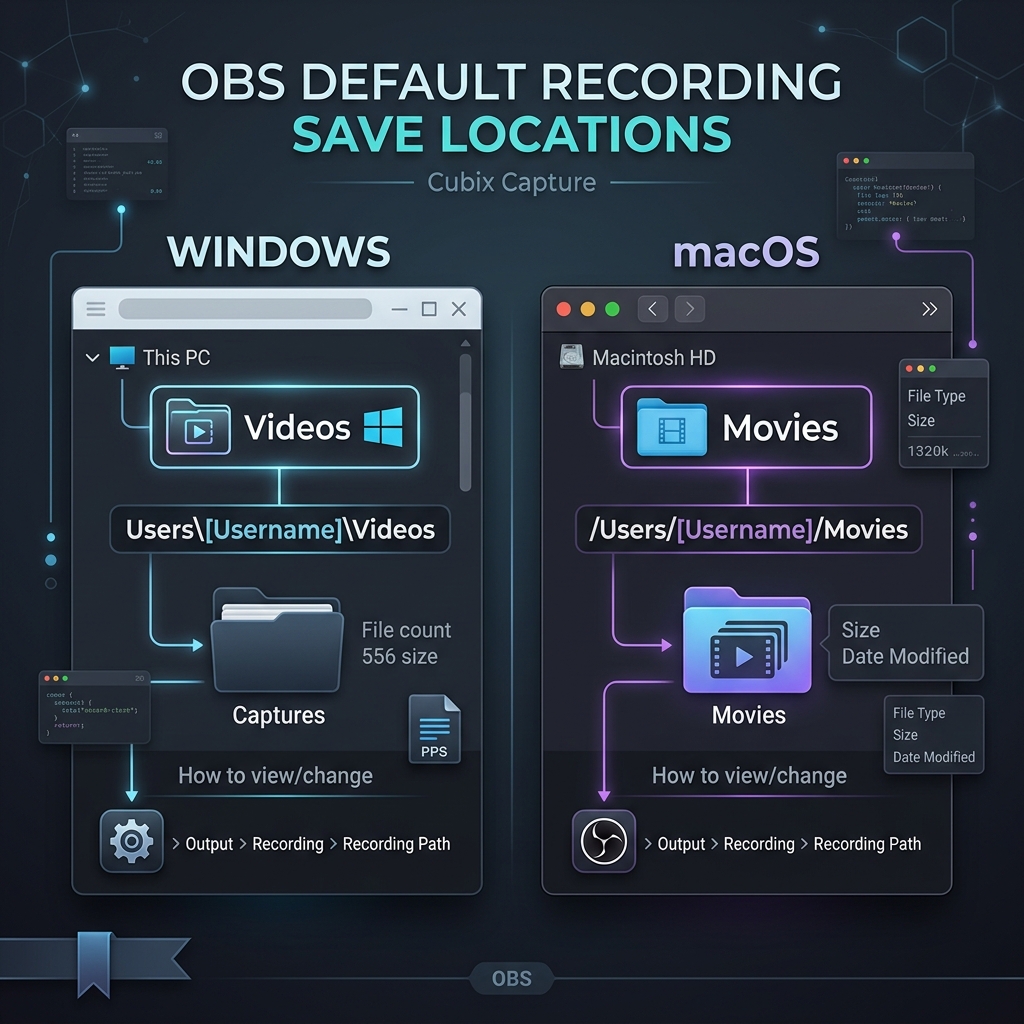
Default Recording Locations
| Operating system | Default folder | Fastest way to open it |
|---|---|---|
| Windows 10 and 11 | C:\Users\[Username]\Videos | Press Win + R, enter %userprofile%\Videos |
| macOS | /Users/[Username]/Movies | In Finder press Cmd + Shift + G, enter ~/Movies |
| Linux | /home/[Username] | In a terminal, cd ~ && ls -lt *.mkv *.mp4 |
On Windows the default is the Videos library. On macOS it is Movies. On Linux OBS defaults to your home directory rather than a videos subfolder, which is why Linux users are the most likely to find recordings sitting loose among dotfiles.
Two things override these defaults without any warning:
- A Screen Capture Kit or a profile imported from someone else carries that person's path with it.
- Cloud clients such as OneDrive and iCloud Drive can redirect Videos, Movies, Documents and Desktop to a synced location. The path string does not change; what it resolves to does.
The Trap: Simple and Advanced Modes Store Separate Paths
This is the reason people change the recording path, record again, and still cannot find the file.
OBS keeps two independent recording path settings, one for Simple output mode and one for Advanced output mode. They are stored separately in your profile. Setting the path in Simple mode does nothing to Advanced mode, and vice versa. If you later switch modes, OBS reverts to whatever that mode's path was, which is often still the original default.
Check the mode you are actually recording in:
- Open Settings > Output.
- Look at the Output Mode dropdown at the top. Note whether it says Simple or Advanced.
- Set the path for that mode, following the matching section below.
- If you switch modes later, set the path again.
There is a third path as well. The Replay Buffer writes to its own destination, configured in the same panel but as a separate field. Clips saved with the replay hotkey can land somewhere entirely different from your normal recordings.
Changing the Path in Simple Mode
- Open Settings > Output and confirm Output Mode is set to Simple.
- Find the Recording Path field.
- Click Browse and choose your folder.
- Click Apply, then OK.
Simple mode also exposes Recording Quality and Recording Format in the same panel, which is worth glancing at while you are here.
Changing the Path in Advanced Mode
- Open Settings > Output and set Output Mode to Advanced.
- Open the Recording tab.
- Confirm Type is set to Standard. If it is set to Custom Output (FFmpeg), the path lives in a different field and behaves differently.
- Set Recording Path with Browse.
- Click Apply, then OK.
Enjoying this read?
Get weekly insights on video editing, AI workflows, and creator growth straight to your inbox.
Filename Formatting
Directly under the recording path there is a Filename Formatting field. Its default is a timestamp pattern such as %CCYY-%MM-%DD %hh-%mm-%ss, which produces names like 2026-07-23 14-08-51.mkv.
That default sorts correctly by name, which is genuinely useful, but it tells you nothing about what the recording contains. A more searchable pattern adds a label:
Demo-%CCYY-%MM-%DD-%hh%mm
The useful tokens are %CCYY for the four-digit year, %YY for two digits, %MM month, %DD day, %hh hour, %mm minute and %ss second.
One important behaviour: if Overwrite if file exists is enabled and your format has no time component, each recording silently replaces the previous one. Keep a time token in the pattern, or leave overwrite off.
Where the Remuxed MP4 Lands
If you record MKV with Automatically remux to mp4 enabled in Settings > Advanced, OBS writes the MKV to your recording path, then produces an MP4 alongside it in the same folder once the recording stops.
Both files exist afterwards. The MKV is not deleted. This surprises people who assume the folder will contain one file per recording and instead find it filling with pairs. If you only ever need the MP4, delete the MKVs afterwards, but not before the remux has finished. The container trade-off is covered in OBS MKV vs MP4.
Choosing a Good Destination
The default folder works, but it is rarely the best choice for regular recording.
- Use a fast local drive. Screen recording writes continuously. An SSD handles it comfortably; an old spinning external drive over USB can cause dropped frames under load.
- Avoid the same drive your OS is paging to if you are recording long sessions on a machine that is otherwise busy.
- Do not record into a cloud-synced folder. The sync client will try to upload the file while OBS is still writing to it. Record locally, move the finished file afterwards.
- Give it real headroom. At the quality settings most people use for screen content, an hour of 1080p60 can run to several gigabytes. OBS recording file too large covers the size levers if that becomes a problem.
Recordings You Do Not Have to File: Cubix Capture
None of this is hard, but it is all overhead, and it exists because OBS is a broadcast tool that hands you the filesystem and expects you to manage it. Two path fields, a separate replay buffer path, a filename token syntax and a remux side effect are a lot of surface area for something whose only job was to hold your product demo.
Cubix Capture drops each recording into a visual library as soon as you stop, with no path to configure and no naming pattern to design. You pick a destination once, at export, after you have already trimmed and zoomed the clip and can see exactly what you are saving.
Keep Reading
- OBS Can't Find Recording: Where Are OBS Files Saved? for the recovery procedure when a file is genuinely missing.
- OBS MKV vs MP4: Which Should You Use? to decide what format that folder should be filling with.
- OBS Recording File Too Large: How to Reduce Size if the destination drive keeps filling up.
- OBS Best Settings for Screen Recording in 2026 for a clean baseline profile.
Don’t miss the next one.
Join our newsletter for exclusive tips, product updates, and the latest from the Cubix team.