
A forty minute tutorial should not be 42 GB. When it is, nothing has malfunctioned. OBS wrote exactly the amount of data your settings asked for, and one of five settings is asking for far too much.
File size in OBS comes down to how many bits per second you spend, multiplied by how long you record. Every lever below changes the first number. This guide covers what each one is worth in practice, so you can cut size where it costs you nothing rather than blindly lowering quality everywhere.
There is also a section at the end for the case most guides ignore: you already have the huge file, the recording is finished, and you need it smaller now.
First, What Is Normal?
Before changing anything, check whether your file is actually oversized. These are rough figures for 1080p screen content, which compresses well because much of the frame is static.
| Setting | Approximate size per hour | Typical use |
|---|---|---|
| CQP 16, 60 fps, H.264 | 25 to 40 GB | Archival, heavy motion, unnecessary for most tutorials |
| CQP 18, 60 fps, H.264 | 12 to 20 GB | High quality default |
| CQP 20, 30 fps, H.264 | 4 to 8 GB | Sensible for screen recording |
| CQP 22, 30 fps, HEVC | 1.5 to 3 GB | Small, still sharp for UI and text |
| CBR 8000 Kbps | ~3.5 GB | Fixed regardless of content |
Screen content is unusually compressible. If your figures are far above the row matching your settings, check whether you are capturing a busy animated background or a video playing inside the recording, both of which destroy compression efficiency.
Lever 1: CQ Level (Worth 60 to 80%)
This is the largest single lever and the first place to look.
If Rate Control is set to CQP, the CQ Level value controls quality directly. The scale is inverted from what people expect: lower numbers mean higher quality and larger files. A CQ Level of 12 to 15 produces near-lossless output that is enormous and visually indistinguishable from 20 for screen recording.
- Open Settings > Output, set Output Mode to Advanced, and open the Recording tab.
- Confirm Rate Control is CQP. On x264 the equivalent is CRF.
- Set CQ Level to 20 as a starting point, or 22 if size matters more than fine detail.
- Click Apply.
Moving from 14 to 20 typically cuts file size by 60 to 80% while keeping UI text crisp. Go past 24 and you will start to see blockiness on scrolling text.
Lever 2: Codec (Worth 30 to 50%)
H.264 is the default because it plays everywhere. It is also the least efficient modern option. HEVC (H.265) and AV1 achieve the same visual quality with substantially fewer bits.
- In Settings > Output > Recording, open Video Encoder.
- Choose the most modern hardware encoder your GPU offers:
- NVIDIA NVENC HEVC or NVENC AV1 on RTX 40 series and newer
- AMD HW HEVC or AMD HW AV1 on recent Radeon cards
- Apple VT H.265 Hardware on Apple Silicon
- Intel QuickSync HEVC or AV1 on recent Intel graphics
- Click Apply.
One caveat before you commit to a long session: confirm your editor and upload target accept the codec. HEVC support is now broad but not universal, and AV1 hardware decoding is still not present on older machines. Record a one-minute test and open it in your editor before recording anything you cannot repeat.
Lever 3: Resolution (Worth Up to 75%)
Recording a 4K display natively produces roughly four times the pixel data of 1080p. For a software walkthrough that will be watched on a laptop or a phone, that is storage spent on detail nobody will ever see.
- Open Settings > Video.
- Leave Base (Canvas) Resolution at your display's native size.
- Set Output (Scaled) Resolution to 1920x1080.
- Set Downscale Filter to Lanczos (Sharpened scaling, 36 samples) so text survives the reduction.
- Click Apply.
If you need the recording to stay pin-sharp at native resolution, leave this alone and take the savings from the other levers instead. Downscaling always costs some text clarity, which is why it is third on this list rather than first.
Lever 4: Frame Rate (Worth Up to 50%)
The lever most size guides skip entirely, and the cheapest one for tutorial content.
Screen recordings are mostly static frames with occasional movement. At 60 fps you are encoding twice as many frames as at 30, and for a walkthrough of a settings panel the extra frames carry almost no information. Cutting to 30 fps can nearly halve the file with no visible loss.
- Open Settings > Video.
- Set Common FPS Values to 30.
- Click Apply.
Keep 60 fps only if you are recording gameplay, animation work, or scrolling that needs to look smooth rather than merely legible.
Enjoying this read?
Get weekly insights on video editing, AI workflows, and creator growth straight to your inbox.
Lever 5: Audio Tracks and Sample Rate
Audio will not be the reason a file is 40 GB, but it quietly adds up across long sessions and costs nothing to fix.
- In Settings > Output > Recording, look at the Audio Track checkboxes. Enable only the tracks you actually use. Six enabled tracks means six encoded audio streams written for the entire recording.
- In Settings > Audio, set Sample Rate to 48 kHz. Higher rates offer nothing for voice.
- In Settings > Output > Audio, keep the recording bitrate at 160 Kbps unless you have a specific reason to go higher.
You Already Have the Huge File
None of the above helps a recording that is already on disk. To shrink an existing file, re-encode it once. This is the only situation where re-encoding is worth the quality cost.
With HandBrake (free, graphical, Windows and Mac): open the file, choose the Fast 1080p30 preset, switch the video encoder to H.265 and set the quality slider to RF 24. Start the encode.
With ffmpeg, one command handles it:
ffmpeg -i input.mkv -c:v libx265 -crf 26 -preset medium -c:a aac -b:a 128k output.mp4
Raise the -crf value for a smaller file, lower it for higher quality. For screen content, 24 to 28 is a useful range and 26 is a good default. Expect a 40 GB recording to land somewhere between 1 and 3 GB.
If you only need a different container and not a smaller file, do not re-encode at all. Remuxing is instant and lossless, and is covered in OBS MKV vs MP4.
Summary
| Lever | Change | Approximate saving |
|---|---|---|
| CQ Level | 14 to 20 | 60 to 80% |
| Codec | H.264 to HEVC or AV1 | 30 to 50% |
| Resolution | 4K to 1080p | Up to 75% |
| Frame rate | 60 to 30 fps | Up to 50% |
| Audio tracks | 6 tracks to 1 | Small but free |
Apply the first two and most oversized recordings become manageable without touching resolution or frame rate at all.
Files That Are Small Because of What They Contain: Cubix Capture
Every lever here is a compromise you are managing by hand, and the reason you are managing it is that OBS records your entire screen at full resolution for the entire session, including the long stretches where nothing happens and the wide empty areas nobody needs to see.
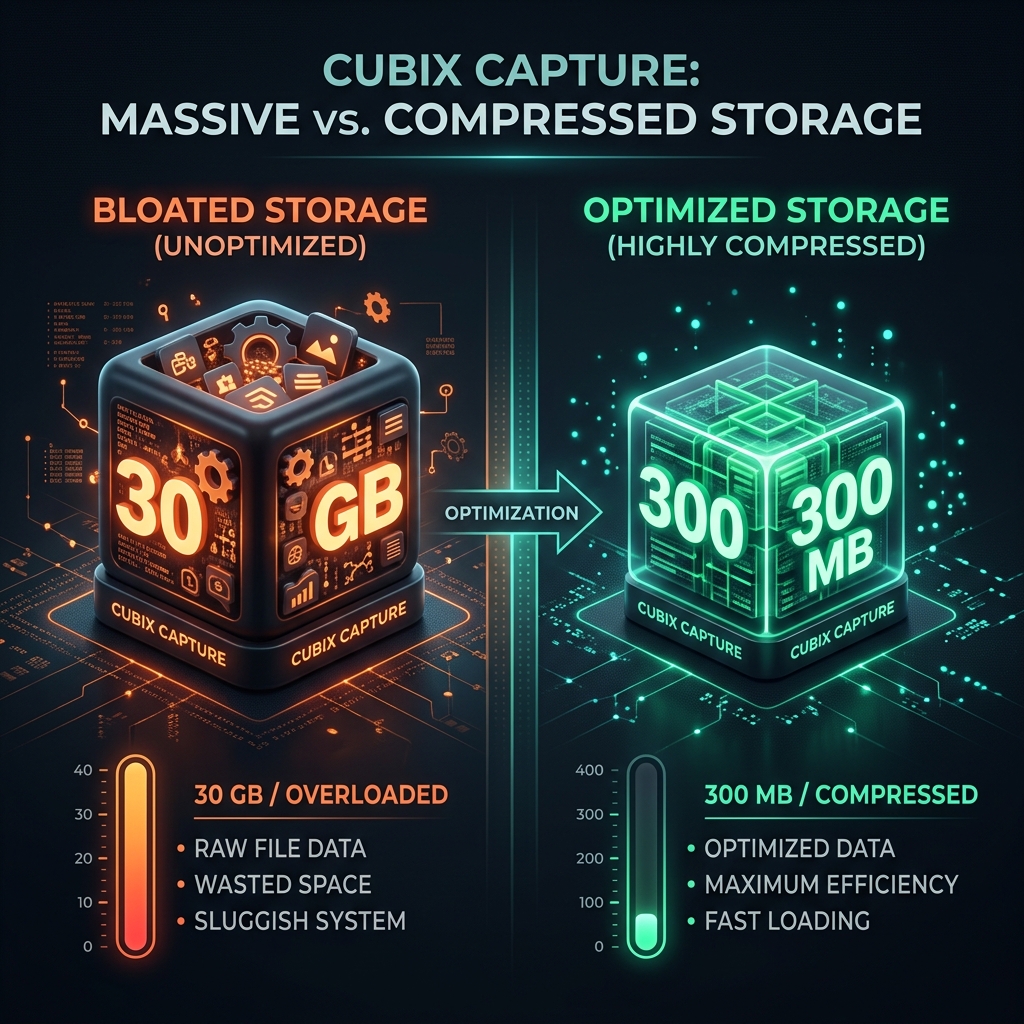
Cubix Capture approaches the size problem from the other end. It captures the window rather than the desktop, encodes with settings already tuned for screen content, and auto-zooms into whatever you click, so the finished video is framed on what matters instead of being a 4K recording of mostly empty desktop. Smaller files are a side effect of recording less of what nobody was going to watch.
Keep Reading
- OBS MKV vs MP4: Which Should You Use? for lossless container changes with no re-encode.
- OBS Recording Pixelated: Why and How to Fix if you cut size too far and blockiness appeared.
- Where Do OBS Recordings Go on Windows / Mac? to point large files at a drive with room for them.
- OBS Best Settings for Screen Recording in 2026 for a balanced starting profile.
- OBS "No Space Left on Device" Error: Fix if recordings are stopping rather than just filling the drive.
Don’t miss the next one.
Join our newsletter for exclusive tips, product updates, and the latest from the Cubix team.