
If you are an online educator, digital course creator, or SaaS founder, content velocity is your lifeblood. The faster you can ship clear, high-retention tutorial modules, the quicker you can scale your academy, onboard new clients, or grow your YouTube channel.
However, most tutorial creators fall into a highly inefficient cycle. They script a single video, configure their recording environment, film the clip, jump onto a complex editing timeline to manually add zoom keyframes, render the file, and then start the entire process over again for the next module. This disjointed workflow leads to creative burnout and causes simple 5-minute videos to swallow your entire afternoon.
The secret to maximizing your content throughput is Batch Recording the operational framework of planning, staging, and filming an entire series of tutorials in a single, focused block of time.
If you are ready to reclaim your schedule and learn how to build tutorial videos significantly faster, here is the ultimate step-by-step batch recording blueprint.
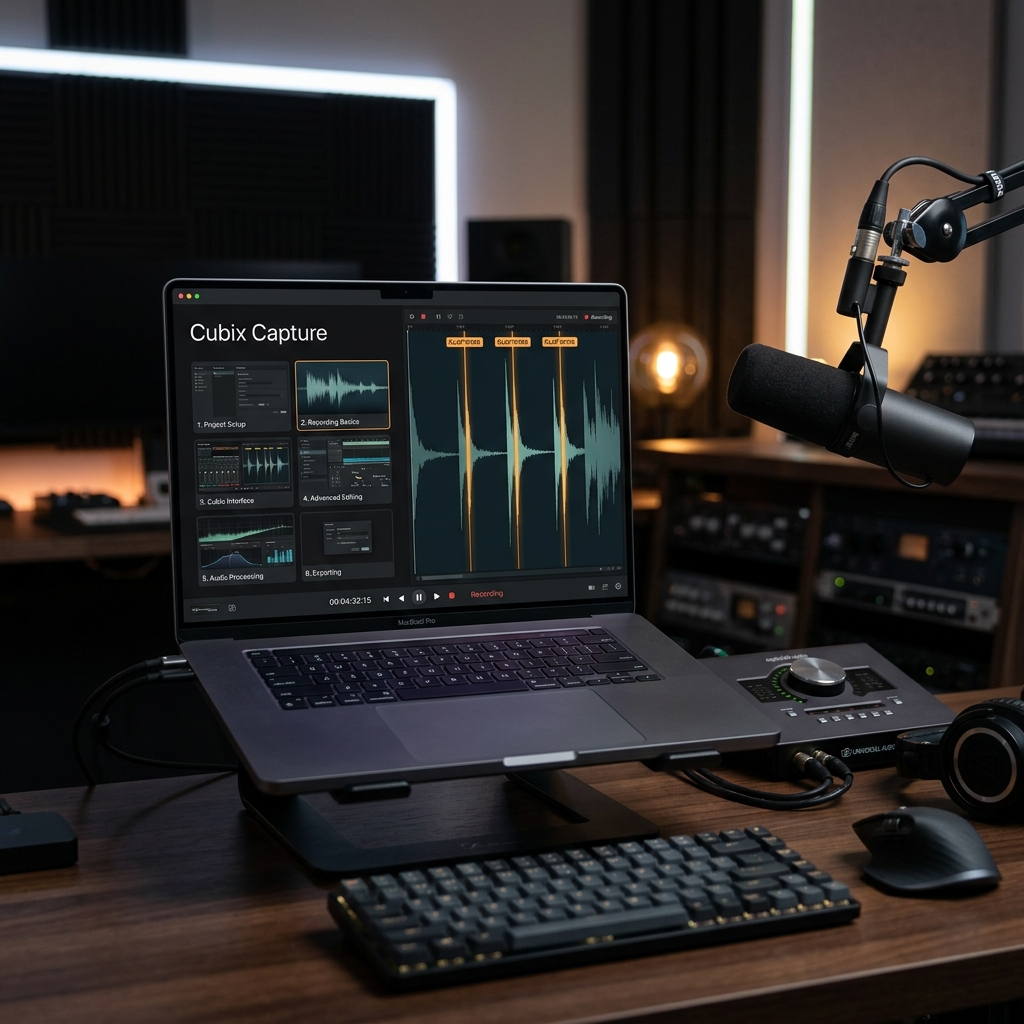
Step 1: Cluster Your Concepts (The Architecture Phase)
The biggest threat to video velocity is context switching. Switching your brain from writing mode to staging mode, and then to recording mode, exhausts your creative energy.
Before touching your recording software, map out your entire content series in a simple grid. Group related technical lessons together so you don't have to constantly open and close different desktop applications or browser ecosystems while filming.
- The Blueprint Scripting Framework: Do not write exhaustive, word-for-word scripts. Reading from a rigid script often causes mechanical line delivery, and if you stumble over a single word, you're forced to restart the take. Instead, build a clean bullet-point outline highlighting three key structural elements:
- The Hook: The specific technical problem you are solving in this clip.
- The Linear Steps: The precise sequence of application menus or code blocks you need to click.
- The Outro: A fast call-to-action redirecting students to the next sequential lesson.
Step 2: Sanitize Your Recording Environment Once
Instead of setting up your digital workspace before every single video take, execute a comprehensive environmental sweep at the start of your batch session to protect your entire filming window.
-
Sanitize Your Visual Canvas: Prune background noise and desktop clutter. A messy screen distracts your students and ruins your brand authority. Hide your physical Windows or Mac desktop icons, clear out unrelated browser tabs, hide your browser bookmarks bar (
Ctrl + Shift + B), and toggle your operating system to Do Not Disturb mode to block personal alerts or calendar notifications from popping up mid-take. -
Isolate Your Target Application Windows: Locks your capture engine onto a clean frame. Open all the software programs, dashboards, or web browser tabs required for your entire clustered series. If you are using a modernized recorder, select the option to capture specific isolated application windows rather than mirroring your full desktop layout, keeping your background files natively hidden.
-
Fix Your Hardware Proximity: Position your audio capsule for vocal depth. Mount your external USB or XLR microphone on a desktop stand or boom arm. Position it roughly 4 to 6 inches away from your mouth, angled slightly toward your chin. This close proximity ensures your voice sounds rich and warm across every recorded clip while naturally minimizing ambient room echo.
-
Run a 10-Second Test Record: Execute a brief audio and video verification. Before filming your five clustered modules, record a brief 10-second test snippet of you speaking while moving your mouse cursor. Play it back to verify your microphone volume is crisp, your webcam is properly framed, and your software is capturing your targeted windows flawlessly before starting your main session.
Step 3: Deploy the "Clap and Repeat" Error Framework
When batching content, mistakes are inevitable. You will mispronounce a technical term, experience a browser lag, or click the wrong dropdown menu setting.
The standard creator reaction is to hit stop, delete the file, and restart the recording from scratch. This kills your momentum.
- The Pro Method: When you make a mistake, do not stop recording. Simply stop talking, pause for three seconds, and clap your hands loudly once near your microphone capsule.
- The Mechanics: This loud physical clap creates a massive, unmistakable visual audio spike on your waveform timeline. Take a deep breath, reset your cursor position, and repeat the step smoothly. When you look at the clip later, you can instantly locate those audio spikes and slice out the mistakes in seconds, keeping your creative flow completely uninterrupted.
Enjoying this read?
Get weekly insights on video editing, AI workflows, and creator growth straight to your inbox.
Step 4: Upgrade to a Zero-Edit Automated Recorder
The absolute largest bottleneck in tutorial production isn't the filming phase it is the post-production video editing timeline.
Because over half of your audience watches tutorials on mobile phones, full-monitor recordings make application text look microscopic. The traditional workflow forces you to drag raw video files into a heavy editor and spend hours manually cutting clips and keyframing camera pans and zooms to keep your actions readable on smartphone screens.
To truly hyper-speed your batch recording velocity, you must move the cinematography and formatting phase directly into the recording session itself using a smart, automated presentation recorder like Cubix Capture.
Instead of acting like a passive security camera, Cubix Capture serves as an automated digital director while you speak:
- Algorithmic Focal Zooming: It completely resolves the mobile readability crisis out of the box. As you naturally navigate through your workspace, Cubix Capture monitors your cursor data natively. The exact millisecond you click a dropdown menu or type text into an input field, the canvas smoothly pans and magnifies that visual region, ensuring perfect mobile clarity with zero manual timeline editing.
- AI Cursor Path Smoothing: It catches the natural, shaky micro-movements of your physical hand on a laptop trackpad and translates them into an elegant, cinematic glide that anchors student focus.
- Instant Brand Staging: It automatically isolates your open application windows and frames them against gorgeous canvas backgrounds, while placing your webcam into a clean floating geometric circle with hardware-accelerated studio background blurring natively.
Batch Recording Throughput Breakdown
| Workflow Phase | Traditional Disjointed Method | Optimized Batch Recording + Automation |
|---|---|---|
| Environmental Setup | 10 minutes before every single video | 10 minutes once per batch block |
| Pacing & Mistakes | Constantly stopping and restarting takes | Continuous capture via the "Clap Rule" |
| Mobile Screen Zooms | Hours of manual keyframing on a timeline | Algorithmic Click-Based Auto-Zooms |
| Aesthetics & Framing | Manual layer cropping and asset layering | Instant app window masking & gradient backdrops |
| Total Time (5 Videos) | ~4 to 6 Hours | ~45 Minutes |
Summary: Your New Content Calendar
By treating your tutorial creation like a systematic production line rather than a sporadic creative chore, you change your entire business throughput. Spend your Monday mornings clustering your concepts and outlining bullet points. On Tuesday afternoon, clear your desk, sanitize your desktop canvas once, and move smoothly through your filming checklist.
By pairing the structural discipline of batch recording with the real-time layout design, cursor smoothing, and automatic zooming of Cubix Capture, your tutorials are fully finished, styled, and ready to publish the exact millisecond you hit stop recording, giving you your afternoons back.
Related reading:
- How to Record a Software Tutorial in Under 10 Minutes
- Online Course Video Workflow: Higher Completion Without Extra Editing
- Why Your Tutorial Videos Lose Viewers After 30 Seconds
📖 Keep reading: set up your batch station right the first time with what equipment you actually need to make tutorial videos.
Don’t miss the next one.
Join our newsletter for exclusive tips, product updates, and the latest from the Cubix team.