
There is a specific way this goes wrong.
You install a recorder with auto-zoom. You record your tutorial. The zooms fire in all the right places — and every single one of them looks soft, mushy, and slightly out of focus. You conclude the auto-zoom is low quality and go back to keyframing by hand.
The auto-zoom was fine. You didn't give it any pixels to work with.
This guide is about the setup that happens before you hit record, because that's what actually determines whether hands-off zooming produces something sharp or something you have to throw away.
The thing to understand: auto-zoom is a crop
A zoom in a screen recording is not an optical zoom. There is no lens. The software is cropping into the frame you already captured and scaling the crop back up to your output size.
So a 2x zoom takes a 960x540 region of your recording and stretches it to fill a 1920x1080 output. If your recording was only 1920x1080 to begin with, you just upscaled by 2x. That's where the mush comes from.
This has one clean consequence, and it is the most important sentence in this article:
You must capture at a higher resolution than you export at. The ratio between them is your zoom budget.
Get that right and every zoom is a downscale — a 1:1 or better pixel crop, with zero quality loss. Get it wrong and no tool on earth will save you.
Your resolution headroom table
Here is exactly how much lossless zoom you get, assuming a 1080p export:
| You capture at | Lossless zoom budget at 1080p output | Verdict |
|---|---|---|
| 1920x1080 (1080p) | 1.0x — none | Any zoom is an upscale. This is the mistake. |
| 2560x1440 (1440p) | 1.33x | Usable, but tight. Zooms will be gentle. |
| 3840x2160 (4K) | 2.0x | The sweet spot. Comfortable, sharp zooms. |
| 5120x2880 (5K) | 2.67x | Luxurious. Aggressive zooms stay perfectly crisp. |
The rule: capture width ÷ output width = your maximum lossless zoom factor.
For most people the answer is: record at 4K, export at 1080p. You get a genuine 2x zoom that is sharper than the unzoomed footage, because even the wide shots are being downscaled from 4K.
If your display is only 1080p, you have two options: set the recorder to capture at a scaled-up resolution if it supports it, or accept a 1440p-ish capture by increasing your display's virtual resolution. On a 1080p panel with a 1080p capture, hands-off zooming will never look great. That's physics, not software.
If you're weighing capture resolution against file size and CPU load, the trade-offs are laid out in 4K screen recording: pros and cons.
Now make the UI bigger, not smaller
This one is counterintuitive and people get it backwards constantly.
Instinct says: shrink everything so more fits on screen. Do the opposite. Set your display scaling to 125% or 150%. Bump your editor's font size. Zoom the browser to 110-125%.
Why: auto-zoom's job is to make text legible on a phone. If your UI text is already reasonably large in the capture, the zoom has less work to do — it can sit at a gentler 1.5x instead of straining at 2.5x, which keeps you comfortably inside your resolution budget.
Large UI + moderate zoom beats tiny UI + aggressive zoom every time.
Cursor choreography: the input the algorithm actually reads
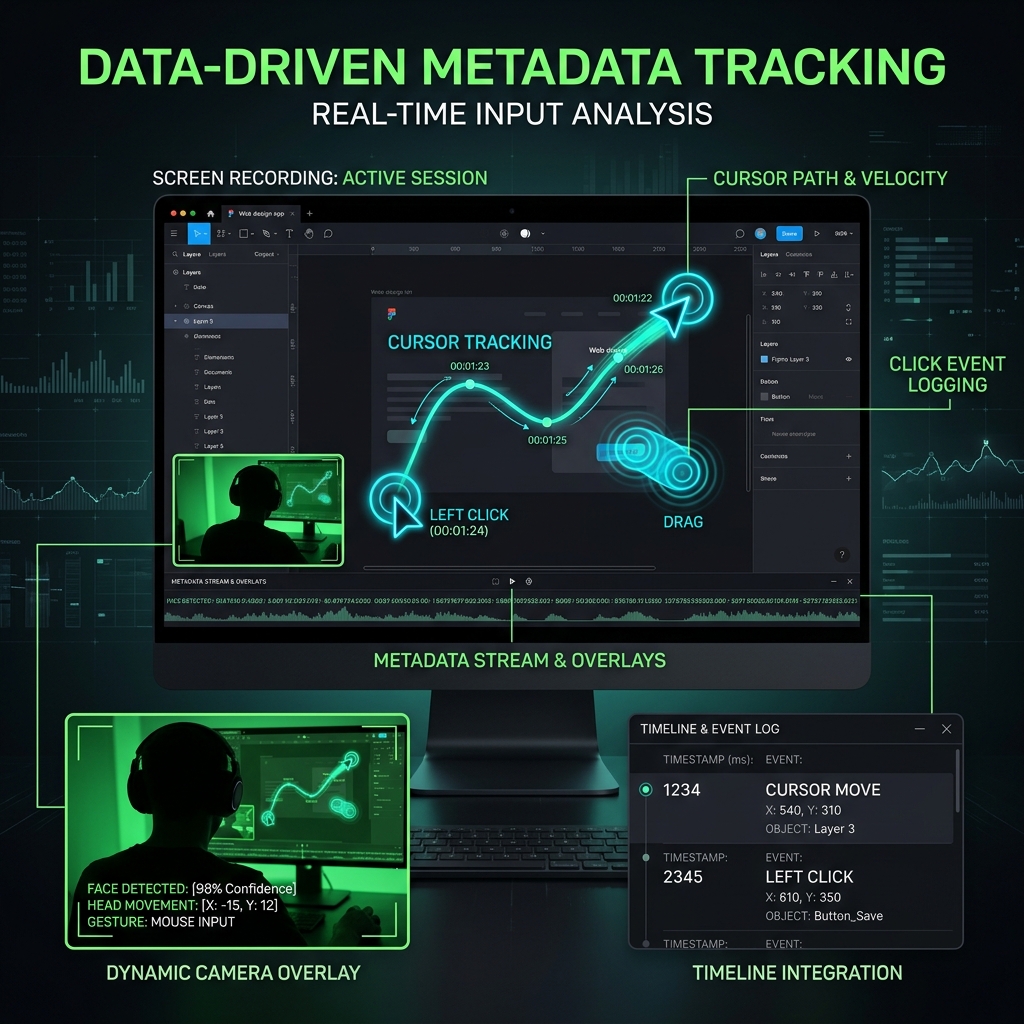
Auto-zoom builds its camera moves from your cursor and click stream. Feed it a clean stream and you get clean camera moves. Feed it chaos and you get a camera that lurches.
Four habits, and they take about one recording to internalize:
Move at half speed. Your normal mouse speed is a flick — 200ms across the screen. The camera has to follow that, and a camera that snaps is nauseating to watch. Deliberately glide.
Hover before you click. Land on your target, pause for a full second, then click. That one-second hover is what lets the camera arrive and settle before the action happens, instead of chasing it afterwards.
Rest after you click. Don't immediately fling the cursor away. Leave it for a beat. This gives the viewer time to see the result, and stops the camera from being yanked out of a zoom it just arrived at.
One target at a time. Don't ping-pong between two corners of the screen while talking. Each ping-pong is a full camera traverse. Finish the thought in one region, then move.
Enjoying this read?
Get weekly insights on video editing, AI workflows, and creator growth straight to your inbox.
What actually breaks auto-zoom
Know these and you'll avoid the four things that produce unusable output:
- Keyboard-only navigation. Tabbing through a form generates no cursor movement and no clicks. The algorithm has no signal, so the camera sits wide while you do the most important part of the demo. Fix: touch the mouse. Click into fields even when you don't have to.
- Multi-monitor jumps. Dragging across a 3-monitor span is a camera move of thousands of pixels. It looks violent. Fix: record a single display.
- Accidental clicks. Every stray click is a zoom instruction. A misclick on the desktop sends the camera to the desktop. Fix: this is what the post-record review pass is for — delete the bad ones.
- Drag operations. Long drags (resizing, moving files) can pull the camera along on a slow, drifting path. Most good tools handle this; if yours doesn't, keep drags short.
The recording session, start to finish
- Set capture to 4K, output to 1080p. Non-negotiable. This is your zoom budget.
- Scale the UI up to 125-150%. Close every irrelevant tab and window. Hide desktop icons. Enable Do Not Disturb — a Slack toast that pops mid-zoom is unrecoverable.
- Do a 20-second test. Record yourself clicking three things. Watch it back. Are the zooms sharp? Is the camera calm? Fix it now, not after a 40-minute take.
- Record in one pass. Do not stop for mistakes. If you fumble a sentence, pause three seconds, then repeat the line from the top. The silence is an obvious marker to cut later, and it is far cheaper than re-recording.
- Review the zooms. Scrub through. You're looking for exactly three things: zooms that fired on accidental clicks (delete), zooms that end before you finished explaining (extend the hold), and zooms that are too tight (lower the global zoom level).
- Export.
Step 5 usually takes about ninety seconds. That's the entire "editing" pass.
That number is the whole argument. The same twenty-five zooms, keyframed by hand in a timeline, is closer to seventy-five minutes — and you pay it again on the next video, and the one after that. A recorder like Cubix Capture does steps 1-4 for you and leaves you only step 5, because it generates the camera moves from your click stream and keeps every one of them editable.
What you can still adjust afterwards
Because the zoom is a transform over your full-resolution capture — not something burned into the pixels — nothing is locked in.
- Zoom level — how tight the camera grips. If your text is already large, dial this down; you'll look more composed.
- Hold duration — how long it stays in before pulling back. Lengthen this for dense config screens where the viewer is reading.
- Individual moves — delete, retime, or add one where the algorithm had no signal.
If a tool bakes the zoom into the exported pixels with no way to revise it, that's a red flag. You want the camera track to stay editable.
The summary
Hands-off tutorial recording is not really about the auto-zoom feature. Every serious tool has one and they all work about the same.
It's about the three things you control:
- Resolution headroom — capture at 4K, export at 1080p, so every zoom is a crop and not an upscale.
- A large UI — so the zoom is gentle instead of desperate.
- Slow, deliberate cursor movement — so the algorithm has a clean signal to read.
Do those three and a recorder like Cubix Capture will hand you a finished, sharp, mobile-legible tutorial the second you stop recording. Skip them and you'll spend the afternoon in a timeline anyway — which was the entire thing you were trying to avoid.
Related: still deciding whether to go hands-off at all? Auto-zoom vs manual zoom, with the time math.
Don’t miss the next one.
Join our newsletter for exclusive tips, product updates, and the latest from the Cubix team.