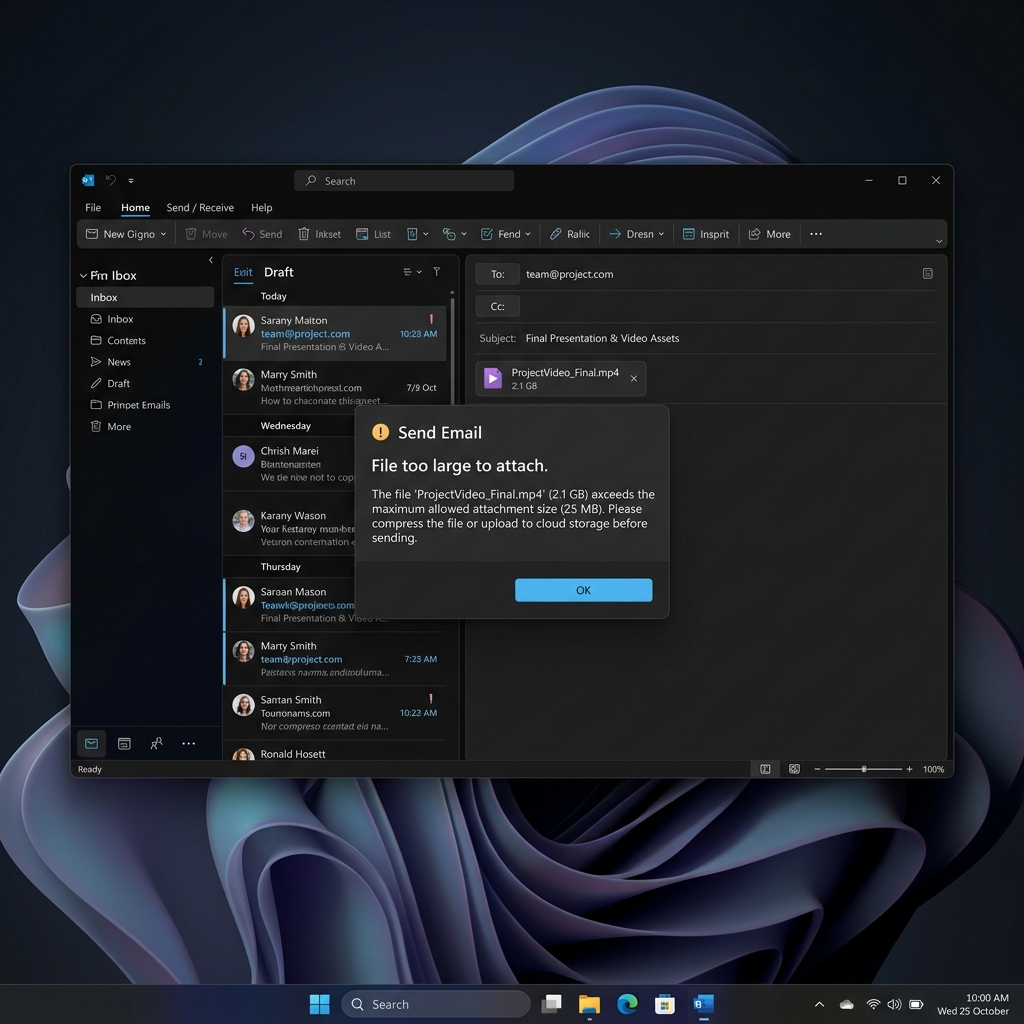
You transfer a video from your phone to your Windows 11 laptop, try to send it through Teams or attach it to an email, and the entire workflow grinds to a halt. The file is too large for the email server. The chat upload times out. The OneDrive sync queue fills up and pauses.
The first instinct is usually to search "free video compressor" in a browser. That search reliably lands on sites with hidden watermarks, ten-second forced ads, file-size caps, or worse — sites that quietly upload your private footage to a third-party server before letting you download a smaller copy.
Windows 11 actually ships with two video compressors built into the operating system, and a third one (VLC) that runs entirely offline. Add HandBrake — the open-source standard — and you have a complete, free, trustworthy toolkit. No web uploads, no watermarks, no install profiles.
Here is the full guide, ranked from fastest to most powerful.
Method 1: The Photos App (The Hidden Default)
Most Windows users don't realize the Photos app has a Video Editor mode that doubles as a one-click compressor. It is the fastest path when you just need a quick size reduction.
- Right-click the video file in File Explorer.
- Hover Open with and select Photos.
- Click the Edit & Create dropdown at the top right (or the pencil icon on newer Windows builds), then choose Trim or Create a video with text.
- After confirming any edits, click Finish video in the top right.
- In the export dialog, select Medium (540p) or Low (360p) for max compression, or High (1080p) for a moderate reduction.
- Click Export and pick a save location.
The Photos app re-encodes the file using the same H.264 hardware encoder Windows uses for video calls, so a 5-minute 4K clip typically finishes in 30–60 seconds on a modern Intel or AMD machine.
Method 2: Clipchamp (The "Real Editor" Option)
Windows 11 ships with Clipchamp, which is technically a full video editor but is also one of the cleanest ways to compress on the platform. It is signed by Microsoft, runs locally for editing, and uploads only if you explicitly choose cloud export.
- Open Clipchamp. Press the Windows key, type Clipchamp, and press Enter.
- Create a new video. Click the button on the home screen.
- Import and timeline: Drag your file into the media panel, then drag it down to the timeline.
- Export: Click the purple Export button in the top right.
- Pick a resolution:
- 1080p: moderate compression, best for cross-posting to YouTube or LinkedIn.
- 720p: balanced for email, Teams, Slack.
- 480p: maximum compression, good for quick visual updates where dimensions don't matter.
Clipchamp's "Save to your computer" option is fully local — your file does not leave your laptop. The cloud save options (Google Drive, OneDrive, Dropbox) only upload if you explicitly choose them.
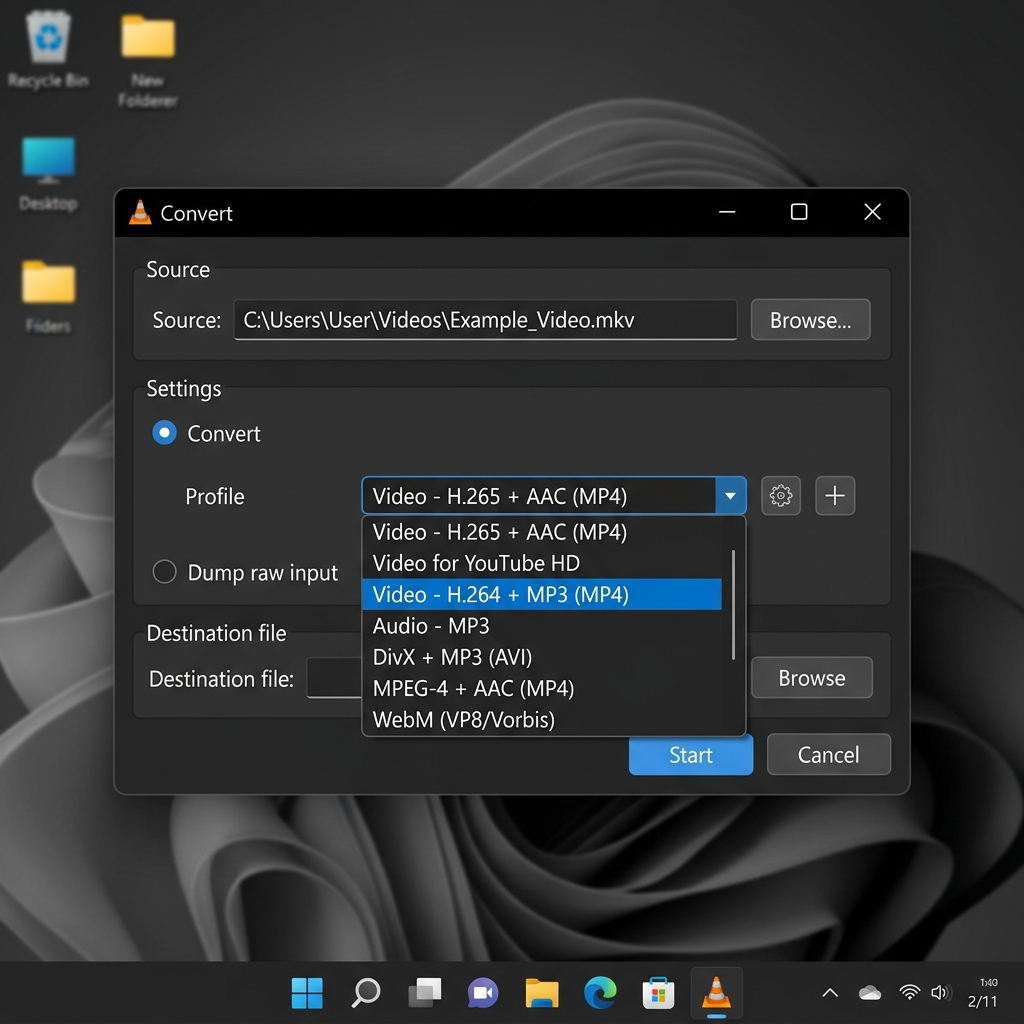
Method 3: VLC Convert (The Reliable Workhorse)
VLC Media Player is on almost every Windows machine already. Its compression mode is hidden inside Media → Convert / Save, and it is reliable, scriptable, and ad-free.
- Open VLC Media Player.
- Media → Convert / Save (or press Ctrl+R).
- Add your large video file and click Convert / Save at the bottom.
- Profile: Pick Video — H.264 + MP3 (MP4).
- Edit the profile (the wrench icon) to set:
- Resolution: 1280×720 or 1920×1080.
- Video bitrate: 2000 kbps (720p) or 5000 kbps (1080p).
- Audio bitrate: 128 kbps.
- Browse to pick a destination, then Start.
VLC uses its software encoder by default, which is slower than the Photos hardware encoder but produces noticeably smaller files at the same visual quality. Use VLC when you have time to wait and need a smaller file size; use Photos when you need it done in 30 seconds.
Method 4: HandBrake (The Open-Source Power Tool)
For the smallest possible files at the highest possible visual quality, install HandBrake — the open-source standard for video transcoding. It is free, has no ads, and runs entirely offline.
- Open HandBrake and drop your file in.
- Pick a preset: Under the Presets sidebar, expand General and pick Fast 1080p30 (or 720p30 for smaller files).
- Switch to the Video tab. Set:
- Video Codec: H.264 (x264) for compatibility, or H.265 (x265) for ~40% smaller files at the same quality.
- Framerate: Same as source.
- Quality: Use Constant Quality (RF). RF 22 is the sweet spot for 1080p — visually identical to the source for most content. Go higher (24–26) for more compression, lower (18–20) for less.
- Format: MP4.
- Save As: Choose a destination and click the green Start Encode button.
HandBrake's constant-quality mode (CRF) is the right tool for cases where you want a specific quality level rather than a specific file size. The encoder dynamically allocates bitrate to the parts of the video that need it (fast motion, complex textures) and saves bitrate on static frames.
Method 5: The FFmpeg One-Liner (For Scripting and Batch Jobs)
If you regularly compress a lot of video, installing FFmpeg (via winget install ffmpeg or scoop) lets you batch-process from PowerShell:
ffmpeg -i input.mp4 -c:v libx264 -crf 23 -preset medium -c:a aac -b:a 128k -movflags +faststart output.mp4
The -movflags +faststart flag is the one almost no GUI exposes — it moves metadata to the front of the file so videos start playing instantly when streamed from a web server or email preview.
What NOT to Use on Windows
Several common "free" tools are red flags:
- Any tool that requires opening a port or "activating" via a license key for "free" use — common for cracked builds of paid encoders. Skip.
- Browser extensions that promise to compress in-page. They can't — compression happens server-side. The extension is almost always an analytics tracker in disguise.
- "PC Cleaner" or "Driver Updater" apps that bundle video compressors. Use HandBrake or VLC instead.
- Sites that require you to upload before showing the price. Free for the first 50MB, paid above. Run HandBrake locally — no upload, no quota.
Common Compression Mistakes on Windows
- Compressing the same file twice. Each re-encode loses a small amount of quality. Always re-encode from the original master, not from a previous compressed copy.
- Forgetting to enable hardware acceleration. In HandBrake, picking the H.264 (Intel QSV) or H.264 (NVENC) encoder uses your GPU instead of CPU — 5-10x faster for similar quality.
- Exporting to MKV when you need to share. MKV is a great container, but most Windows email clients, Teams, and the Photos app preview only MP4 inline. Always export to MP4 unless you have a specific reason not to.
- Skipping the audio settings. Default audio in many tools is uncompressed PCM, which can add 50–100MB to a file. Always set audio to AAC 128 or 192 kbps.
Record Smaller From the Start
Most "I need to compress this Windows video" requests come from screen recordings that exported huge by default. A 10-minute screen recording from a generic Windows screen recorder often lands at 800MB–1.5GB on disk — way more than needed for sharing a tutorial.
Cubix Capture on Windows records to a disciplined 1080p H.264 profile, using NVENC or Quick Sync when available, so a 10-minute tutorial typically lands under 100MB on disk. The output is already an MP4 with the +faststart flag set, which means it streams instantly in email previews and Teams without a second compression pass.
When you do need to compress something existing, the video compressor and the Windows-friendly compression presets are the fastest path for one-off jobs.
Related reading:
- How to Record a Screen on Windows 11 Without Xbox Game Bar — for capturing fresh footage cleanly.
- Why Windows Had Worse Screen Recording Tools (Until Recently) — context on why so many Windows recorders export oversize files.
- How to Reduce Video Size Without Losing Quality — The Actual Answer — the deeper codec and bitrate explainer.
Take back control of your disk space and your sharing workflow. Four free, safe paths are already on your Windows 11 machine — pick the one that matches your use case and skip the web compressor traps entirely.