Search the internet for "how to reduce video size without losing quality" and you will find a thousand articles promising magic. Here is the truth most of them avoid: all consumer video compression is lossy. There is no encoder that produces a smaller file while keeping every pixel mathematically identical to the original. The math doesn't work.
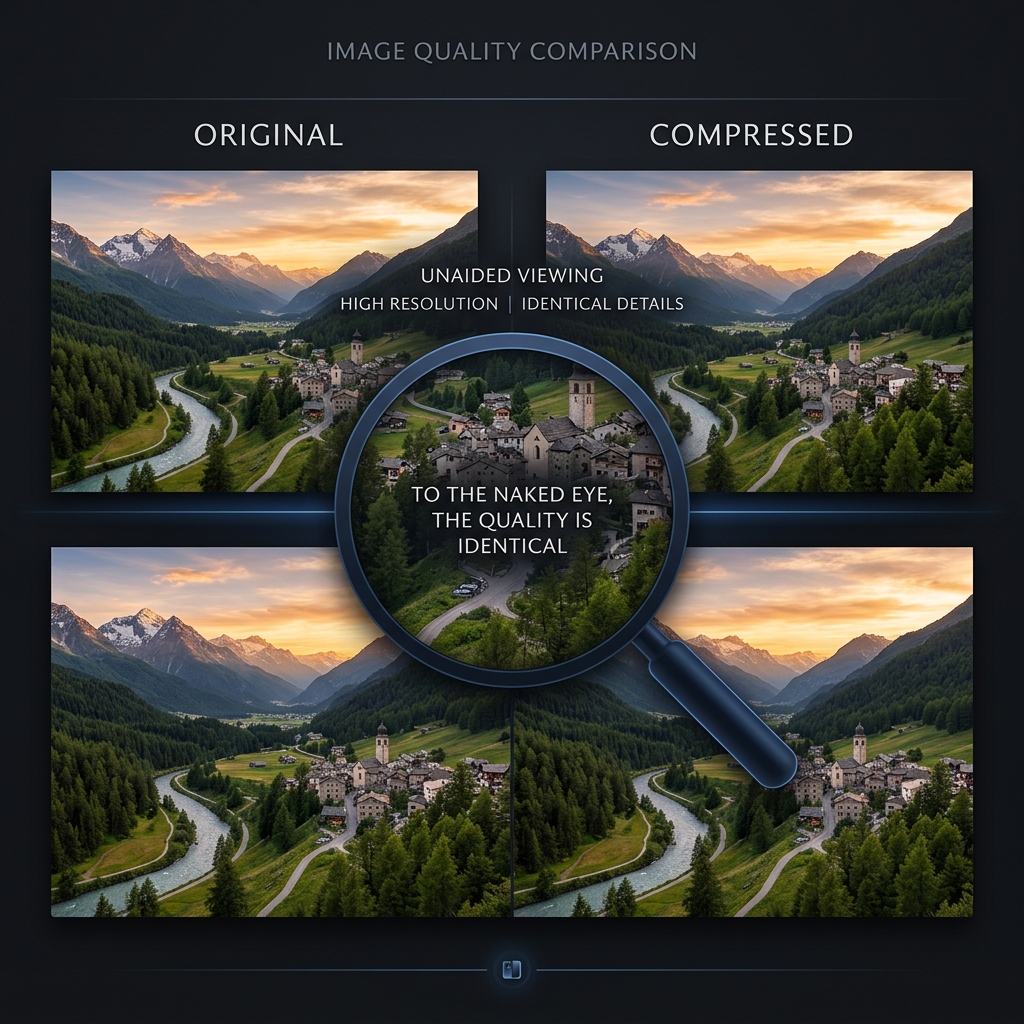
What you can do — what the entire field of modern video compression is built around — is throw out data the human eye cannot see, so the final file looks visually identical to the original at a fraction of the size. This is called perceptual compression, and the gap between "looks identical" and "is identical" is where 80% file-size savings live.
This guide is the actual answer. No magic. Just the codecs, bitrates, and encoder settings that make modern compression feel lossless even though it is not.
The Three Levers That Control File Size
Every video file's size is the product of three numbers. Move any one of them and the file gets bigger or smaller. The art is knowing which one to move for which content.
1. Resolution (the dimensions). Going from 4K (3840×2160) to 1080p (1920×1080) drops the pixel count by 75%. On a phone screen, this is invisible. On a 27" desktop monitor, it is barely visible. On a 65" living room TV at viewing distance, you'll notice.
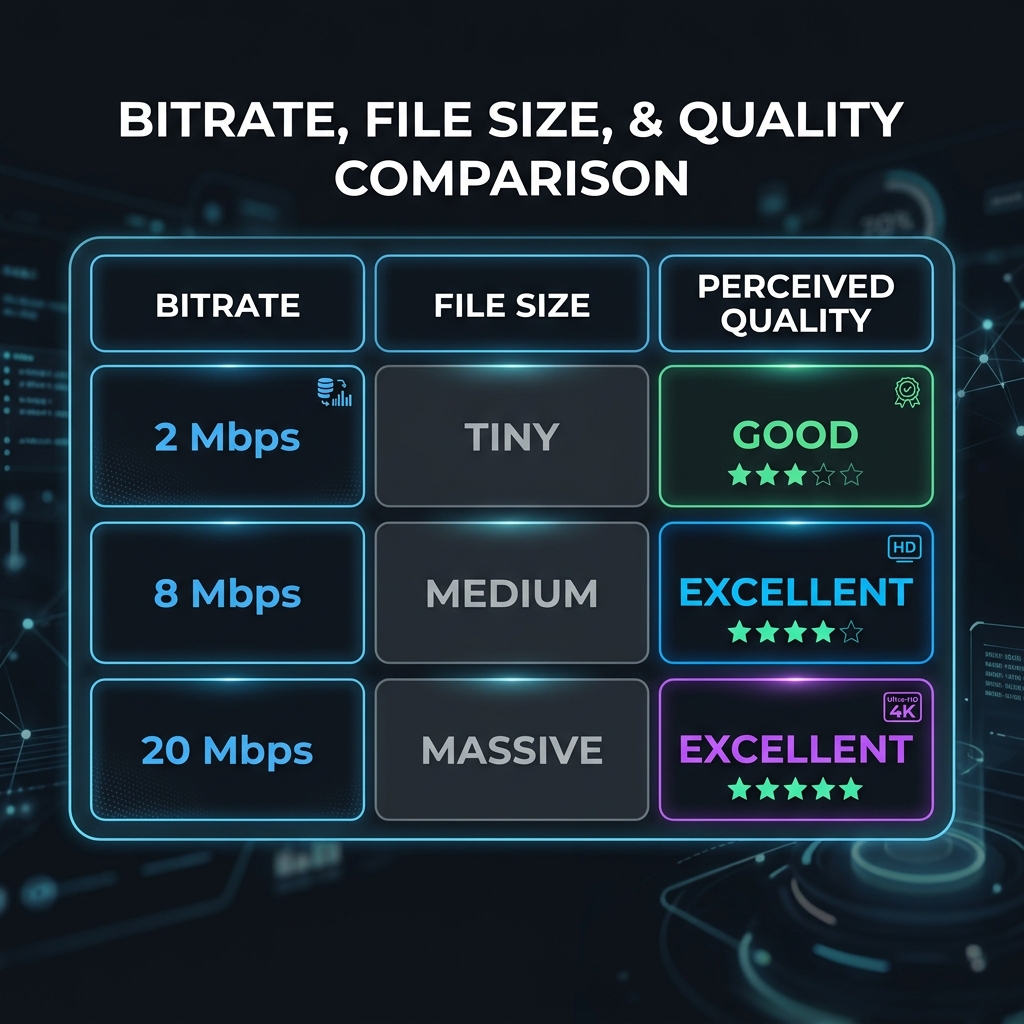
2. Bitrate (the data per second). Cut the bitrate in half and the file is roughly half the size. The catch is that low bitrate produces visible compression artifacts — blocking, mosquito noise around edges, color banding in skies. The trick is finding the bitrate ceiling above which your eyes can't tell the difference.
3. Codec (the compression efficiency). Different codecs deliver different amounts of quality per bit. H.264 is the universal baseline. H.265 (HEVC) is roughly 40% more efficient. AV1 is roughly 30% more efficient than H.265 again. Older codecs need more bits to look the same.
To reduce file size without losing quality, you move the lever that costs you the least perceptually. For phone viewing, drop resolution. For desktop or TV viewing where resolution matters, change codecs or tune bitrate.
Codec Comparison: H.264 vs H.265 vs AV1
| Codec | Year | Efficiency vs H.264 | Compatibility | Encode speed |
|---|---|---|---|---|
| H.264 (AVC) | 2003 | Baseline | Universal (every device) | Fast |
| H.265 (HEVC) | 2013 | ~40% smaller | Modern phones, Apple, most browsers | Medium |
| VP9 | 2013 | ~35% smaller | YouTube, Chrome, Android | Slow |
| AV1 | 2018 | ~60% smaller | YouTube, latest Chrome/Edge/Safari, Android 14+ | Very slow |
For practical "shrink without losing quality" work today, H.265 is the right default. It plays on every modern device, encodes fast enough on consumer hardware (especially Apple Silicon and modern Intel/AMD), and gets you most of the savings AV1 promises.
Use H.264 when:
- The recipient is on a very old Windows machine.
- The file will be played on legacy hardware (DVD players, older TVs).
- You need the absolute fastest encode time.
Use AV1 when:
- The video is going to YouTube or a platform that streams AV1.
- The recipient is on modern Chrome / Edge / Safari and a 2022+ phone.
- You can afford a slow encode (overnight, on a desktop with hardware AV1 support).
CRF vs Bitrate: The Difference Almost No One Explains
When you compress a video, most encoders give you two ways to control quality:
Constant Bitrate (CBR / Average Bitrate). You pick a number — say 8 Mbps. The encoder spends exactly that many bits per second of video. Static scenes get over-allocated and complex scenes get starved. Good for streaming (predictable bandwidth), bad for file size efficiency.
Constant Rate Factor (CRF). You pick a quality level — typically 18 to 28 — and the encoder dynamically spends as many or as few bits as needed to hit that quality. Static frames get a few bits, fast motion gets a lot. Same visual quality across the whole video, file size becomes whatever it needs to be.
CRF is almost always the right choice for file-size reduction. The numbers that matter:
- CRF 18: Visually lossless. The largest "perceptual" file.
- CRF 22: Sweet spot for 1080p. Indistinguishable from the source on a normal screen.
- CRF 24: Visible if you look hard. Fine for social media.
- CRF 26+: Visible artifacts in dark scenes or rapid motion.
HandBrake exposes CRF directly. FFmpeg accepts -crf 22. Modern editors usually expose this as a quality slider rather than a number.
Two-Pass Encoding: Worth the Extra Time
If you must use bitrate-based encoding (for streaming targets like YouTube or Twitch), use 2-pass VBR rather than single-pass CBR. The encoder first scans the entire video to understand which scenes need more bits, then encodes a second time with that knowledge.
The cost: double the encoding time. The benefit: noticeably better quality at the same target file size, especially for videos with mixed motion. For a 10-minute video at a 10 Mbps target, 2-pass produces a final file that looks roughly one CRF step better than single-pass.
The "Actual Answer" Recipe for Most People
If you don't want to learn codec theory and just want a single recipe that works:
- Format: MP4
- Codec: H.265 (HEVC) — fall back to H.264 if compatibility is uncertain
- Resolution: 1080p (1920×1080) for most cases, 720p for messaging-app-bound files
- Frame Rate: Match the source (30 or 60 fps)
- Encoding mode: CRF 22 (HandBrake) or quality slider at "high"
- Audio: AAC stereo, 128 kbps
This recipe will take a typical 4K iPhone clip from ~300MB down to ~30MB at quality you cannot tell apart from the original on any phone or laptop screen.
Recipes by Use Case
For email attachment (under 25MB target): 720p, H.264, CRF 24, AAC 96 kbps, trim to under 60 seconds.
For YouTube upload: 1080p or 4K, H.264, 2-pass VBR at YouTube's recommended bitrate, AAC 384 kbps.
For Instagram Reels / TikTok / Facebook Reels: 1080×1920, H.264, CRF 22, AAC 128 kbps, under 90 seconds.
For archival (keep forever, occasionally play back): Match source resolution, H.265, CRF 18, AAC 256 kbps.
For client / contractor sharing: 1080p, H.265, CRF 20, AAC 192 kbps, MP4 with +faststart flag for instant streaming preview.
Common "Lossless Shrink" Myths
- "Just convert to MKV." MKV is a container, not a codec. Putting an H.264 file into MKV instead of MP4 changes nothing about the file size.
- "Use 7-Zip / WinRAR on the MP4." MP4 is already heavily compressed. Putting it in a ZIP archive saves almost nothing (often 1–2%).
- "Strip the audio to shrink the file." Audio is typically 5–15% of a video file's size. Removing it gives you a 5–15% reduction at best, plus a silent video.
- "There's a special 'lossless H.264' setting." There is — it's CRF 0 — but the resulting file is roughly the same size as your original raw camera footage. Not useful for sharing.
What Compression Can't Fix
A few patterns no encoder can save:
- Noisy footage from low light. Sensor noise looks like detail to the encoder, which spends bitrate trying to preserve it. The fix is filming with better lighting, not better compression.
- Bad source codecs. A video that was already encoded at low bitrate and re-encoded by a sloppy tool cannot be made to look like the original. Always re-encode from the master, never from a previously compressed copy.
- Mismatched frame rates. Converting 60 fps to 30 fps with naive frame-dropping produces visible stutter. Use a proper rate-conversion encoder (HandBrake's "Same as source" is safer than aggressive downsampling).
Skip the Compression Step When You Can
The cleanest version of "compression without quality loss" is recording at a sensible size from the start. Most file-size headaches come from sources that exported much larger than they needed to be — 4K iPhone clips for content that will live on Instagram, or 10-minute screen recordings exported at 50 Mbps for content that will live in a Slack thread.
For anyone whose recordings are primarily screen capture — tutorials, walkthroughs, demos, design reviews — Cubix Capture records inside the perceptual-quality envelope from the start, with H.264 as the default and optional H.265 on supported hardware. A typical 2-minute screen recording lands at 10–20MB on disk, which is small enough for email, Slack, Notion, or messaging apps without ever opening HandBrake or a CRF dialog.
When you do need to compress something existing, the video compressor handles codec selection and bitrate targeting automatically based on your target size or quality level.
Related reading:
- How to Reduce Video File Size on Mac (No Software Needed) — the Mac-specific paths.
- How to Reduce Video File Size on Windows 11 (Free Methods) — the Windows-specific paths.
- How to Compress a Video for YouTube Without Losing Quality — applying the same theory to a specific platform.
Compression isn't magic — it is choosing the right tradeoff for the content you have and the screen it will play on. The "actual answer" is to pick the codec that fits the audience, set CRF for the quality you can live with, and stop chasing a lossless shrink that doesn't exist outside academic papers.