Few things sting like finishing a five-minute walkthrough, hitting play to check it, and hearing nothing. The clicks are there, the screen moves — but your narration, the part that actually explained anything, never recorded. On a Chromebook this is almost always one missed toggle, not a broken machine.
ChromeOS records audio perfectly well; it just leaves the audio switches off by default and tucks them behind a settings menu most people never open. This guide is specifically about getting sound right — your voice, the computer's sound, and the gotchas that cause silent recordings. (For the full tour of every capture mode and the webcam bubble, start with the complete Chromebook screen recording guide.)

Two Kinds of Audio — Know Which You Need
The single biggest source of confusion is that "audio" means two different things, controlled by two separate toggles:
- Microphone captures you — your voiceover, your explanation. This is what most tutorials need.
- System audio captures what the Chromebook is playing — a YouTube clip, an app's sound, a video you're reacting to.
A narrated demo needs Microphone on. A recording of a video with commentary needs both. Turning on the wrong one is the usual reason people end up with silence where their voice should be.
Switching Audio On Before You Record
Open the recorder (Shift + Ctrl + Show Windows, or the clock → Screen Capture), make sure the video camera icon is selected, and choose your capture area. Then — and this is the step that matters — click the gear icon on the toolbar:
- Under Audio input, toggle Microphone on for your voice.
- Toggle System audio on as well if you need the Chromebook's own sounds.
- Confirm the toggles are actually highlighted before you start — ChromeOS remembers the last state, so a recording that worked yesterday can be silent today if it reset.
Then click to start the countdown, and stop with the red square by the clock. The file lands in Downloads as a .webm.
Three Reasons a Chromebook Recording Comes Out Silent
If sound still isn't landing, it's almost always one of these:
- Mic permission denied. ChromeOS needs microphone access granted at the system level — check Settings → Privacy and security.
- The wrong input device. A plugged-in headset or Bluetooth earbuds may be the active mic; if they're muted or far from your mouth, your voice barely registers.
- System audio expected to capture your voice. It won't — only Microphone records you. This is the most common mix-up.
A quick five-second test recording before the real take saves you from re-recording a long one.
Clear Audio Deserves Clear Visuals
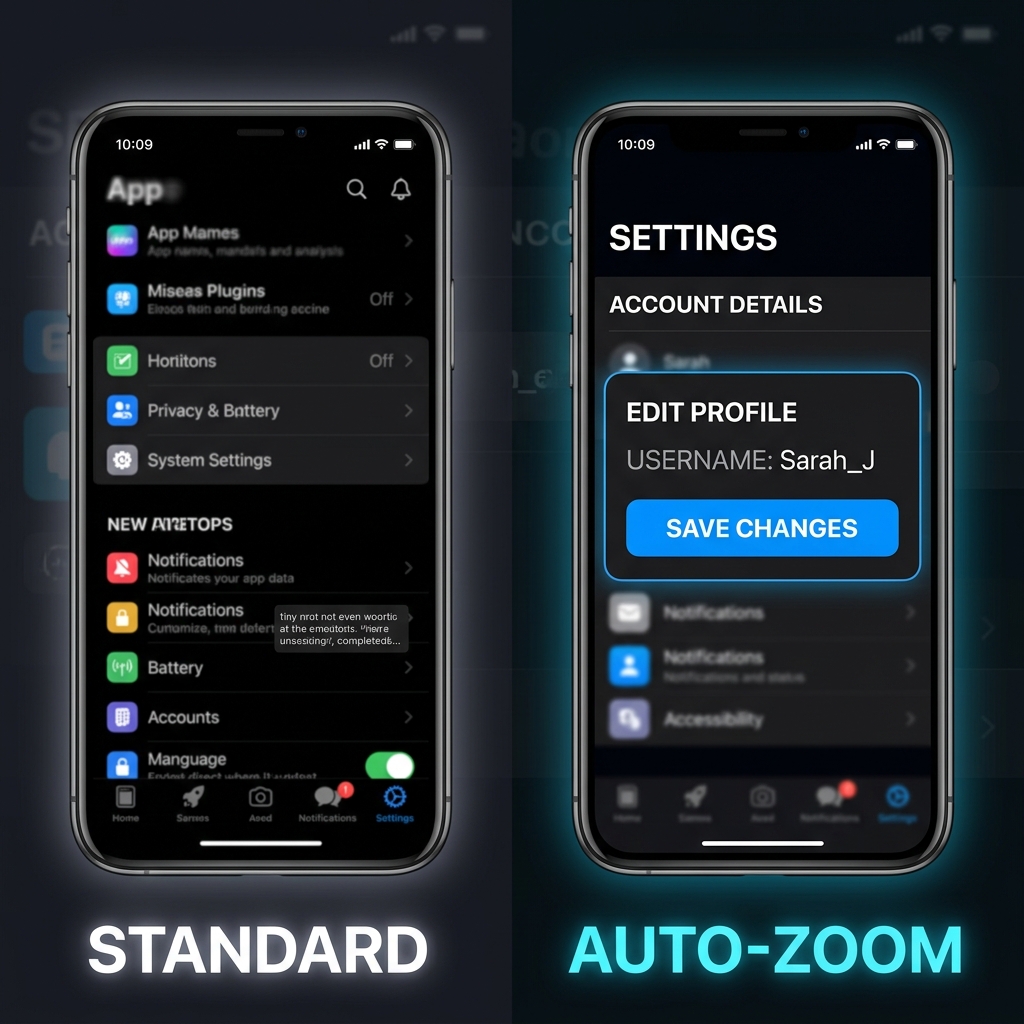
Solving the silence is half the job. The other half is that even a well-narrated recording is hard to follow when the screen is captured full-size and watched on a phone — menus shrink, text gets tiny, and a jittery trackpad cursor makes it harder still. Great audio over a squint-to-read screen still loses your viewer.
This is where Cubix Capture fits a Chromebook presenter. It records with the polish a manual editor would add later — automatically zooming to whatever you're describing so the visuals track your narration, smoothing the cursor into a steady pointer, and balancing your voice against system sound so neither drowns the other. The result sounds and looks like it came from a studio, with no editing step in between.
Getting audio working with the native tools is an essential Chromebook skill. When the lesson really has to land — a graded assignment, a client handoff, a course module — pairing clear sound with automatic visual clarity is what makes people actually absorb it.