
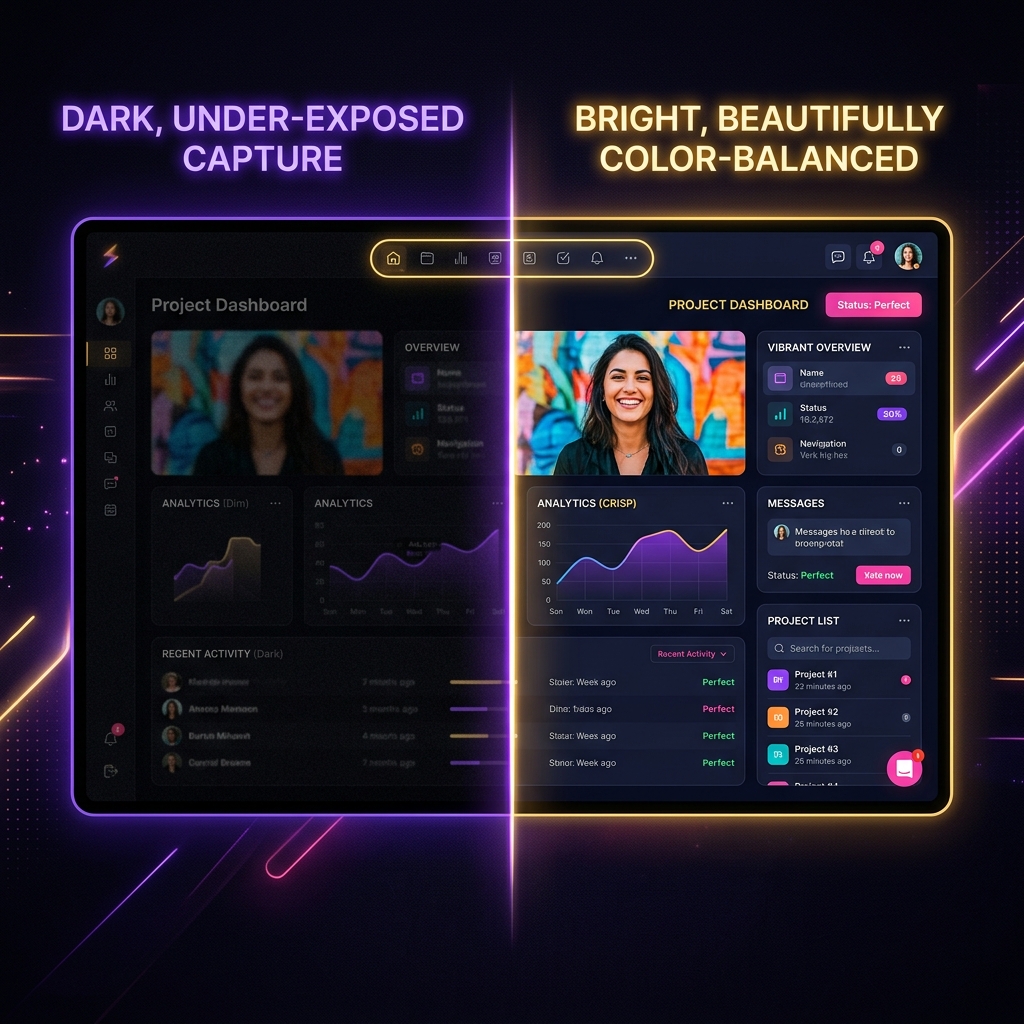
Your OBS recording came out dim. Shadow detail has collapsed into flat black, darker panels are barely distinguishable from each other, and viewers have to turn their own brightness up just to read what you are showing. On your own monitor everything looked normal, which is the tell: this is almost never a broken screen or a failing GPU.
Nine times out of ten, a dark OBS recording is one thing: your system is handing OBS a High Dynamic Range (HDR) signal that then gets crushed as it is written into a standard video file. A smaller share come from a colour-range setting that clips the blacks, or from a genuinely dark source that just needs a brightness lift. This guide takes them in that order, most common first.
(If the image is not dark but faded, blown-out, or milky grey, that is the opposite problem and has its own fix: OBS Recording Washed Out.)
Step 1: Fix the Windows HDR Tone-Mapping Clash (The #1 Culprit)
If you are using a modern laptop or desktop setup with High Dynamic Range (HDR) display profiles turned on natively, OBS will often output dim, gray, or severely under-exposed footage. HDR pushes an expansive brightness spectrum that standard video players cannot interpret without a direct conversion layer. If OBS captures this high-brightness signal but fails to map the white levels correctly, the final video collapses into darkness.
The Native Windows Bypass (Recommended)
If you don't explicitly require high-dynamic gameplay colors while recording standard software or text presentations, disabling the OS layer completely clears the bottleneck:
- Minimize OBS Studio and right-click an empty space on your Windows desktop, then select Display settings.
- Locate the Use HDR toggle switch and flip it to Off.
- Reopen OBS. Your display preview and recorded files will immediately return to a bright, natural exposure ceiling.
The OBS Software Override
If you must leave HDR active for your workspace display, you can force OBS to mathematically compress the signal into a bright Standard Definition Range (SDR):
- Go to your Sources deck at the bottom of the OBS main interface.
- Right-click your active Display Capture or Game Capture source and select Properties.
- Locate the color conversion option and check the box to Force SDR. This commands the encoder to brighten the high-contrast highlights dynamically.
Step 2: Calibrate Advanced Color Range Settings
A massive, hidden cause of dark recordings is a mismatch in the system's Color Range parameters. This value dictates the absolute numerical limits assigned to the darkest blacks and the brightest whites in your video profile.
If your source is outputting standard broadcast signals but OBS forces the video container to compress those values under an incompatible spectrum rule, your shadow spaces clip into solid black.
-
Navigate to Advanced Settings: Open global configuration panels. Launch OBS Studio, move your cursor to the lower-right control corner, click on Settings, and select the Advanced tab from the left navigation sidebar.
-
Locate the Video Section Matrix: Audit video formatting parameters. Scroll down to the primary Video header block within the settings dashboard. Locate the parameter row labeled Color Range.
-
Adjust the Color Range Selection: Correct the black crush bottleneck safely. If your Color Range is currently set to Full, change it directly to Limited (sometimes labeled Partial on older versions of the software). While counter-intuitive, setting your range to Full on standard desktop configurations forces the graphics engine to drop low-end shades into absolute black, crushing the exposure profile. Shifting to Limited safely maps the shadows.
-
Configure the SDR White Level: Anchor your baseline brightness reference. In the exact same Advanced pane, locate the SDR White Level setting. If your video displays an overall gray tint, lower this baseline value from 300 nits down to 100 nits. This forces the software to treat mid-tones with significantly more vivid luminance. Click Apply and OK.
Enjoying this read?
Get weekly insights on video editing, AI workflows, and creator growth straight to your inbox.
Step 3: Apply an Internal Color Correction Filter
If your system settings are mathematically perfect but the video output remains dim due to a dark physical room, a low-exposure webcam, or a dark game engine, you can inject clean digital illumination directly onto the individual source layer via live processing filters.
- Go to the Sources dock, right-click the specific camera or display capture layer that looks too dim, and select Filters.
- Click the ** icon** in the bottom-left corner under the Effect Filters section.
- Choose Color Correction from the plugin pop-up menu.
- To brighten the layout naturally without washing out your colors, avoid dragging the Brightness slider excessively, as it merely injects flat white across the scene. Instead, bump up the Gamma slider slightly. Raising the Gamma lifts mid-tone exposure dynamically while preserving rich contrast in your deepest blacks.
Telemetry Brightness Calibration Cheat Sheet
| Exposure Symptom Signature | Primary System Bottleneck | Direct Settings Adjustment |
|---|---|---|
| Footage looks like a dull, flat gray wash | Operating system HDR tone-mapping clash | Turn Windows HDR Off or check Force SDR |
| Shadows are solid black, missing text details | Crushed color space/range values | Change Color Range to Limited inside Advanced |
| White backgrounds appear muddy gray | Over-scaled nit ceiling reference parameters | Adjust SDR White Level to 100 nits |
| Pristine colors, but overall image is too dark | Light starvation or dark application palette | Inject a Color Correction Filter > Boost Gamma |
The Recorder That Never Sends You Into the HDR Settings: Cubix Capture
The whole reason a dark recording happens is that OBS captures the raw signal your OS hands it and leaves the HDR-to-SDR conversion up to you. Get the toggle wrong and the frame goes black. OBS works this way because broadcast engineers want that raw signal. If you are recording a tutorial, you just want it to look right.
Cubix Capture tone-maps to a standard, bright SDR output on its own, so an HDR display never produces a dim file and there is no Force SDR box to remember. The exposure this guide fixes by hand is simply never wrong in the first place.
Keep Reading
- OBS Recording Washed Out / Overexposed: How to Fix for the opposite problem, faded or blown-out colour.
- OBS Video Quality Bad: Best Settings to Fix if brightness is only one of several issues.
- OBS Recording Looks Blurry: Fix Video Quality for soft or smeared text.
- OBS Best Settings for Screen Recording in 2026 for a clean baseline profile.
Don’t miss the next one.
Join our newsletter for exclusive tips, product updates, and the latest from the Cubix team.