
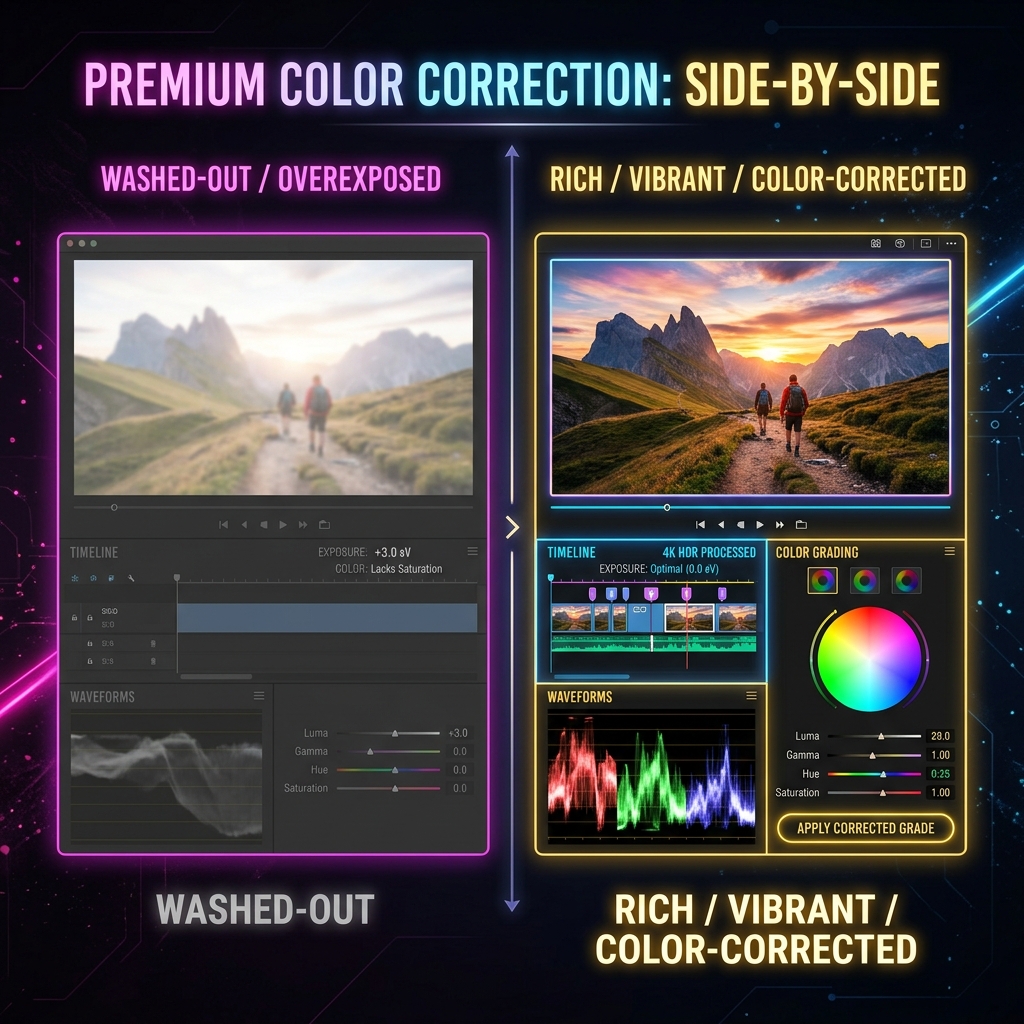
You wrap up a flawless recording or live stream session, open your video files to review the footage, and instantly feel a wave of disappointment. Instead of vibrant, punchy visuals, the entire video looks completely washed out, overexposed, or buried under a strange, milky gray haze. High-contrast areas are blown out to pure white, and the colors look lifeless compared to what you actually saw on your monitor.
When OBS Studio recordings look washed out, it is rarely a sign of broken hardware. It is a textbook color translation mismatch between your operating system, your input sources, and the OBS encoding engine. Video production requires mapping massive spectrums of color data under specific data limits. If your color space configurations clash, or if high-dynamic lighting data is dumped into standard containers without tone mapping, your colors will completely fade.
To stop the overexposure and restore rich, accurate color to your workflow, you must realign your digital video pipelines. Here is the definitive diagnostic blueprint to fix washed-out OBS recordings for good.
Step 1: Rule Out the HDR Blowout First (The #1 Culprit)
If HDR is enabled in Windows, it is almost certainly your problem. HDR pushes a huge brightness and contrast range, and when OBS squeezes that signal into a standard SDR file without converting it, the highlights blow out to pure white and the mid-tones flatten into a grey wash. It is the single most common cause of faded, overexposed OBS footage.
The fast test: open the Sources dock, double-click your Display Capture or Window Capture source, find Force SDR, switch it On, and click OK. If the colour snaps back to normal, HDR was your culprit and you are done.
This is the same HDR-to-SDR conflict that also produces dark recordings, so rather than repeat the full walkthrough, the complete guide, including the system-wide Use HDR toggle and the SDR White Level setting, lives in OBS Recording Too Dark. If Force SDR did not fully fix it, or HDR was already off and the colour is still faded, the cause is your colour space, which the next step tackles head-on.
Step 2: Calibrate the Advanced Video Color Format and Space
If you are not using HDR but your video still looks noticeably faded or lacks true deep blacks, your Advanced Video settings are misaligned. Adjusting these parameters alters how numbers are translated into color profiles by your media players.
-
Navigate to Advanced Settings: Open internal platform configurations. Launch OBS Studio, click on Settings in the bottom-right corner of the interface workspace, and select the Advanced tab from the left sidebar panel.
-
Audit the Video Section Format: Align pixel compression maps perfectly. Scroll down to the primary Video header block. Look at the Color Format dropdown. For standard recording and streaming layouts, verify it is set to NV12. This is the de-facto standard color compression profile for internet media players and video platforms.
-
Configure the Color Space Target: Anchor your baseline color standard. Locate the Color Space dropdown directly below. If it is set to sRGB or Rec. 601, switch it to Rec. 709. Rec. 709 functions as the absolute architectural standard for modern High Definition (HD) video content playback, keeping highlights from shifting yellow or overexposing.
-
Adjust the Color Range Settings: Correct the black scale range safely. Locate the Color Range field. If it is set to Full, change it to Limited (or Partial). While "Full" sounds like it would offer better visuals, most video media players cannot read full-RGB scales correctly; they will mistake a full file for a limited one, stretching the low-end spectrum and rendering your deep blacks as a faded gray wash. Click Apply and OK.
Step 3: Inject a Fine-Tuned Color Correction Filter
If your mathematical data ranges are perfect but your specific webcam source, desktop capture card, or target application outputs a naturally high gamma profile, you can inject clean digital exposure balance straight onto that single source layer.
- Right-click the specific washed-out display or video capture source inside your dock and select Filters.
- Click the ** icon** under the Effect Filters column box.
- Choose Color Correction from the plugin list and click OK.
- To reverse a washed-out appearance, avoid over-adjusting the basic brightness slider. Instead, lower the Gamma slider slightly and bump up the Contrast handle. Lowering gamma safely restores depth to mid-tone colors, flattening out overexposed hot spots while pulling rich tracking structure back to the pixels.
Enjoying this read?
Get weekly insights on video editing, AI workflows, and creator growth straight to your inbox.
Color Correction Reference Blueprint
| Telemetry Color Symptom | Primary Hardware Bottleneck | Direct Solution Path |
|---|---|---|
| Footage looks completely blown-out, white areas blinding | Active Windows HDR display pipeline mismatch | Turn Windows HDR Off or check Force SDR |
| Deep blacks look like a dull, milky gray block | Color Range configuration conflict | Switch Color Range parameter to Limited |
| Colors feel generally dead, lifeless, or tinted | Color Space standard misalignment | Set Color Space parameter strictly to Rec. 709 |
| Settings are correct, but UI feels faded | Low source contrast or hardware gain profile | Apply Color Correction Filter > Drop Gamma / Raise Contrast |
The Recorder That Gets Colour Right on Its Own: Cubix Capture
Washed-out OBS footage is the price of OBS handing you the colour pipeline to configure: colour space, range, and the HDR conversion are all yours to set, and any one of them, set wrong, drains the image. Broadcasters want those controls. For a product walkthrough they are just places to slip up.
Cubix Capture outputs a correct Rec. 709 SDR image by default and tone-maps HDR displays automatically, so colour stays true without you opening the Advanced tab at all. The faded, blown-out look this guide corrects by hand does not occur to begin with.
Keep Reading
- OBS Recording Too Dark: How to Brighten It for the opposite problem, and the full HDR walkthrough.
- OBS Video Quality Bad: Best Settings to Fix if colour is only one of several issues.
- OBS Recording Looks Blurry: Fix Video Quality if the image is soft as well as faded.
- OBS Best Settings for Screen Recording in 2026 for a clean baseline profile.
Don’t miss the next one.
Join our newsletter for exclusive tips, product updates, and the latest from the Cubix team.