
If you have spent any time scrolling through technical tutorials, software launches, or developer demos on X, YouTube, or TikTok, you have likely noticed a distinct style of hyper-polished video. The mouse glides across the interface like cinematic silk, the camera dynamically pans and zooms into active menus, and the application window hovers gracefully over a gorgeous, floating gradient canvas.
Nine times out of ten, those videos were created using Screen Studio. It has quickly become the absolute design benchmark for creators looking to turn boring screen captures into high-budget visual marketing assets.
Naturally, if you operate inside a Linux environment, you want that exact same production value for your software demos and documentation. You open a terminal, check your package managers, or search the web for an AppImage, Flatpak, or Snap installer, only to run into a wall.
Let’s get straight to the unvarnished reality: Is there a Linux version of Screen Studio? No. Screen Studio is built exclusively for macOS architectures, there is no native Linux package, and there are no plans to port its desktop recorder to Linux distributions.
But don't close your browser tab or switch your distro just yet. While you cannot run Screen Studio's native recorder on a Linux desktop, you can easily replicate that exact high-end, high-retention cinematic aesthetic. The secret lies in decoupling your screen recording from your post-production design layer by leveraging the unique web-processing capabilities of Cubix Capture.
Why Screen Studio Remains Locked to Mac
It is easy to assume that bringing a utility to Linux is just a matter of compiling code differently, but Screen Studio’s recorder relies deeply on core, closed-source Apple frameworks.
The software traps screen data by hooking directly into ScreenCaptureKit, a highly optimized, low-latency native graphics layer Apple shipped in macOS 12.3 Monterey. ScreenCaptureKit lets an application capture high-definition window states, application borders, and cursor vector paths straight from the operating system with almost zero impact on the CPU.
The highly fragmented display server architecture of Linux (where setups split between X11 and Wayland, alongside varying compositors like Mutter or KWin) makes replicating this automated hardware tracking incredibly difficult for a small development team. Because of this structural barrier, the desktop recording application remains strictly a Mac exclusive.
The Ultimate Linux Solution: Raw Capture + Cubix Capture Processing
You do not need to sentence yourself to hours of tedious manual timeline keyframing inside heavy video editing suites just because you run a Linux environment. While Cubix Capture does not host a native desktop recording client for Linux distros, its powerful platform provides a complete cloud-processing ecosystem built to handle raw video files from any operating system.
Instead of trying to automate everything during the recording phase, the ultimate Linux workflow is simple: Record your screen completely raw using your favorite native Linux tools, and then upload that file into Cubix Capture to apply the cinematic studio layer entirely through the browser.
Here is the exact step-by-step framework to achieve the premium studio look on Linux:
-
Record a Raw Video Clip on Linux: Capture a clean, uncompressed master file locally. Use any built-in, lightweight Linux utility (such as OBS Studio, Green Recorder, or your desktop environment's native screen scraper) to record your software walkthrough. Don't worry about zooms, cropping, or fancy backgrounds yet, just focus on a clean, high-resolution display capture.
-
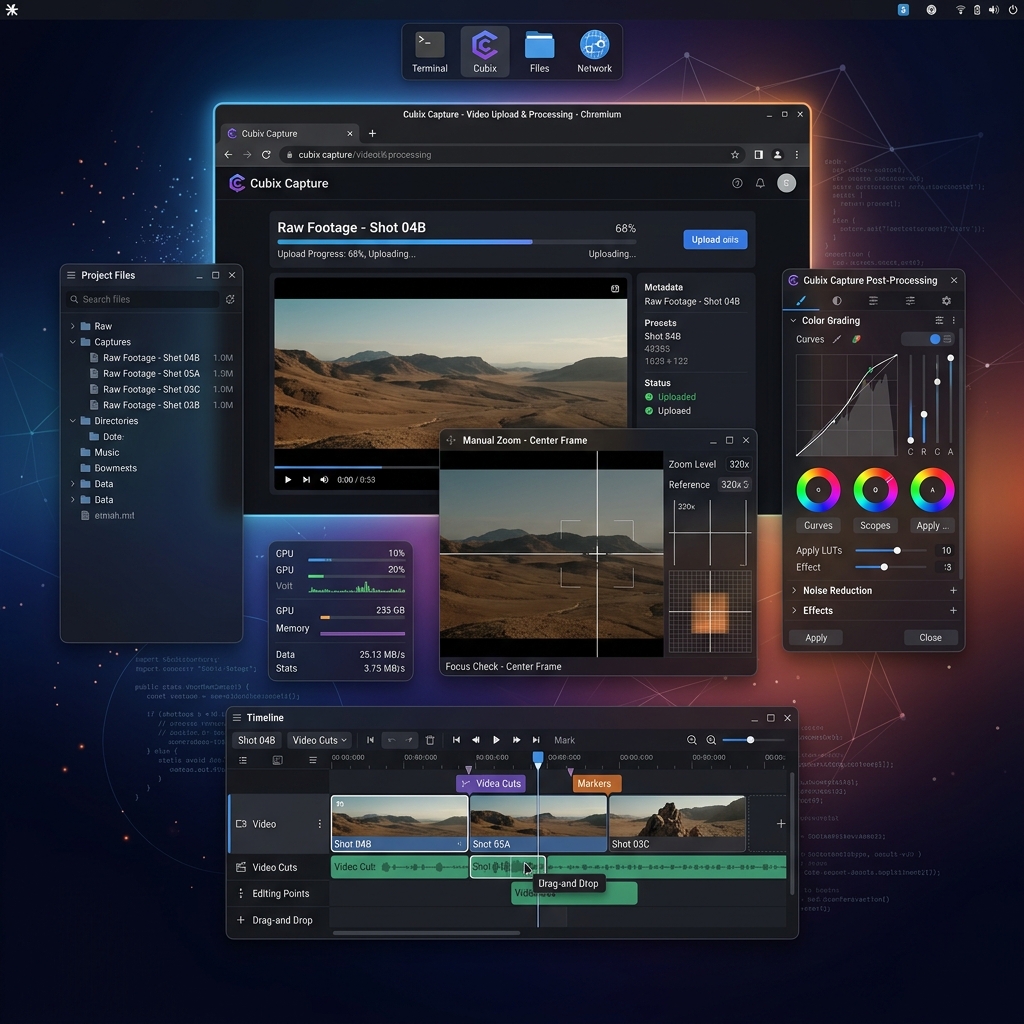
Upload the Raw Video to Cubix Capture: Import your local Linux asset into the design pipeline. Open your browser, navigate to the Cubix Capture workspace, and upload your raw video file. Because the platform allows you to import third-party raw video inputs, it instantly translates your flat Linux capture into an adjustable design asset.
-
Stitch on the Studio Mockup and Live Backgrounds: Apply cinematic tracking aesthetics automatically. With a single click, Cubix Capture wraps your raw Linux recording in a gorgeous, floating application mockup frame and drops it over stunning, dynamic live gradient backgrounds. Your messy desktop corners are instantly masked behind a clean, professional canvas.
-
Deploy Smart Zooms and Manual Controls: Configure camera focus and tracking logic. Let the engine analyze your video to inject fluid, reactive focal movements, or take the director's chair yourself. Use the comprehensive manual zoom controls to smoothly glide the virtual camera into code blocks or dropdown options, ensuring your text remains perfectly readable on mobile viewports.
-
Execute Direct Video Cuts and Polish Settings: Clean up errors and customize assets. Trim your timeline natively in the web app to cut clips and remove mistakes. Use info blurring to safely mask out private customer data or API keys, and leverage cursor customization tools to adjust your pointer's size and visibility for maximum visual clarity.
Enjoying this read?
Get weekly insights on video editing, AI workflows, and creator growth straight to your inbox.
The Multi-Tool Editing Advantage
By utilizing Cubix Capture as a post-production studio engine for your raw Linux videos, you gain access to an absolute powerhouse editing matrix that replaces a suite of separate design programs:
- Cinematic Canvas Staging: Instantly stage your application frames over gorgeous shadows, adjusting padding settings to optimize your software layout for modern social spaces.
- Granular Focus Authority: With robust manual zoom handles, you dictate the exact timing, velocity, and depth of every camera move, completely eliminating the risk of automated tracking missing a crucial micro-interaction.
- Rapid Multi-Clip Trimming: Splice out dead air, execute sharp video cuts, and manage multiple sub-clips effortlessly inside a clean, visual web interface.
The Bottom Line for Linux Creators
There is no Screen Studio for Linux, and there is not going to be one, but that only blocks you if you insist on doing the recording and the polish in the same app. Split them apart and the wall disappears: capture raw with whatever already works on your distro, then hand the file to a browser-based studio for the cinematic layer.
That is exactly what Cubix Capture lets you do, with no native Linux client required. You keep your familiar Linux capture tool for the recording itself, and the zooms, live gradient backgrounds, data blurring, and cursor styling all happen afterwards in the browser, on any OS. It is a different workflow than the all-in-one Mac experience, and on Linux it is the one that actually ships.
Keep Reading
- Screen Studio for Windows: Why It Doesn't Exist and What to Use Instead for the same platform story on Windows.
- I Switched From Mac to Windows: What Replaces Screen Studio? if a PC, not Linux, is where you landed.
- My Team Uses Both Mac and Windows: What's the Screen Studio Equivalent? for mixed-OS teams.
- Screen Studio Windows Alternative: Free Options in 2026 for free recording picks.
Don’t miss the next one.
Join our newsletter for exclusive tips, product updates, and the latest from the Cubix team.