Every Mac user knows the drill. You need to record a quick tutorial, a software bug, or a product demo, so you press Command + Shift + 5 to open Apple's built-in screen capture tool. It is completely free, already installed on your macOS, and incredibly easy to use.
But the moment you watch the video back, you realize a harsh truth: using a basic "free" tool often comes with a massive hidden cost.
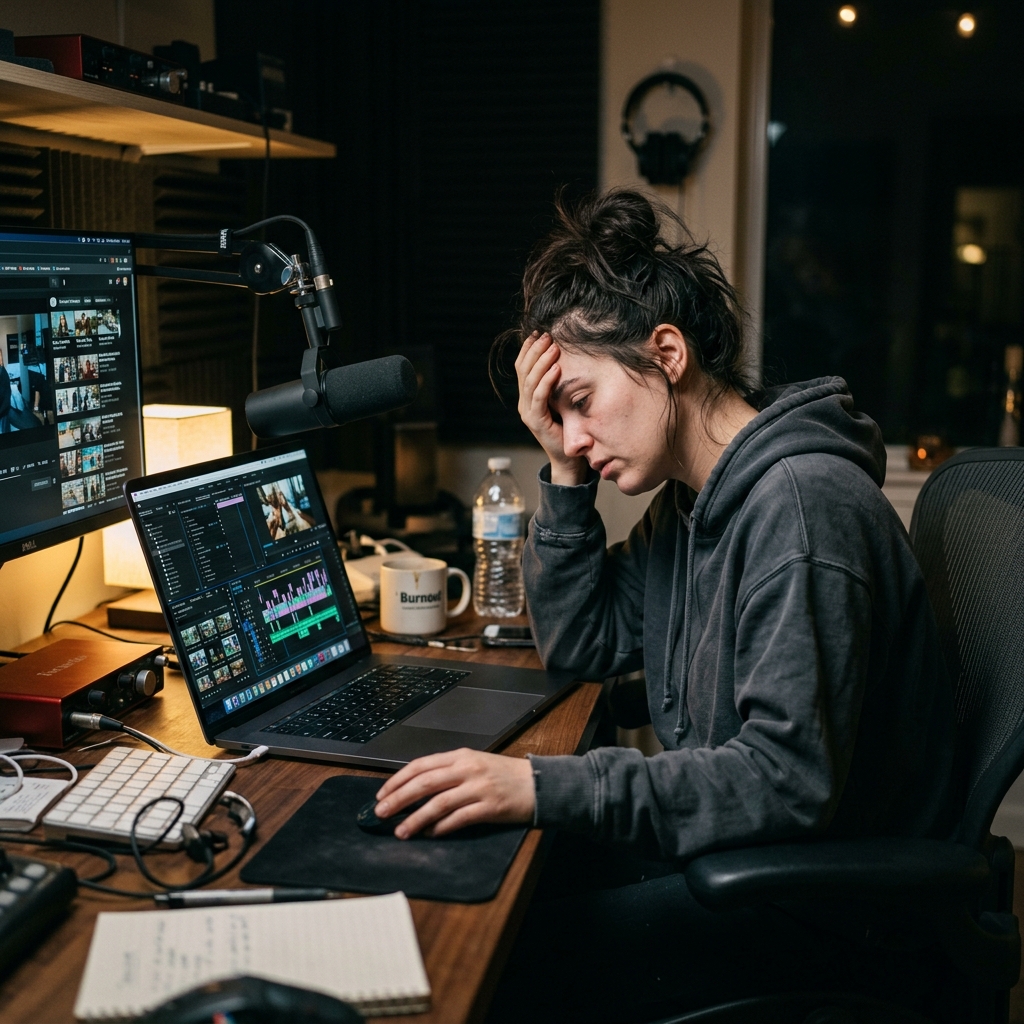
Your Mac's Retina display captures millions of pixels perfectly, but when you share that wide-screen video with a client or a student watching on a smaller screen, they cannot read anything. The text is too small, your mouse movements look frantic, and your personal desktop clutter is fully visible. To make the video look professional, you are now forced to spend hours inside a video editing program like iMovie.
Suddenly, that free screen recorder just cost you your entire afternoon. In 2026, the best screen recording workflow is not about finding another basic free app; it is about finding a tool that completely eliminates the editing room.
This article is not claiming a paid tool is “free.” Apple’s capture stack is the best zero-dollar starting point for many internal clips. The upgrade argument is about time returned when your output must look client-ready.
Stack context: Cubix Capture targets presentation-ready capture on Mac; deeper edits belong in the Cubix video editor.
The Problem With Raw Mac Screen Capture
Basic screen recorders just capture raw data. They record exactly what your screen looks like, which is rarely how a presentation should actually be viewed. If you want your videos to look professional, engaging, and easy to follow, you need to change how the information is delivered.
Here are the three essential features you need to look for to upgrade your Mac screen recordings from amateur to cinematic.
1. Stop Making Viewers Squint (Auto-Zoom)
When you capture your entire Mac monitor, you are forcing the viewer to search the screen for the action. If you click a tiny menu button in the top left corner, the viewer's eyes are probably focused somewhere else.
A professional video guides the viewer. Instead of manually editing your video later to add magnifications, you need a smart recording method that features auto-zoom. When you use this technology, the camera smoothly tracks your actions in real-time. It automatically zooms in on the specific text or button you are using, completely removing background distractions and ensuring your audience never has to squint.
2. Tame the Apple Trackpad
Mac trackpads are incredibly sensitive and fast. When we think about what to say next, we naturally wiggle our fingers, trace circles on the screen, or overshoot our clicks.
While trackpad speed makes you productive, the same input on a recording reads as twitchy and unsure. The Apple-grade gesture acceleration that helps you click fast becomes a liability the moment a viewer is watching, because every micro-correction is captured at full fidelity. Mac-native polish comes from interpreting that input into a weighted glide—the kind of motion you see in a Screen Studio export, where the cursor settles instead of skips—rather than mirroring it pixel-for-pixel.

Enjoying this read?
Get weekly insights on video editing, AI workflows, and creator growth straight to your inbox.
3. Clean Up Your Workspace
Your Mac desktop is your personal workspace. It is probably filled with random screenshots, folders, and a personal wallpaper. When you record a raw screen capture, you are broadcasting that clutter to the world, which instantly lowers the perceived value of your presentation.
To make your video look like a high-end commercial, you need to isolate your application. Placing your software window over a beautiful color gradient or a dynamic live background completely hides your operating system. It frames your work on a professional stage, making it look incredibly polished.
The Ultimate Mac Upgrade
If you try to achieve this auto-zoom, smooth cursor, and background effect using free tools and manual video editing, you will burn out fast. Your time is too valuable to spend hours keyframing video effects.
This is exactly why creators and professionals use Cubix Capture. It is designed to be the ultimate time-saver for Mac users. Instead of capturing a boring, raw screen, it routes the production decisions a Mac creator would normally make in iMovie—where to push in, how to handle the cursor, how to stage the window—directly into the recording itself.
On Apple silicon, the app runs without spinning the fans you would notice with OBS, and the visual decisions a Screen Studio user pays $229 for happen automatically: the camera follows your active region, your trackpad input is interpreted into a weighted motion path, and your messy macOS desktop is hidden behind a single clean stage. You hit Command-Shift-period to stop, and the file you upload to Loom or YouTube is the file you would otherwise have spent two hours producing in iMovie.
Quick Decision: Free vs. Upgrade This Week
Stick with Command–Shift–5 when:
- the audience is internal and forgiving
- the clip is short and the UI is already large
- you will not repurpose the footage to social
Move to capture-time polish when:
- prospects, students, or executives will watch
- you are batching dozens of similar tutorials
- you cannot afford an iMovie/DaVinci detour every time
Related reading:
- How to Capture System Audio on Mac Without Installing Drivers
- Why Your Screen Recordings Look Unprofessional (And How to Fix It)
- Best Screen Recorder for YouTube Tutorial Creators
Don’t miss the next one.
Join our newsletter for exclusive tips, product updates, and the latest from the Cubix team.