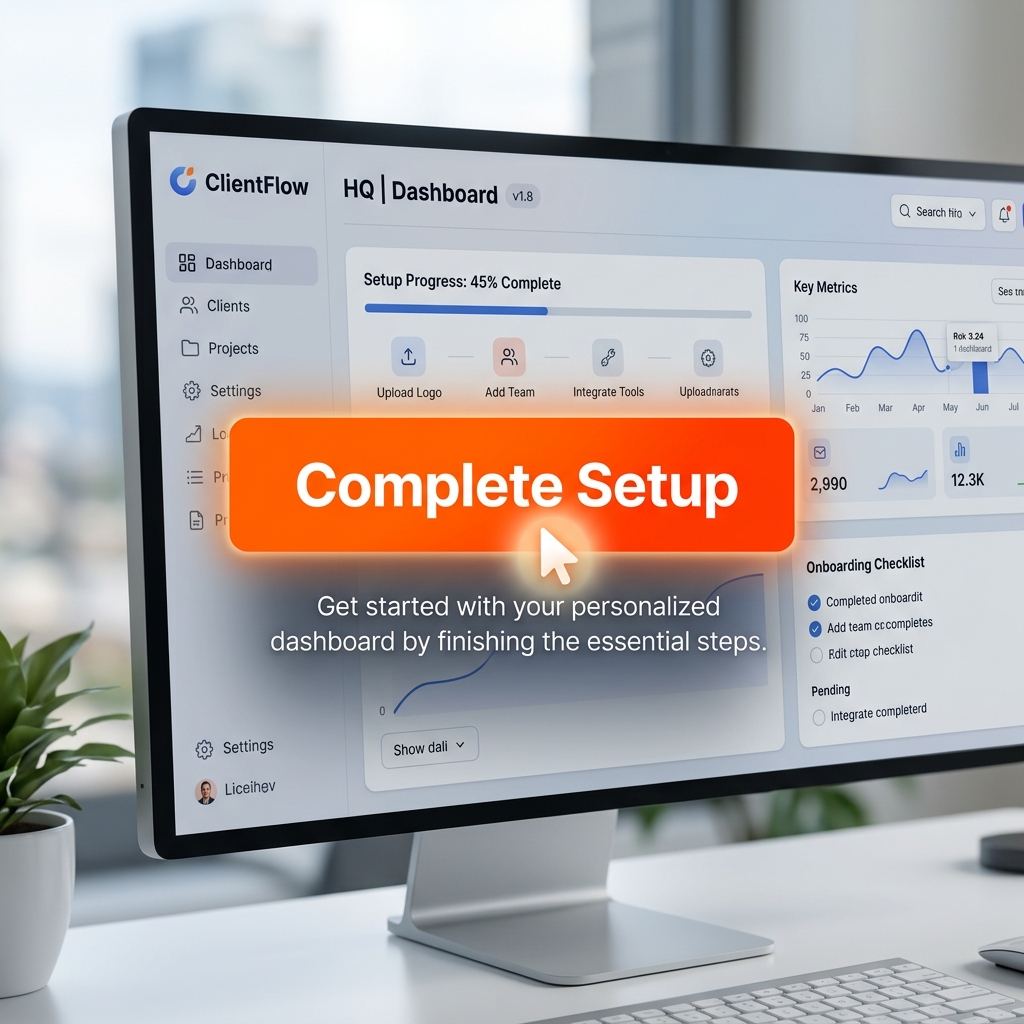
The first five minutes a new user spends inside your SaaS product are critical. If they understand how to use it, they stay. If they get confused, they churn.
A great onboarding video is the fastest way to guide a new user to their "Aha!" moment. But for busy founders and small teams, creating these videos is often delayed for weeks. The thought of writing a script, doing multiple takes, and spending hours in complex video editing software just to explain a simple dashboard feels exhausting.
But what if you could compress that entire process into a single lunch break?
Creating a high-converting, professional onboarding video does not have to take days. Here is a simple, real-life recipe to plan, record, and finish your SaaS onboarding videos in just 30 minutes, without opening a single video editor.

Minute 1-10: Draft a Bullet Script
The biggest mistake people make is trying to write a word-for-word script. When you read a script, you sound like a robot, and you will end up doing ten different takes because you missed a specific word.
Instead, spend your first ten minutes writing down three to five bullet points. What is the single most important action the user needs to take today? Outline the exact path they need to click to get there. By speaking naturally around bullet points, you will sound like a human having a conversation, which instantly builds trust with your new user.
Minute 11-25: Record in One Focused Pass
This is where the magic happens. The reason onboarding videos normally take hours is because of the editing room. When you record a raw, wide-screen video of your complex SaaS dashboard, the buttons look tiny. To fix it, you usually have to manually add zoom effects and try to cut out the parts where your mouse was shaking.
To finish in 30 minutes, you must eliminate the editing phase completely. You need the presentation to look perfect the moment you hit record.
Here is how you achieve that premium look instantly:
- Never Make Them Squint: Your user needs to see exactly where to click. Use a recording method that features auto-zoom. As you navigate your software, the camera should smoothly track your actions and magnify the specific menus you are talking about.
- Guide with a Calm Cursor: A fast, jittery mouse pointer confuses viewers. Your cursor needs to move with purpose. Ensure your mouse movements are automatically smoothed out, transforming erratic clicks into elegant, sweeping lines that gently guide the user's eye.
- Keep the Stage Clean: Do not let a messy computer desktop distract from your software. Place your application window over a clean, professional live background or gradient to make the video feel like a high-end commercial.
Enjoying this read?
Get weekly insights on video editing, AI workflows, and creator growth straight to your inbox.
Minute 26-30: Export and Publish
If you try to do the steps above manually, your 30-minute timer will run out before you even finish importing the footage.
To actually pull this off, you need a screen recorder designed for speed and automation. This is why tools like Cubix Capture are a game-changer for SaaS teams. It handles the heavy lifting of video production while you are speaking.
You just look at your bullet points and start the walkthrough. The visual decisions you would otherwise be making at 11pm in a Premiere project—where to push the camera in, how to clean up the cursor path, what to do about the cluttered onboarding admin panel behind your demo—are made during the recording itself, so your 30-minute budget is spent on narration and structure rather than on post-production.
When you hit stop, your video is done. There is no editing timeline and no rendering wait times. You have a highly polished, professional onboarding tutorial ready to be embedded into your welcome emails or product dashboard immediately.
Great onboarding reduces churn, and production should not become a bottleneck.
Onboarding Video Quality Checklist
Use this before publishing:
- one onboarding goal per video
- readable click path for first-time users
- clear narration at step boundaries
- visible completion state at the end
- single CTA for what user does next
Common Onboarding Video Mistakes
- Trying to teach everything in one video
- Skipping the user outcome in the intro
- Fast cursor movement during critical steps
- No final recap or next action
Related reading:
- How to Record a Product Walkthrough on Windows in 2026
- How to Record Screen and Webcam Simultaneously
Don’t miss the next one.
Join our newsletter for exclusive tips, product updates, and the latest from the Cubix team.