If you are a software educator, a tech content creator, or a founder building product walkthroughs, the standard for digital video on macOS has completely shifted. The days of recording a flat desktop, spending hours manually slicing a timeline, and hoping your microphone doesn't echo are officially over.
In 2026, viewer attention spans are shorter than ever, and tolerance for poor production quality is zero. Audiences expect immediate visual clarity, clear audio, and seamless focus especially since more than half of your viewers will watch your tutorial on a smartphone.
Creating a stunning tutorial on a Mac doesn't require a Hollywood budget. It requires a clean recording environment, crisp hardware, and leveraging intelligent tools that remove post-production friction. Here is your complete guide to recording a tutorial video on Mac this year.
Phase 1: Curating Your Digital Workspace
A cluttered Mac desktop kills a premium tutorial instantly. Before you touch a single recording button, you must prepare your machine to eliminate visual noise.
- Hide the Clutter: If your Desktop is covered in screenshots and file folders, clean them up or use a utility tool to hide your desktop icons entirely.
- Sanitize Your Browser: If you are recording a web app, close unnecessary tabs, hide your bookmarks bar (
Shift + Command + Bin Chrome), and enter full-screen mode to hide your personal extensions. - Block Interruptions: Click your Mac’s Control Center in the top right menu bar and toggle Do Not Disturb to "On." An unexpected iMessage or Slack notification popping up mid-sentence will ruin your take.
Phase 2: Choosing Your Production Weapon
How you record your Mac depends entirely on how much time you want to spend editing after you are done talking.
Option A: The Built-In Screenshot Toolbar (Best for Free, Simple Clips)
If you need to make a quick, one-take video with zero fancy formatting, macOS has a fantastic native recorder built right into the core operating system.
- Press Command (⌘) + Shift (⇧) + 5 on your keyboard to bring up the Screenshot Toolbar.
- Choose whether to record your Entire Screen or a Selected Portion (which lets you drag a bounding box around a single app).
- Click Options and select your preferred microphone under the audio list.
- Hit Record. When finished, click the small stop icon in your top menu bar.
The Major Mac Flaw: Apple blocks its native toolbar from recording internal system audio out of the box due to strict security protocols. If your tutorial requires viewers to hear sound coming from your Mac apps, the native tool will record complete silence unless you install complex virtual audio routing drivers (like BlackHole).
Option B: Automated Screen Recorders (Best for Professional Tutorials)
If your goal is to build a high-end tutorial for YouTube, a course, or a client, traditional recorders force you into a time trap. Mac screens are notoriously high-resolution; when you record a full layout, the text shrinks aggressively on mobile devices. Traditionally, you'd have to drop the file into Premiere Pro or ScreenFlow and spend hours manually adding zoom keyframes.
To skip the video editor entirely, creators in 2026 use intelligent recorders like Cubix Capture or Screen Studio. These platforms act as an automated digital director while you record:
- Algorithmic Focus Zooms: They track your cursor natively. The moment you click an application menu or highlight a code block, the software automatically and smoothly zooms in on that active field, making it instantly legible for smartphone viewers.
- AI Cursor Smoothing: They intercept the natural, shaky micro-movements of your physical trackpad or mouse and translate them into a fluid, elegant glide.
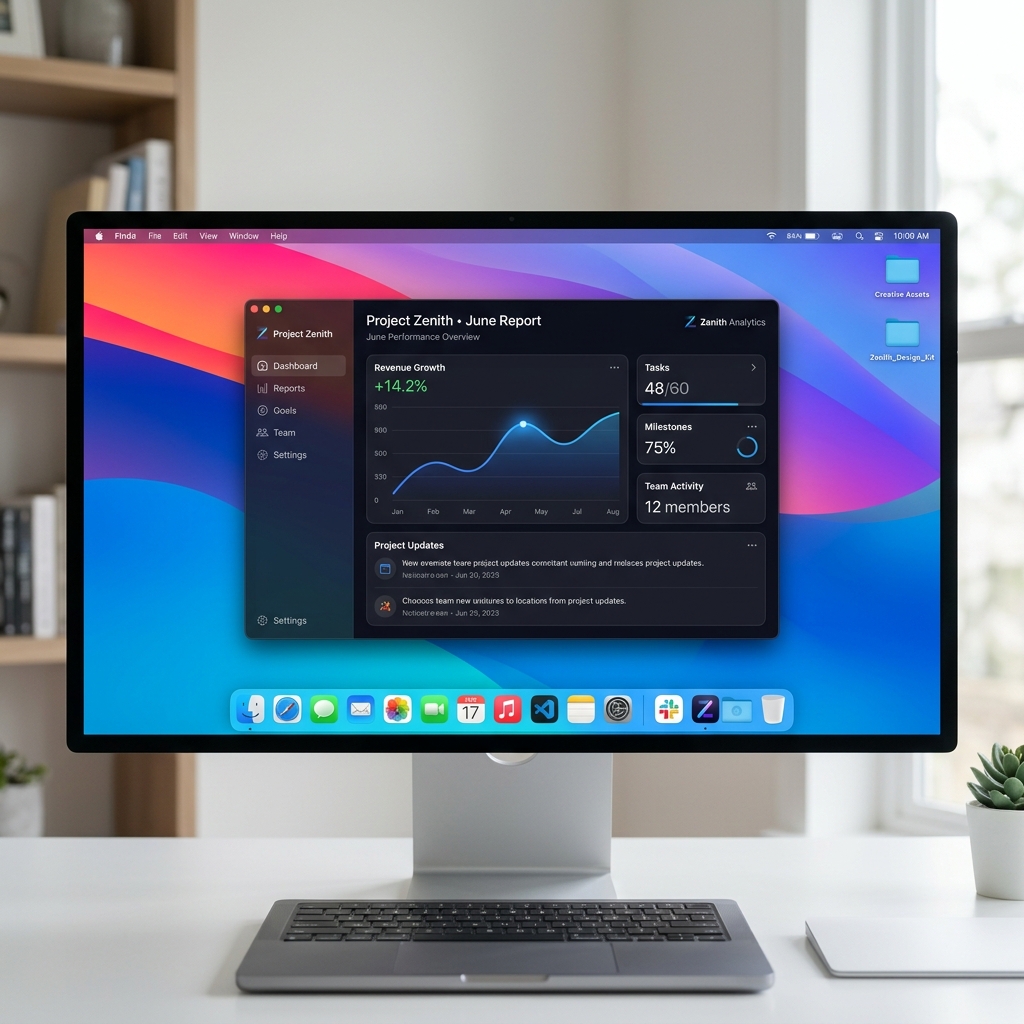
- Instant Studio Aesthetics: Your targeted app window is automatically placed against stunning gradient backgrounds, while your webcam feed is isolated into a clean, floating geometric bubble with automatic background blurring.
Enjoying this read?
Get weekly insights on video editing, AI workflows, and creator growth straight to your inbox.
Phase 3: The Production Framework
Once your staging is clean and your software is active, follow this procedural roadmap to execute a flawless presentation.
-
Outline with a Two-Column Script: Winging it leads to disjointed pacing. Write down a brief structural plan. On the left side, put your spoken cues. On the right side, note the exact on-screen mouse movements that correspond to those words.
-
Configure System Permissions: Protect your presentation boundaries. If you are using a third-party app for the first time, open System Settings > Privacy & Security and ensure Screen & System Audio Recording and Camera permissions are fully toggled on for your chosen software.
-
Execute Slow Choreography: Give the tracking software clean data signals. Move your mouse at half-speed. Hover over a drop-down menu for one full second before clicking, and hold it there for a second afterward. This gives your audience time to absorb the action and ensures automated zoom frameworks can track your focus smoothly.
-
Use the 'Clap and Pause' Trick: Save your creative momentum. If you stumble over your words or make an error, do not stop the recording. Simply stop talking, clap your hands loudly once (creating a large visual spike in the audio waveform), take a deep breath, and repeat the step. You can easily spot the audio spikes later to slice out the mistake.
Summary
Recording a tutorial on Mac in 2026 is no longer about mastering complex broadcasting setups or hours of manual keyframing. If you just need a raw, quick snippet to send to a colleague, holding down Command + Shift + 5 handles the job in seconds.
But if you want to create premium, high-retention educational content that looks like it was built by a professional production team without sacrificing your entire afternoon to a video editing timeline, upgrading to an automated tool like Cubix Capture handles the heavy visual lifting for you, letting you focus entirely on being a great teacher.
📖 Keep reading: How to record a tutorial video on Windows, how to record software tutorials that look cinematic, and does Mac have a built-in screen recorder?.
Don’t miss the next one.
Join our newsletter for exclusive tips, product updates, and the latest from the Cubix team.