If you have recently switched from a Windows PC to a Mac, you are probably looking for the Apple equivalent of the Windows Xbox Game Bar (Win + G) or Snipping Tool. You want a quick, seamless way to capture your desktop, record a quick software walkthrough, or save an online presentation.
While macOS has a fantastic, free screen recorder built right into the system, long-time Windows users are often blindsided by how it operates. Apple approaches screen privacy and media handling with a completely different architectural philosophy than Microsoft.
If you try to record your Mac's screen exactly the way you did on Windows, you will likely end up with a video file that is completely silent. Here is your complete guide to recording your screen on Mac, why it is vastly different from Windows, and how to master the native environment.
Method 1: The Shift + Command + 5 Blueprint
You don't need to scour the App Store or download bloated third-party software. Apple has integrated a system-level overlay called the Screenshot Toolbar directly into macOS.
-
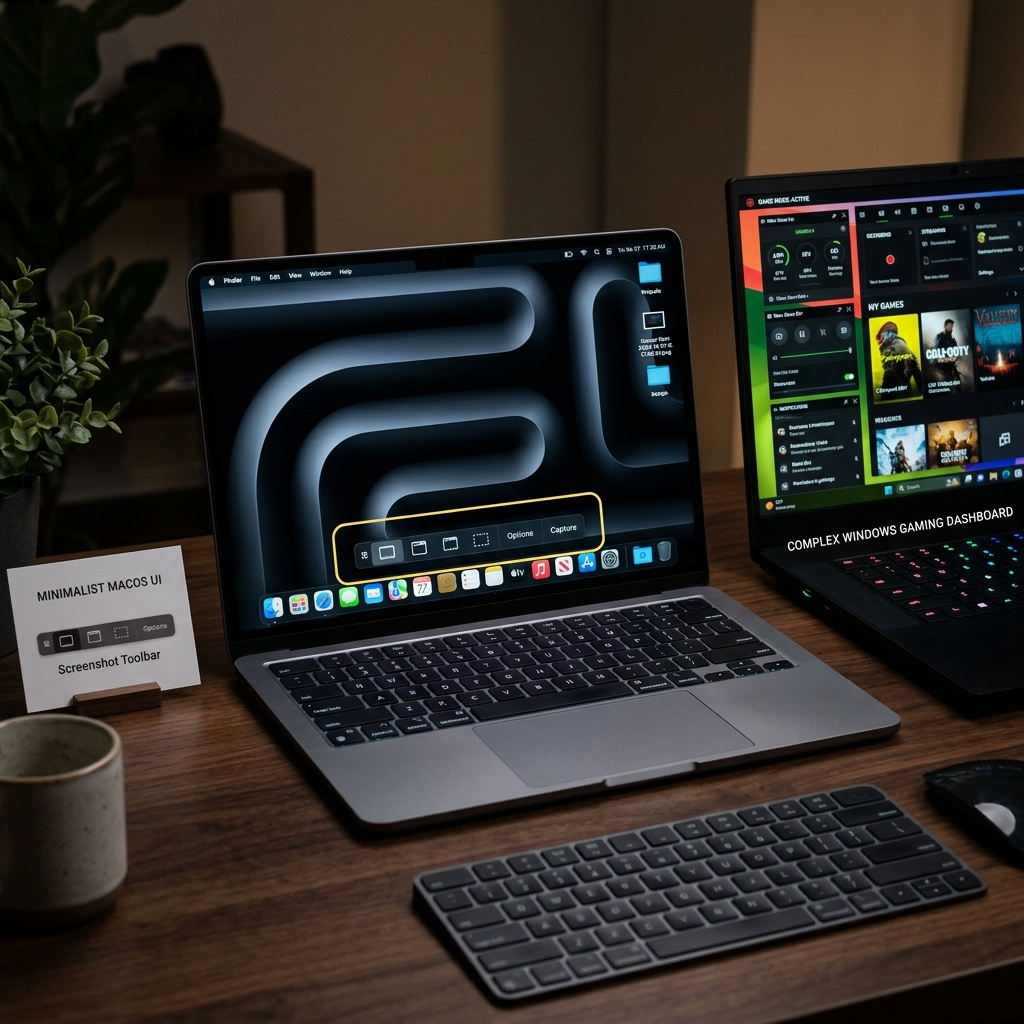
Trigger the Core Overlay: Launches the hidden utility instantly. On your Mac keyboard, hold down Command (⌘) + Shift (⇧) + 5 simultaneously. A minimal, transparent control panel will immediately float into view at the bottom of your monitor.
-
Select Your Capture Frame: Isolate your recording field. Look closely at the middle icons on the floating toolbar. You will see two video recording options:
- Record Entire Screen (an icon shaped like a full monitor display): Click this to capture your entire desktop canvas.
- Record Selected Portion (an icon shaped like a dotted bounding box): Click this if you only want to record an isolated app or a specific window. A crop box will appear, letting you drag the corners to frame your app perfectly.
-
Adjust the Audio Input: Configure your microphone source. Click the Options menu button on the floating toolbar. By default, the microphone is set to "None." If you want to narrate your video, click Options and select your built-in MacBook microphone or your plugged-in USB headset under the Microphone list.
-
Start and Stop the Video: Commence and wrap your capture session. Click the Record button on the toolbar. The overlay will disappear, and a tiny recording indicator icon (a square inside a circle) will light up on the top right menu bar of your Mac. When you are finished presenting, click that circular menu bar icon or press Command + Control + Esc to instantly save your file to your Desktop.
(Alternatively, you can open QuickTime Player from your Applications folder and click File > New Screen Recording to pull up the exact same system toolbar).
The Great Divergence: Why It’s Not Like Windows
If you followed the steps above to record a browser video or a Zoom call, you are about to hit the massive "Mac vs. Windows" wall. When you play the video back, you will hear your voice perfectly, but the internal sound coming out of your Mac will be completely missing.
Here is why this happens:
1. The Internal Audio Blockade
Windows treats system sound openly; the Xbox Game Bar records internal application audio flawlessly right out of the box. Apple, however, views internal audio routing as a strict security and privacy liability. To prevent unauthorized application background surveillance, macOS completely blocks its native screen recorder from capturing internal system audio.
If you want to record both your voice and your computer's internal sounds for free using Apple's native tool, you have to download complex, third-party virtual audio routing drivers (like BlackHole), open your Mac's advanced Audio MIDI Setup utility folder, and manually build custom "Aggregate Devices" and "Multi-Output Devices" just to pass the sound through. It is a technical headache that trips up almost every former Windows user.
2. Canvas vs. Window Lock
The Windows Game Bar locks onto a single active application or game window; if you minimize that app, the recording automatically cuts off. The Mac recorder is a pure canvas recorder. It records a specific physical area of your screen. If you minimize your browser window, the Mac recorder keeps filming, completely exposing your desktop background, dock, or any private notifications that pop up in that visual grid.
Enjoying this read?
Get weekly insights on video editing, AI workflows, and creator growth straight to your inbox.
The Smart, Frictionless Solution: Cubix Capture
If you are a professional, founder, or educator, you don't have time to moon-light as an audio engineer just to record a software tutorial or a client presentation with sound.
This is exactly why Mac power users are moving away from native tools and upgrading to Cubix Capture. Instead of acting like a passive security camera that blocks your audio, Cubix Capture is a macOS-optimized workflow engine that handles your presentation beautifully:
- Native System Audio Extraction: It completely bypasses the need for virtual audio drivers or MIDI configurations. With a single click, it captures both your microphone voiceover and your computer's internal application sounds flawlessly.
- Real-Time Cinematic Auto-Zoom: Mac screens are notoriously high-resolution. When you record your full monitor, text becomes microscopic on mobile phone displays. Cubix Capture tracks your mouse behavior and automatically zooms in on your active windows while you speak, ensuring perfect legibility on smartphones with zero manual editing.
- Silky-Smooth Pointer Control: It catches the naturally jittery, nervous trackpad movements of your hand and translates them into an elegant, fluid glide that guides the viewer's focus.
- Instant Studio Framing: It isolates your face into a clean floating webcam bubble, automatically blurs your physical room, and frames your software window against beautiful gradient canvas backdrops.
Summary
If you just need a fast, raw, silent snippet of your desktop layout, holding down Command + Shift + 5 on your Mac keyboard will get the job done instantly.
But if you want to record an elite, professional software tutorial, present a polished idea to a client, or share a premium lesson that captures both your voice and your system audio flawlessly without spending your afternoon adjusting audio drivers and editing timeline zoom keyframes — upgrading to a platform like Cubix Capture gives you an undeniable efficiency advantage on Mac.
📖 Keep reading: Does Mac have a built-in screen recorder?, Mac recorder vs Windows Xbox Game Bar, and how to record Mac internal audio without BlackHole.
Don’t miss the next one.
Join our newsletter for exclusive tips, product updates, and the latest from the Cubix team.