You have set up the perfect screen recording to capture an important Zoom meeting, a webinar, or a piece of software that plays sound. You press Command + Shift + 5, record the video, and hit stop. But when you watch the playback, the video is flawless, yet the system audio, the voices of other people or the application sounds is completely silent.
Historically, Apple has intentionally blocked users from directly recording internal computer audio due to strict privacy and copyright protocols. If you search for a solution online, 99% of the tutorials will tell you to download a virtual audio driver like BlackHole or Soundflower, followed by a confusing 15-step process involving the Mac’s "Audio MIDI Setup" utility to create multi-output devices.
If you are not an audio engineer, configuring virtual routing is a massive headache. Fortunately, in 2026, you no longer have to hack your system’s audio architecture to capture sound. Here is the exact method to record your Mac’s system audio without downloading BlackHole, and how to ensure your final video is a professional masterpiece.
The Modern Solution: ScreenCaptureKit and OBS
Starting with macOS Ventura and maturing over recent updates, Apple introduced a developer framework called ScreenCaptureKit. This API allows authorized applications to natively grab your screen and internal audio at the same time, completely bypassing the need for virtual audio drivers like BlackHole.
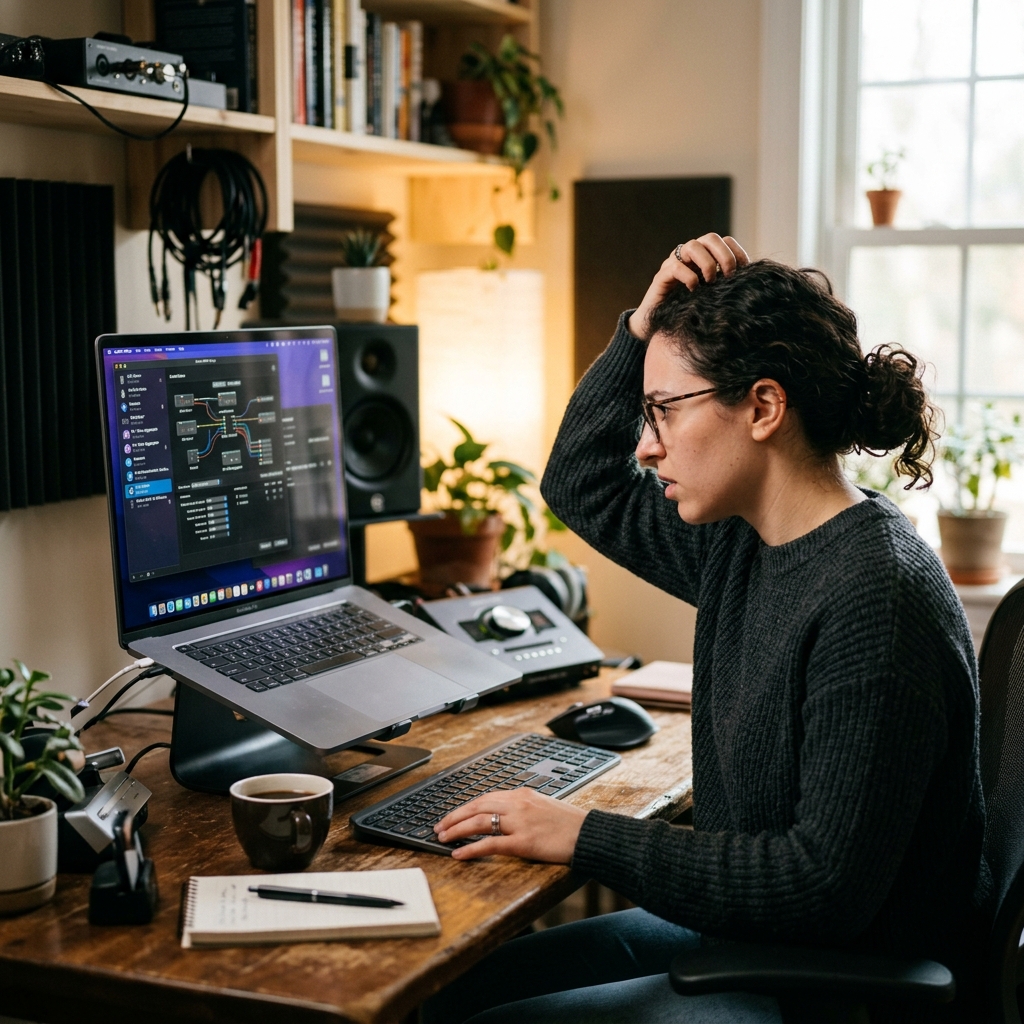
The best, completely free software that utilizes this modern Apple framework is OBS Studio. While it is famous among live streamers, it functions as a remarkably powerful, straightforward screen recorder for everyday Mac users.
Step 1: Download and Install OBS
- Navigate to the official OBS Project website and download the Mac version.
- Once installed, open the application. It may ask for screen recording permissions in your Mac’s System Settings; grant them.
Step 2: Set Up the Native Mac Capture
- In the bottom left of the OBS interface, you will see a box labeled Sources.
- Click the (+) icon and select macOS Screen Capture.
- Name the source (e.g., "My Mac Screen") and click OK.
Step 3: Enable System Audio
- A properties window will appear showing your screen. Look for the dropdown menu labeled Method and ensure it is set to ScreenCaptureKit.
- Right below that, simply check the box that says Capture Audio.
Enjoying this read?
Get weekly insights on video editing, AI workflows, and creator growth straight to your inbox.
- Click OK.
That is the entire setup. When you click Start Recording on the right side of the screen, OBS will now flawlessly record your visual display and your Mac’s internal system audio in perfect sync.
The Unseen Problem with Desktop Captures
Solving the Mac audio puzzle is a massive relief, but pristine sound is only half of the equation. If your goal is to present a professional tutorial, a software demo, or an educational guide, standard screen recordings even those with great audio still have a critical visual flaw.
Apple’s Retina displays are incredibly high-resolution. When you capture your entire Mac desktop and send that video to someone watching on an iPhone or a smaller laptop screen, the interface is aggressively scaled down. The software menus become microscopic, forcing your audience to squint just to read the text on the screen.
Furthermore, navigating macOS with a Magic Mouse or trackpad naturally creates small, erratic pointer movements. When played back on video, a frantic cursor combined with unreadable text results in a highly distracting experience that fails to deliver your message effectively.

📖 Keep reading: how to capture system audio on Mac without installing drivers, how to record your screen on Mac with internal audio, and how to record system audio on Windows.
The Ultimate Audiovisual Workflow
If you want your videos to genuinely help people and look highly professional, you must deliver visual clarity that matches your perfect system audio. You could spend hours manually editing your video file in Final Cut Pro to add zoom effects and fix your mouse path, but that completely kills your productivity.
A much smarter approach is to utilize a platform that automatically engineers the visual experience for you while you are speaking.
This is exactly why Cubix Capture completely redefines the screen recording workflow for Mac users. Instead of leaving you with a flat, hard-to-read video, it operates as an intelligent digital producer, automatically polishing your content:
- Algorithmic Focal Panning: Rather than statically recording a massive, unreadable desktop, the software actively reads your active window and seamlessly scales up the exact interface elements you are interacting with. This ensures your presentation remains crystal-clear and perfectly legible on any mobile device.
- Kinetic Pointer Interpolation: It intercepts the physical, frantic swipes of your trackpad and replaces them with a computationally smoothed, cinematic cursor glide. This acts as a natural visual anchor, preventing viewer fatigue.
- Depth-Sensing Virtual Environments: If you activate your webcam, it utilizes AI depth-mapping to instantly erase your physical room and drop your portrait into a broadcast-grade digital studio, completely bypassing the need for green screens or physical backdrops.
Knowing how to record your Mac's system audio without relying on complex routing tools like BlackHole is a massive technical win. But when it is time to guide a client, teach a team member, or share critical information, upgrading to a platform that guarantees effortless visual brilliance ensures your audience actually absorbs the message you are sharing.
Don’t miss the next one.
Join our newsletter for exclusive tips, product updates, and the latest from the Cubix team.