If you use a modern Windows 10 or Windows 11 PC, you have probably noticed that Microsoft is aggressively pushing the Snipping Tool. Whenever you press a capture key, the screen dims, an overlay drops down from the top of your monitor, and the app takes over.
While the Snipping Tool is incredibly capable, it is not always the right tool for the job. Maybe the app keeps crashing, maybe your corporate IT department blocked it, or maybe you simply hate the intrusive overlay interrupting your workflow.
Whatever your reason, you are not trapped. Windows is an operating system built on decades of legacy features, meaning there are plenty of alternative ways to capture your screen that completely bypass the Snipping Tool. Here is the definitive guide to taking a screenshot on Windows without it.
This article is specifically about avoiding the Snipping Tool. If you actually like it and just want the complete list of every shortcut (Snipping Tool included), see our every Windows screenshot keyboard combo cheat sheet. Torn on whether the overlay is even worth using? We compare them directly in Snipping Tool vs. screenshot shortcut.
The Windows 11 Problem (Fix This First)
Before we get into the methods, we need to fix your keyboard. In recent Windows 11 updates, Microsoft fundamentally changed how the classic "Print Screen" key works. By default, pressing PrtScn now forcibly launches the Snipping Tool.
If you want the old-school, silent capture back, you have to turn this setting off:
- Open your Settings app.
- Go to Accessibility > Keyboard.
- Scroll down and toggle Off the setting that says "Use the Print screen key to open screen capture" (or Snipping Tool).
Now, your keyboard will behave normally.
Method 1: The "Old School" Clipboard Copy
The Shortcut: PrtScn
This is how screenshots worked for over twenty years before modern overlays existed. It is fast, silent, and requires zero software.
How it works:
- Press the PrtScn (Print Screen) key.
- Absolutely nothing visible will happen. Your screen won't flash, and no menus will appear.
- However, a massive, uncompressed image of your entire monitor (or multiple monitors, if you have a dual setup) has just been copied directly to your invisible clipboard.
- Open an app like MS Paint, Word, or an email, and press
Ctrl + Vto paste the image. You can then crop it or save it from there.
Method 2: The Instant Auto-Save
The Shortcut: Windows + PrtScn
If you don't want to mess with pasting images into Paint, this is the best native alternative to the Snipping Tool. It instantly snaps a picture and saves it as a hard file in milliseconds.
How it works:
- Press the Windows key and the PrtScn key simultaneously.
- Your screen will quickly dim and flash back to normal.
- Windows automatically saves a PNG file of your entire screen directly to your hard drive.
- To find the file, open File Explorer and go to Pictures > Screenshots.
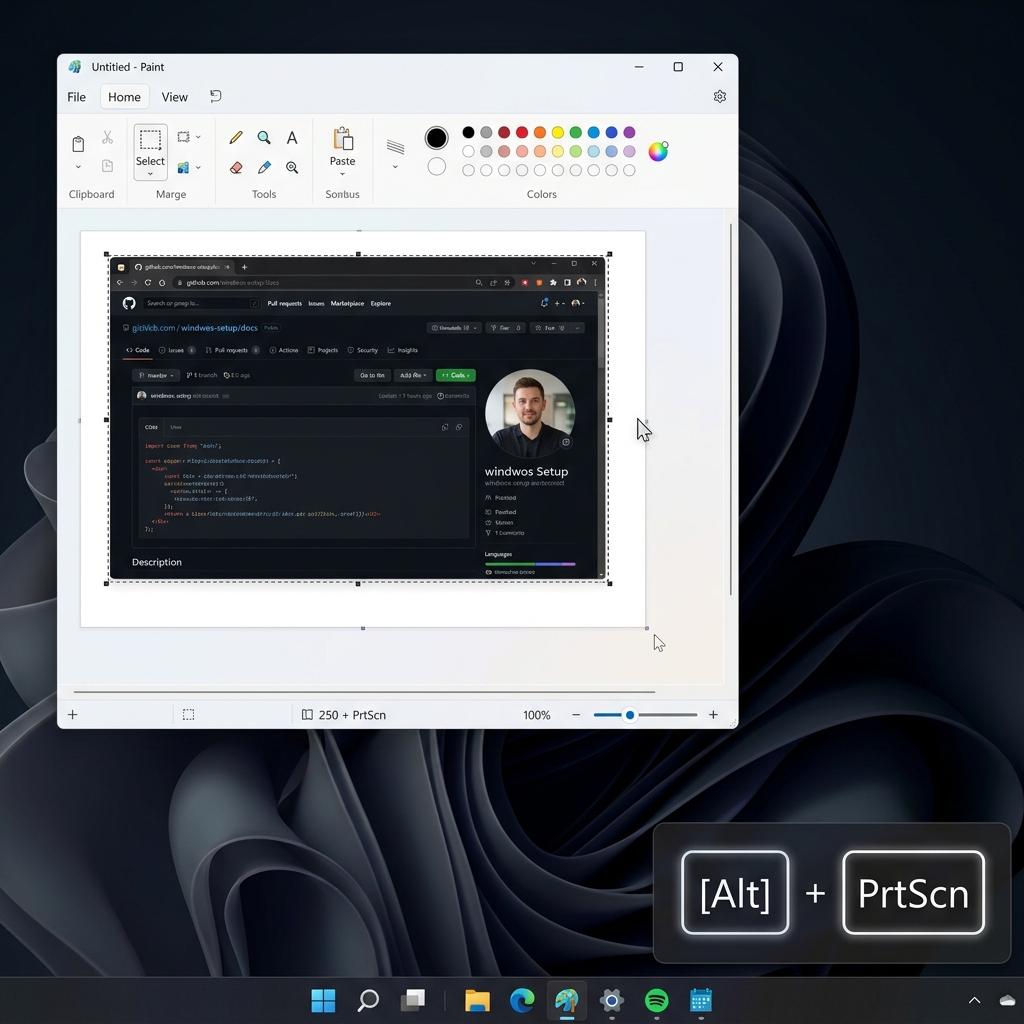
Method 3: Capture the Active Window Only
The Shortcut: Alt + PrtScn
If you just want an image of your web browser or a specific Excel window without capturing your messy desktop background, this legacy shortcut handles it perfectly.
How it works:
- Click on the application window you want to capture so it is active and brought to the front.
- Press Alt + PrtScn.
- Windows snaps a clean, borderless image of only that application and copies it to your clipboard.
- Press
Ctrl + Vto paste it wherever you need it.
Enjoying this read?
Get weekly insights on video editing, AI workflows, and creator growth straight to your inbox.
Method 4: The Xbox Game Bar (For Heavy Apps)
The Shortcut: Windows + Alt + PrtScn
Sometimes, full-screen PC games or heavy 3D rendering applications will block traditional screenshot methods, resulting in a completely black image. To get around this, use the built-in gaming overlay.
How it works:
- Press
Windows + Alt + PrtScn. - A small, dark notification will pop up confirming the screenshot was saved.
- This method completely bypasses the Snipping Tool and the clipboard. The files are automatically saved to your hard drive under Videos > Captures.
(Alternatively, press Windows + G to open the full Game Bar menu and click the camera icon).
Method 5: Third-Party Power Tools
If you are abandoning the Snipping Tool because it actually lacks features, you should replace it with a dedicated third-party utility.
- ShareX (Free & Open Source): This is the undisputed king of Windows screen capture. It is lightweight, completely ad-free, and handles scrolling screenshots, GIF recording, auto-watermarking, and instant uploading to servers like Imgur.
- Greenshot (Free): If you just want a classic, no-nonsense tool that behaves exactly like the old Windows 7 Snipping tool but with a much better markup editor, Greenshot is an incredibly popular lightweight alternative.
So Which Method Wins?
For most people who land here, Method 2 (Windows + PrtScn) is the answer — it gives you the instant, file-saving behavior the old Print Screen key used to have, with none of the overlay. If you only need to paste into a chat or document, Method 1 is even faster. Reach for a third-party tool only if you genuinely need features the built-ins lack, like scrolling capture or auto-upload.
And remember the first fix at the top of this guide: if you only disabled the Snipping Tool because PrtScn started hijacking your key, flipping that one Settings toggle back gives you the silent capture you actually wanted.
Coming soon: Cubix Snap. Skipping the Snipping Tool gets you the raw capture; Snap is the companion for everything after — a fast way to wrap that screenshot in a beautiful background, mark it up, or knock the background out in a single click, without ever opening Photoshop.
When a Workaround Still Isn't Enough
Bypassing the Snipping Tool solves the capture problem. It does not solve the bigger one: a static image, however you grabbed it, can only freeze a single moment. If you regularly find yourself stitching three screenshots together with red arrows just to explain one workflow, the format itself is the bottleneck — not the tool.
That is the point where a short, auto-zoomed screen recording does the job a stack of stills never could. Cubix Capture turns a raw recording into a clean, cinematic walkthrough automatically, without a video editor — worth a look once screenshots stop being enough.
Don’t miss the next one.
Join our newsletter for exclusive tips, product updates, and the latest from the Cubix team.