You just pressed the stop button on an important screen recording—maybe it was a software tutorial, a client presentation, or a bug report for your development team. But as soon as you clicked stop, the recording window vanished.
Where did it go?
If you are new to macOS, or if you recently changed your system settings, finding your saved video files can feel like a game of digital hide-and-seek. By default, Apple hides these files in a very specific location, but you can change that path in less than five seconds.
Here is exactly how to find your missing screen recordings on a Mac, how to change where they are saved, and how to recover a video if your system accidentally crashes.
The Short Answer: Check Your Desktop
By default, Apple configures its native screen recording engine to save every single video directly to your physical Desktop.
If you don't see it scattered among your desktop icons, look for a file named with this exact structure:
Screen Recording [Date] at [Time].mov
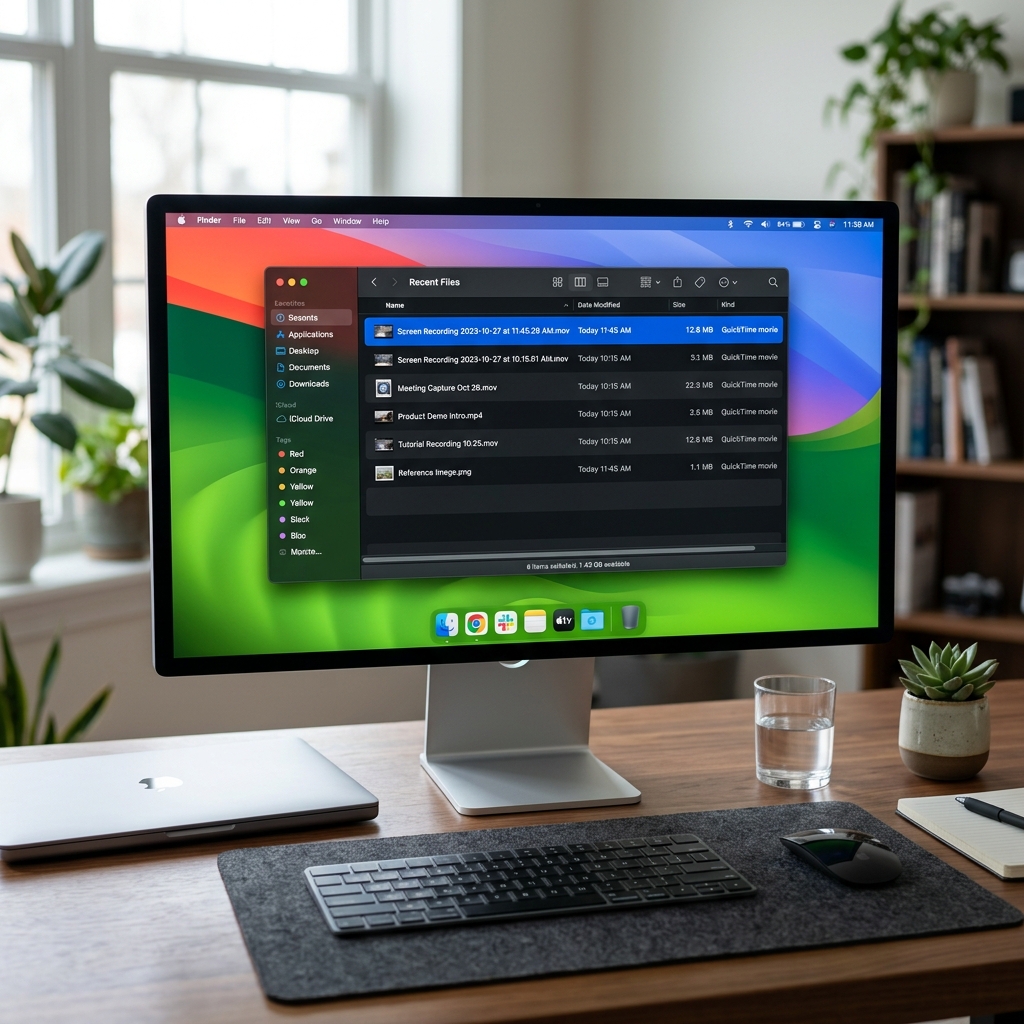
Because Mac records in a high-quality, uncompressed format, these files are saved as .mov files. If your desktop is highly cluttered, open a new Finder window, click on the Recents tab in the left sidebar, and click the "Date Modified" column to bring your newest recording straight to the top of the list.
How to Change Where Screen Recordings Are Saved
If you don't want your desktop constantly cluttered with massive video files, you can tell macOS to route your recordings to a specific folder (like Downloads or a dedicated Videos folder) automatically.
-
Open the Screenshot Toolbar: Launches the system screenshot framework overlay. On your Mac keyboard, press Command (⌘) + Shift (⇧) + 5 simultaneously. A small, transparent control panel will float into view at the bottom of your monitor.
-
Click on the Options Menu: Reveals your internal save directory routes. Look at the right side of the floating toolbar and click the Options button. At the very top of the pop-up menu, you will see a section labeled Save to.
-
Select Your New Destination: Points your Mac to a brand new folder. By default, "Desktop" will have a checkmark next to it. You can select Documents, Downloads, or click Other Location... to browse your Mac's files and select a specific folder you built just for your video assets.
-
Exit and Save: Locks in your choice for all future recordings. Once you select your new folder, press the Escape (Esc) key on your keyboard to close the toolbar. Every screen recording you make from this moment forward will automatically drop into that target folder.
Enjoying this read?
Get weekly insights on video editing, AI workflows, and creator growth straight to your inbox.
What If My Mac Crashed Mid-Recording? (The Hidden Temporary Folder)
We have all experienced the panic: you are an hour into recording a massive lecture or presentation, your Mac suddenly freezes, runs out of battery, or crashes, and restarts. When the desktop boots back up, your video file is completely missing.
Because Apple uses the QuickTime architecture for its native recording, it actively builds a temporary "cache" file while you are speaking. If the app crashes before you hit stop, that file isn't deleted, it is left stranded in a hidden system folder. Here is how to hunt it down:
- Open a new Finder window.
- In the top Apple menu bar, click Go > Go to Folder... (or press Cmd + Shift + G).
- Copy and paste this exact path into the box and hit Enter:
~/Library/Containers/com.apple.QuickTimePlayerX/Data/Library/Autosave Information/ - Look for a file named something like Unsaved QuickTime Player Document.qtpxcomposition. Right-click it, select Show Package Contents, and your raw, uncompressed video track will be sitting safely inside.
The Smarter Way to Manage Your Media File Workflow
Locating your local .mov files is easy enough once you know where to look. However, managing these files highlights the massive bottleneck of traditional, passive desktop recording software.
Mac records raw, lossless pixel data. A simple 10-minute presentation on a high-resolution screen can easily result in a massive 2GB file that eats up your local SSD storage. Furthermore, because it is a flat, unedited capture, you are forced to drag that heavy file into an editor to manually add zooms so mobile viewers can read your text, before waiting for a long rendering process just to share it.
If you are a founder, educator, or busy product manager, you shouldn't have to spend your day managing bloated local video files and hunting through system directories.
This is exactly why professionals are upgrading to Cubix Capture. Instead of littering your hard drive with heavy raw recordings, Cubix Capture operates on a completely modern, cloud-first framework:
- Instant Zero-Render Share Links: The exact millisecond you hit stop, a polished, studio-grade video link is instantly generated and copied to your clipboard. You can Slack it to a client or email it to your team immediately without waiting for exports or file uploads.
- Real-Time Cinematic Formatting: It completely removes the video editor from your workflow. As you click through an app, the software automatically triggers smooth, beautiful zooms, smooths your jittery mouse paths, and frames your webcam inside a clean floating bubble.
- Cloud Storage Freedom: Your recordings are securely offloaded to your secure cloud dashboard, preserving your Mac's internal hard drive space while keeping your educational content beautifully organized and accessible from any browser.
If you just need a quick, raw clip of your desktop, the native Mac toolbar saving directly to your Desktop handles the job perfectly. But when you want to produce elite, professional software presentations and tutorials without cluttering your hard drive or wasting hours managing video files, upgrading to a smart workflow platform like Cubix Capture handles the entire pipeline for you.
📖 Keep reading: Where do screen recordings go on Mac?, how to screen record on Mac vs Windows, and does Mac have a built-in screen recorder?.
Don’t miss the next one.
Join our newsletter for exclusive tips, product updates, and the latest from the Cubix team.