If you have ever tried to explain a complicated software issue in an email, you know how painful it can be. You type out endless paragraphs, attach five different screenshots, and hope the other person understands.
Recording your PC screen is the easiest way to show exactly what you mean in a fraction of the time. However, unlike a smartphone, your computer does not have an obvious "Screen Record" button sitting on the keyboard. If you are looking at your monitor wondering where to start, you are not alone.
Here is a straightforward guide on how to record your screen on a PC, whether you just need to send a quick ten-second clip to a coworker or create a highly professional video tutorial.
The Free Method Hidden Inside Windows
You do not necessarily need to download complex software just to grab a quick video. If you are using Windows 11, Microsoft has recently upgraded a classic, everyday tool to handle screen video perfectly.
Using the Snipping Tool: Most people use the Snipping Tool to grab quick pictures of their screen. But it now has a dedicated video recording mode that is incredibly easy to use.
- Open your Windows Start menu and type "Snipping Tool."
- Click on the Video Camera icon at the top of the app window to switch it to recording mode.
- Click the New button. Your screen will slightly darken.
- Click and drag your mouse to draw a box around the exact part of the screen you want to capture.
- Make sure your microphone icon is unmuted at the top of the screen if you want to add voiceover, then hit Start.
When you finish, you can save the MP4 video file directly to your desktop. It is quick, completely free, and works perfectly for casual, everyday messages.
The Big PC Monitor Problem
While the Snipping Tool is great for a rapid message, it falls apart if you are trying to create a professional tutorial, a lesson for students, or a presentation for clients.
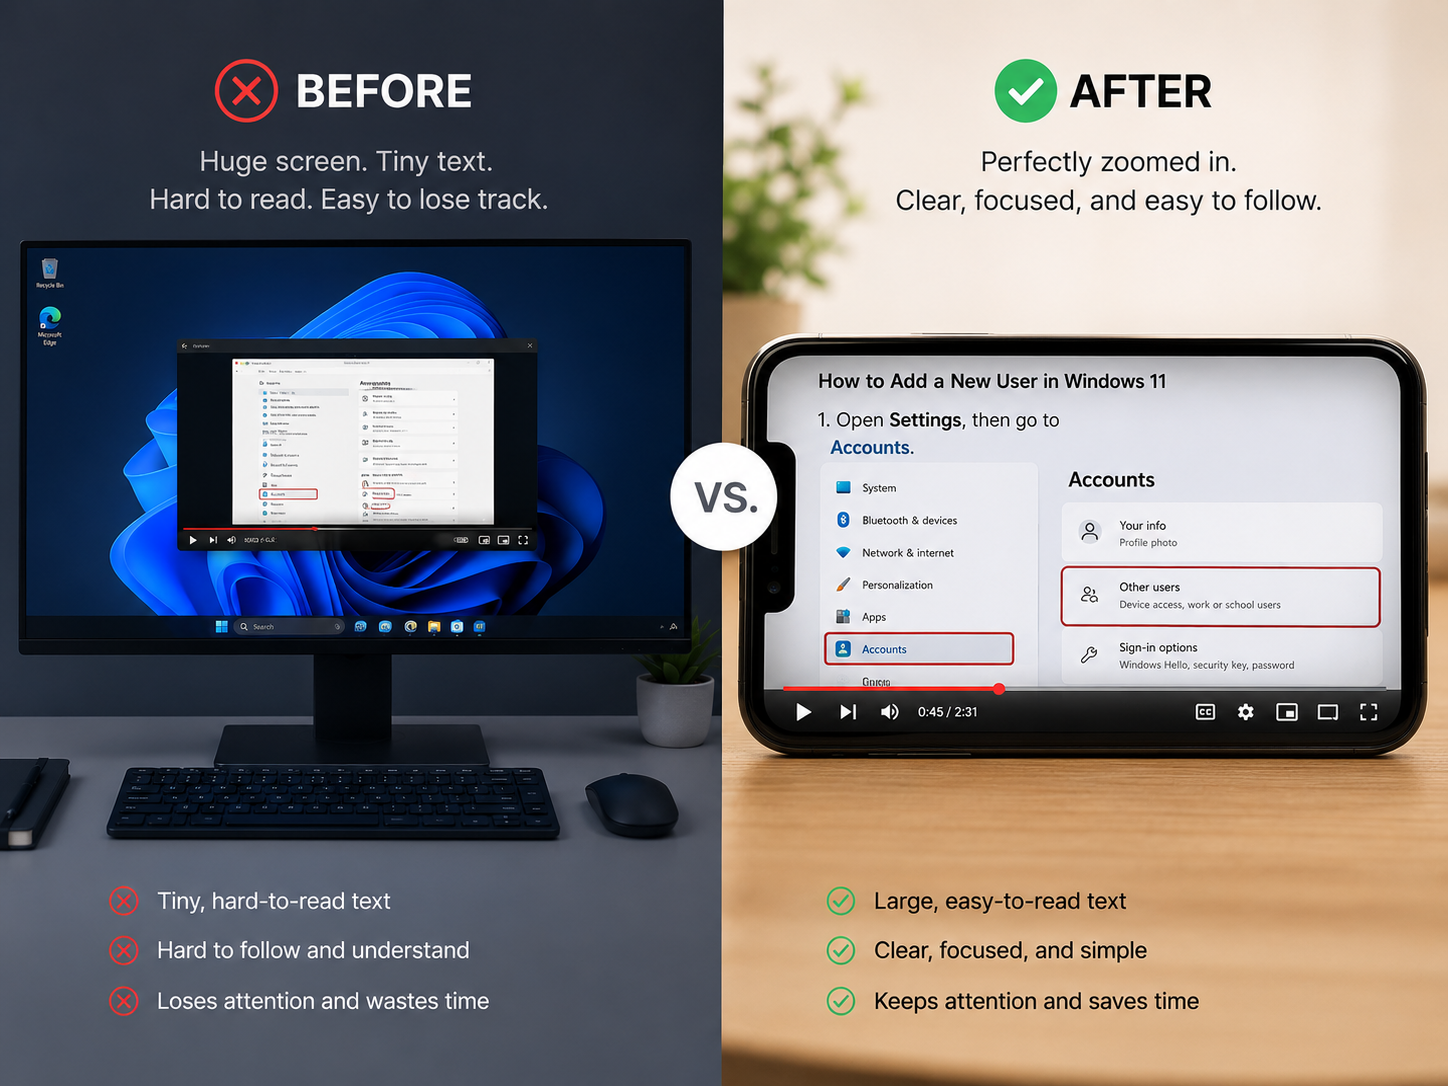
The hidden issue is the size of your PC monitor. If you are using a standard 24-inch or 27-inch screen, your menus and text look perfectly sized to you. But when you record that massive screen and send the video to someone watching on a smaller laptop or a mobile phone, everything shrinks. The text becomes unreadable. They will struggle to see which tiny menu button you are clicking.
To make matters worse, sliding a physical mouse across a desk often translates into a jumpy, frantic cursor on video. If your viewer has to squint to read your screen and gets distracted by a chaotic mouse pointer, the video fails to provide a real-life solution.
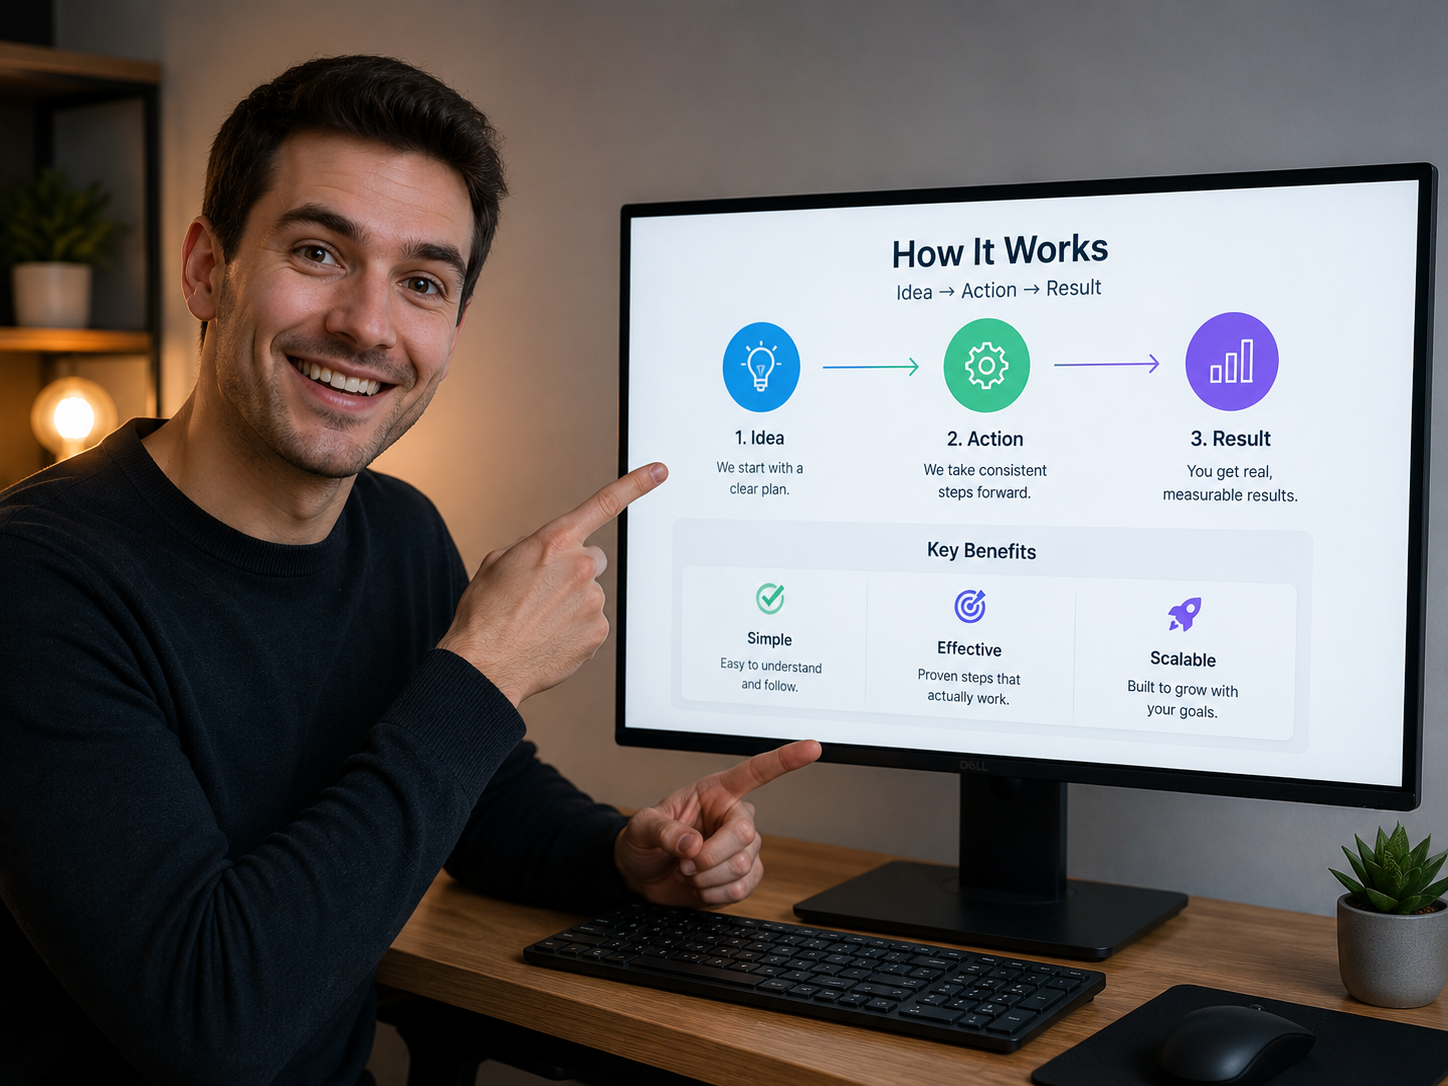
How to Create Flawless PC Screen Recordings
If your goal is to provide a helpful, human-centric solution, you have to guide the viewer's eyes. The traditional way to do this involves recording a raw video, opening a heavy editing program, and spending hours manually zooming in on your clicks to fix the visual presentation.
The modern, smarter workflow is to use a tool that does all of this editing automatically while you are speaking. This is where Cubix Capture completely changes the PC screen recording experience.
Instead of leaving you with a messy, hard-to-read file, Cubix Capture acts like an intelligent camera operator for your screen:
- Auto-Zoom: It detects exactly where you are working and automatically zooms in. Your audience will always have a perfect, close-up view of the important details, completely eliminating the "tiny text" problem regardless of what device they use.
- Smooth Cursor: It replaces your shaky mouse movements with a sleek, elegant cursor glide, making your presentation look incredibly polished and easy to follow.
- Live Backgrounds: If you turn your webcam on to speak to your viewers directly, it instantly removes the messy room behind you and applies a clean, professional background.
Learning how to record your screen on a PC using built-in shortcuts is a great starting point. But by moving past raw capture tools and choosing a platform designed to provide flawless visual clarity, you can turn your everyday recordings into highly engaging, effortless tutorials.
📖 Keep reading: our guides on how to screen record on Windows with audio, how to record your screen without a watermark, and the top 7 screen recording tools for Windows in 2026.