You just finished recording a 10-minute video presentation. Your on-screen navigation was flawless, and your explanation was perfectly timed. But when you play the video back, your voice sounds like you are trapped inside a tin can at the bottom of the ocean.
If you are using the tiny microphone built into your laptop to record tutorials, meetings, or client presentations, you are accidentally ruining your own content. Built-in microphones pick up everything the whirring of your computer fan, the clatter of your keyboard, and the echo of the room making your videos sound unprofessional and exhausting to listen to.
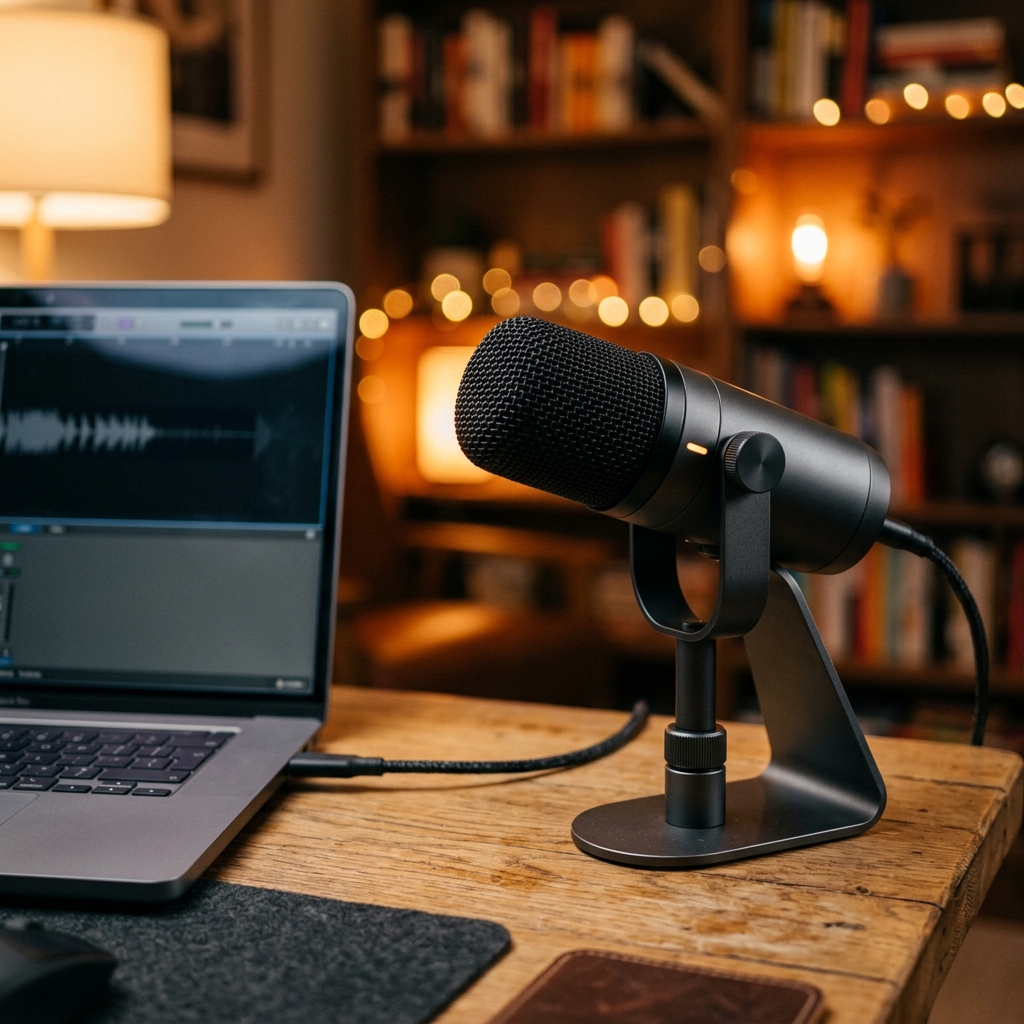
Upgrading to an external microphone is the single best way to instantly improve your videos. However, simply plugging a new mic into your computer does not mean your screen recorder will automatically know to use it.
Here is the complete guide on how to record your screen using an external microphone on both Windows and Mac, ensuring your audio sounds as crisp and professional as you are.
Step 1: Tell Your Computer to Listen
Before you open any screen recording software, you have to ensure your computer actually recognizes your new external microphone as the primary audio source.
For Windows Users:
- Plug in your external microphone (usually via USB).
- Right-click the Speaker icon in your bottom-right taskbar and select Sound settings.
- Scroll down to the Input section.
- Click the dropdown menu next to "Choose a device for speaking or recording" and select your new external microphone. Speak into the mic to ensure the volume meter bounces.
For Mac Users:
- Connect your external microphone.
- Click the Apple logo in the top-left corner and open System Settings.
- Click on Sound in the left sidebar, then scroll down to the Input tab.
- Select your external microphone from the list. Speak into it to check the input level meter.
Step 2: Set Up Your Screen Recorder
Now that your computer knows which microphone to use, you have to make sure your screen recording software is pulling audio from the right place.
Using the Windows Snipping Tool:
- Open the Snipping Tool and click the Video Camera icon at the top.
- Click New and highlight the area you want to record.
- Before hitting start, click the Microphone icon in the top toolbar. Click the small arrow next to it to ensure your external microphone is checked, not the default system mic.
Using QuickTime Player on Mac:
- Open QuickTime Player, go to the top menu, and select File > New Screen Recording.
- A toolbar will appear at the bottom of your screen. Click Options.
- Look under the "Microphone" section of the menu and explicitly select your external USB microphone before you click Record.
Enjoying this read?
Get weekly insights on video editing, AI workflows, and creator growth straight to your inbox.
The Unseen Problem With Crisp Audio
Upgrading to an external microphone solves the audio problem beautifully. Your voice will sound warm, clear, and professional. However, excellent audio is only half of the presentation. If you are creating a tutorial, a software demo, or an educational guide, standard screen recordings still have a massive visual flaw.
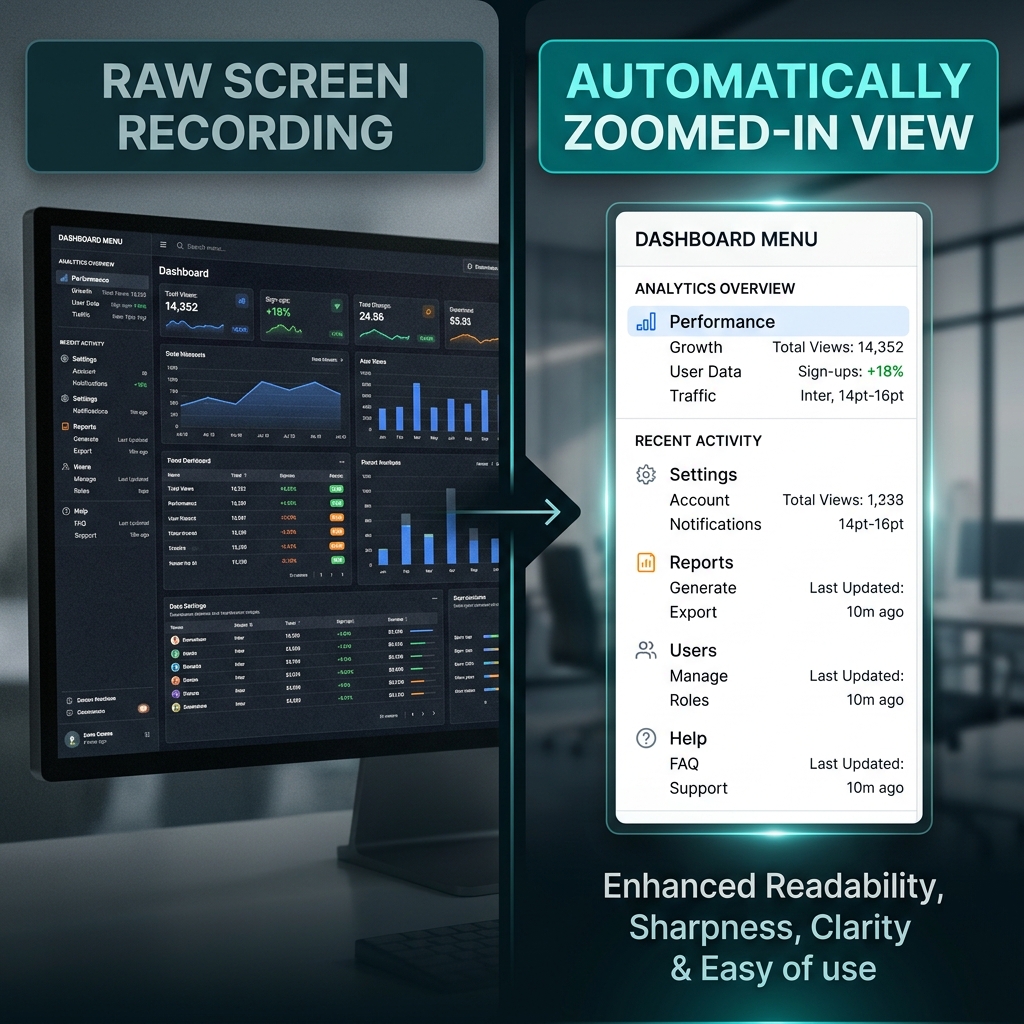
If you record your large computer screen, everything looks perfectly sized to you. But when you send that video to someone watching on a smartphone or a smaller laptop, your interface shrinks down completely. The text becomes microscopic, forcing your audience to squint just to see where you are clicking.
Furthermore, moving your physical mouse across the desk naturally creates erratic, shaky pointer movements on the screen. A jittery cursor paired with unreadable text makes your presentation exhausting to watch, completely undoing the professional polish of your new microphone.
📖 Keep reading: how to record both your mic and system audio at once, how to record your screen without background noise, and how to screen record on Mac with audio.
The Ultimate Audiovisual Upgrade
If you want your videos to be genuinely helpful and engaging, you must deliver visual clarity that matches your high-quality audio. Instead of wasting hours manually editing your video file to add zoom effects and fix your mouse path, the modern solution is to use software that actively edits the visual experience for you.
This is exactly why Cubix Capture completely transforms the recording workflow. Rather than leaving you with a flat, hard-to-read screen capture, it operates as a responsive digital production assistant to guarantee flawless results:
- Intelligent Viewport Scaling: It actively tracks your workflow and seamlessly magnifies the exact fields or software menus you are working on. This completely resolves the high-resolution dilemma, ensuring that every word and button is crystal clear to viewers on any device.
- Seamless Click Trajectory: It intuitively intercepts the nervous shakes and abrupt stops of your physical mouse, rendering a remarkably smooth, deliberate pointer path that keeps your audience anchored to your lesson.
- Pristine Backdrop Generation: Should you decide to pair your excellent audio with a video feed of your face, the platform instantly isolates your portrait and removes your cluttered room, placing you in a crisp, distraction-free digital environment without any extra hardware.
Knowing how to pair a high-quality external microphone with your built-in screen recorder is a fantastic technical skill. But when it is time to guide a client, teach a team member, or share critical information, upgrading to a platform that guarantees effortless visual brilliance ensures your audience actually absorbs the message you are sharing.
Don’t miss the next one.
Join our newsletter for exclusive tips, product updates, and the latest from the Cubix team.