Have you ever recorded a clip of a webinar, a video call, or a gameplay milestone on your PC, only to realize during playback that the video is completely mute? Or worse, it captured the sound of your breathing and keyboard clicks through your microphone, but completely missed the actual sound coming from the computer itself?
Capturing system audio the internal sound generated by your applications, windows, and games can be surprisingly tricky if you don't know where to look. For a long time, Windows users had to rely on complex audio routing hacks or third-party software just to record what they were hearing.
Thankfully, Microsoft has streamlined this process. Whether you are using Windows 10 or Windows 11, here is your definitive guide to recording system audio seamlessly, along with how to make sure your final videos look as polished as they sound.
Method 1: The Snipping Tool (Best for Windows 11)
If you are running Windows 11, the built-in Snipping Tool is the easiest and most flexible way to record your screen and internal audio together without downloading anything extra.
- Open the Start Menu, type Snipping Tool, and press Enter (or use the shortcut Windows Key + Shift + S).
- Click the Video Camera icon at the top of the window to switch to recording mode, then click New.
- Click and drag your cursor to select the portion of your screen you want to capture (or select the entire screen).
- The Critical Audio Step: Look at the toolbar at the top of your screen. You will see two distinct audio icons:
- Microphone Icon: Controls your external voice recording. Turn this off if you only want computer sounds, or on if you want to narrate over it.
- Speaker Icon: This is your System Audio toggle. Make sure this is unmuted/enabled to capture the internal computer sounds.
- Click Start to begin. When you are finished, click the red stop button, and save your file.
Method 2: Xbox Game Bar (Best for Quick Application Capture)
If you want to quickly record a single open application like a web browser playing a video or a video game the Game Bar is an excellent native alternative that handles system audio by default.
- Open the application you want to record.
- Press Windows Key + G to bring up the Game Bar overlay.
- Locate the Capture widget. By default, Game Bar captures all system sounds automatically.
- If you want to double-check your audio mix, look at the Audio widget. Under the "Mix" tab, you can adjust the volume levels of individual open apps to ensure nothing is too loud or too quiet.
- Click the circular Record button (or use the shortcut Windows Key + Alt + R) to start recording.
(Note: Game Bar will not record your Windows desktop or File Explorer; it only records specific app windows and will stop if you minimize the app.)
Enjoying this read?
Get weekly insights on video editing, AI workflows, and creator growth straight to your inbox.
Method 3: Audacity with WASAPI (Best for Audio-Only Recording)
If you don't need a video and only want to save an audio file of your system sounds, downloading the free, open-source software Audacity is the gold standard method on Windows.
- Download and open Audacity.
- Look at the Audio Setup toolbar (or click Audio Setup > Host).
- Change the host setting from MME or DirectSound to Windows WASAPI.
- Change the Recording Device to your primary speakers or headphones, specifically the one that says (loopback) at the end (e.g., Speakers (Realtek Audio) (loopback)).
- Click the red Record button. Audacity will now perfectly capture every internal digital sound playing through your speakers in crisp, lossless quality.
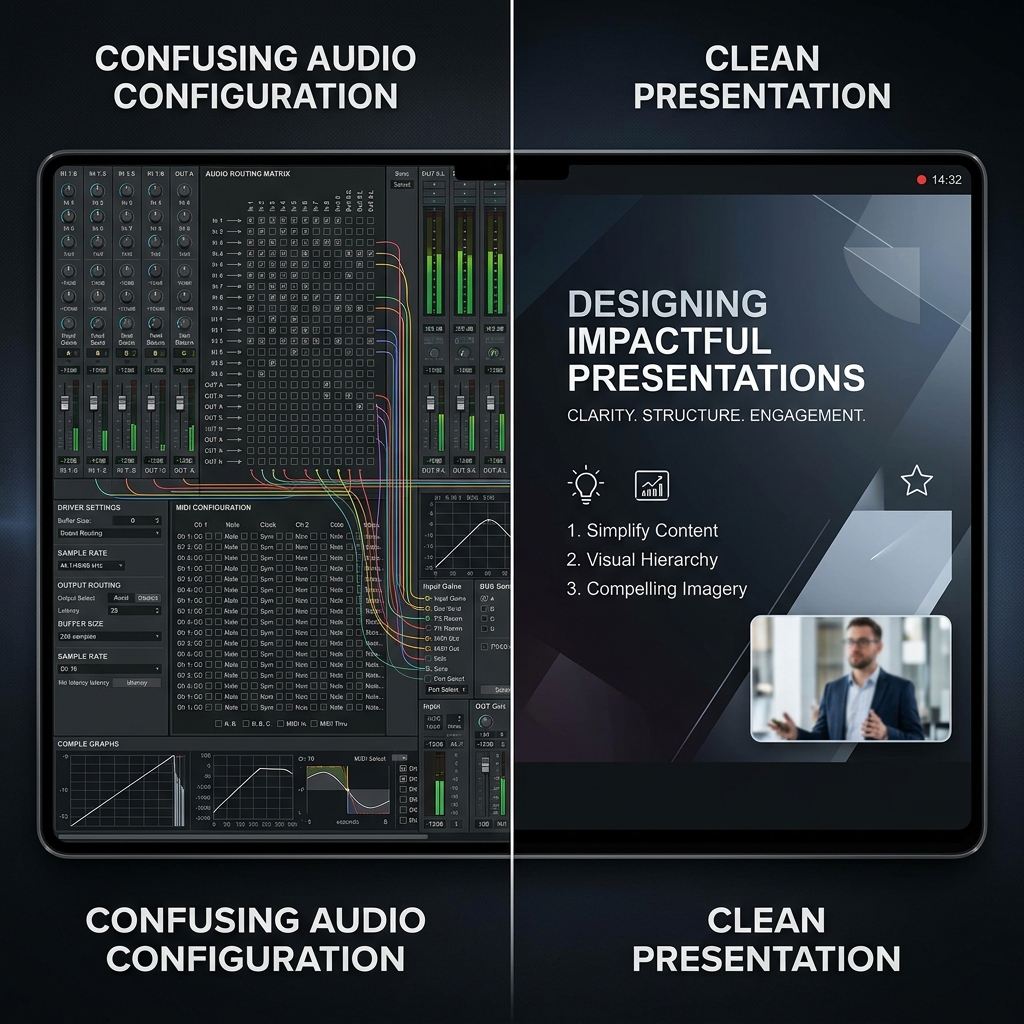
The Hidden Challenge of "Raw" Screen Captures
Getting your system audio working perfectly is a massive win. However, if your ultimate goal is to create an educational guide, a software tutorial, or a presentation for a client, basic raw recordings share a major visual flaw.
When you record a full high-resolution monitor, everything looks perfectly sized to you. But when you share that video file and someone opens it on a smaller laptop or a smartphone, the interface scales down aggressively. The text becomes microscopic, forcing your audience to squint to see what you are doing.
Additionally, navigating with a standard physical mouse or laptop trackpad naturally creates small, jittery, or erratic pointer movements. On video playback, a frantic cursor combined with tiny text can quickly exhaust your viewers, completely undermining your professional audio layout.
📖 Keep reading: how to record screen and audio together on Windows, how to screen record on Windows with audio, and how to record system audio on Mac without BlackHole.
The Ultimate Audiovisual Workflow Upgrade
If you want your desktop presentations to look genuinely elite and ensure your audience understands your message effortlessly, capturing raw pixels is only step one. Instead of spending hours in a heavy video editor manually cropping, zooming, and correcting your cursor paths, a smarter approach is to let an intelligent recording tool handle the heavy lifting.
This is exactly why Cubix Capture completely changes the game for Windows users. It acts as an automated visual producer right while you record, matching your perfect audio with flawless video presentation:
- Context-Driven Auto-Zoom: It dynamically anticipates your workflow, automatically panning and smoothly scaling up the specific fields or menus you click on. This eliminates the "tiny text" issue entirely, making your video beautifully legible on mobile devices.
- Cinematic Cursor Smoothing: It intercepts erratic, shaky trackpad gestures and translates them into a calm, elegant visual guide, anchoring the audience's focus perfectly without distraction.
- Unified Virtual Framing: If you use your webcam to add a personal touch to your recording, it instantly isolates your profile and swaps out your background for a premium, distraction-free digital studio layout skipping the need for a physical green screen entirely.
Mastering the native Windows tools like the Snipping Tool, Game Bar, or Audacity gives you total control over your system audio for quick everyday tasks. But when it is time to deliver an important tutorial, guide a client, or share a critical digital workflow, upgrading to a platform that guarantees effortless visual and auditory clarity ensures your audience fully absorbs your message.
Don’t miss the next one.
Join our newsletter for exclusive tips, product updates, and the latest from the Cubix team.