You just finished recording a flawless, five-minute presentation on your computer. You explained every detail perfectly, navigated the software without a hitch, and hit the stop button with a sigh of relief. But when you play the file back to review it, you realize something terrible: it is completely silent.
Whether you are trying to capture a Zoom meeting, walk a new hire through a software dashboard, or record a presentation for school, video without sound is completely useless. Figuring out how to capture both your screen and your system’s audio (along with your voice) on a Windows PC used to require a degree in sound engineering.
Fortunately, Microsoft has recently overhauled its native tools to make this incredibly easy. Here is the straightforward guide to recording your screen and audio together on Windows, and how to ensure your final video actually looks professional.
The Free Tools Built Into Windows
If you are using a modern Windows computer, you do not need to download sketchy third-party applications just to capture audio and video simultaneously.
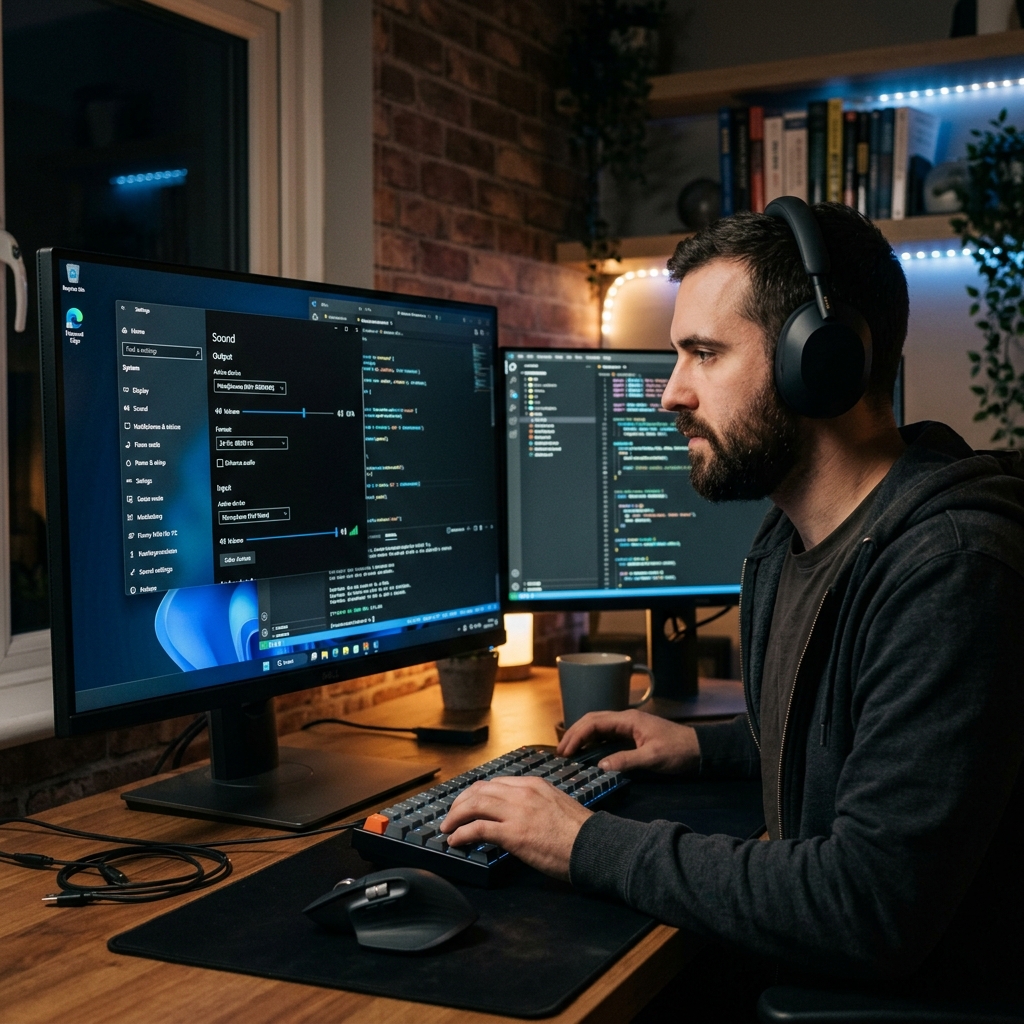
Method 1: The Snipping Tool (Windows 11)
In recent updates, the Snipping Tool has evolved from a simple screenshot utility into an excellent video and audio recorder.
- Open your Start Menu, search for "Snipping Tool," and open the app.
- Click the Video Camera icon at the top of the interface.
- Click New, then click and drag your mouse to draw a box around the area of the screen you want to record.
- The Audio Check: Look at the top toolbar before you start. You will see a microphone icon (for your voice) and a speaker icon (for system sounds, like a video playing). Click both to toggle them on.
- Hit Start to begin your recording, and the stop button when you are finished.
Method 2: Xbox Game Bar (Windows 10 & 11)
If you just want to quickly record a single application or web browser, the Game Bar is incredibly fast.
- Open the specific app you want to record.
- Press Windows + G on your keyboard to open the overlay.
- In the Capture widget, click the microphone icon to ensure it is picking up your voice. (Game Bar records system audio by default).
- Click the circular Record button to start. (Note: Game Bar cannot record your desktop or File Explorer, and it will stop if you minimize the app).
Still Silent? The Two Audio Sources That Trip People Up
Most "my recording has no sound" problems come down to one confusion: there are two separate audio sources, and they have separate switches.
- Microphone audio is your voice from the laptop or headset mic. This is what people forget to unmute in the Snipping Tool toolbar.
- System audio is the sound coming from your computer, the video you are playing, the notification ping, the music in the app you are demoing.
The Snipping Tool gives you both toggles (the microphone icon and the speaker icon), so flip on whichever you need. Game Bar captures system audio automatically but you still have to enable the mic. If your voice is fine but the app's sound is missing, you almost certainly left the system-audio toggle off. And if it is background hiss you are fighting rather than silence, our guide on recording screen without background noise covers mic placement and cleanup. For more ways to capture both at once, see How to Screen Record on Windows With Audio.
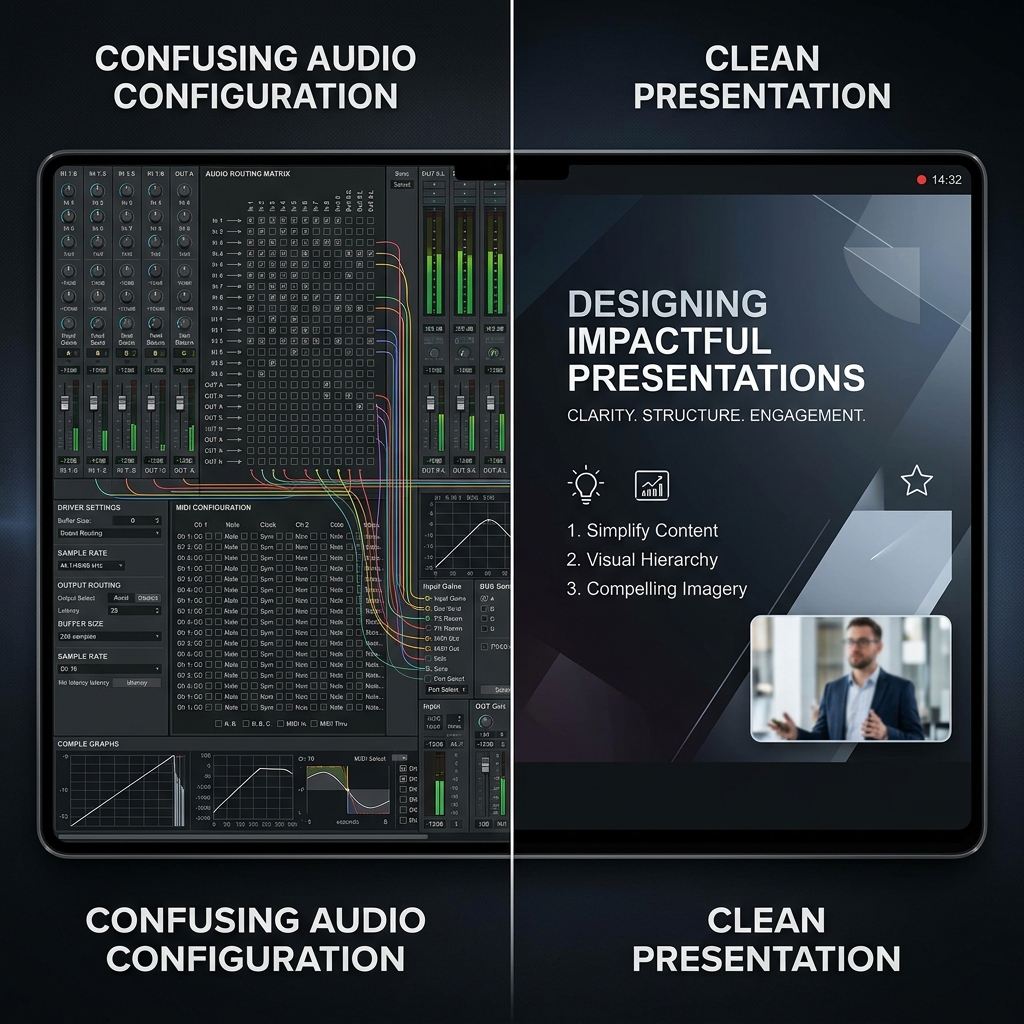
Clear Audio Deserves Clear Visuals
Once your sound is sorted, the other half of a watchable tutorial is making sure people can actually see what you are narrating. Built-in tools capture the full screen flat, so the menus you are talking through shrink to the point of being unreadable on a phone, and a darting mouse makes the narration hard to follow.
Cubix Capture records crisp screen and audio while quietly handling the framing for you:
- Auto-zoom pushes into whatever you are clicking, so your narration always points at something the viewer can read.
- Cursor smoothing turns a jumpy mouse into a calm pointer that matches your calm voiceover.
- Clean webcam background lets you put a face to the voice without showing your real room.
The built-in route is a solid foundation, and the Windows 11 screen recording guide maps out every native option. But when both the sound and the visuals need to land, let the recorder carry the visual side for you.