YouTube is the world’s largest classroom. Every single day, millions of people search for videos to learn how to code a website, navigate a new piece of software, or edit a photograph.
If you have a skill to share, creating YouTube tutorials is one of the fastest ways to build an audience, establish authority in your industry, and even generate a reliable income. However, the barrier to entry is higher than it used to be. Viewers no longer have the patience for rambling introductions, muffled audio, or microscopic screen captures.
To stand out in 2026, your tutorials need to be crisp, engaging, and visually flawless. Here is your complete, step-by-step guide to recording a tutorial video for YouTube that actually gets views, retains attention, and grows your subscriber base.
Phase 1: Pre-Production (The Blueprint)
The biggest mistake new creators make is hitting the "Record" button and just winging it. A lack of preparation leads to rambling, excessive filler words ("um," "uh"), and a confused audience.
1. Write a Two-Column Script
You do not necessarily need to read a script word-for-word, but you must have a structural outline. Use the two-column method: on the left side, write out your talking points. On the right side, write the exact on-screen actions (e.g., "Click the blue 'Export' button") that correspond to those talking points.
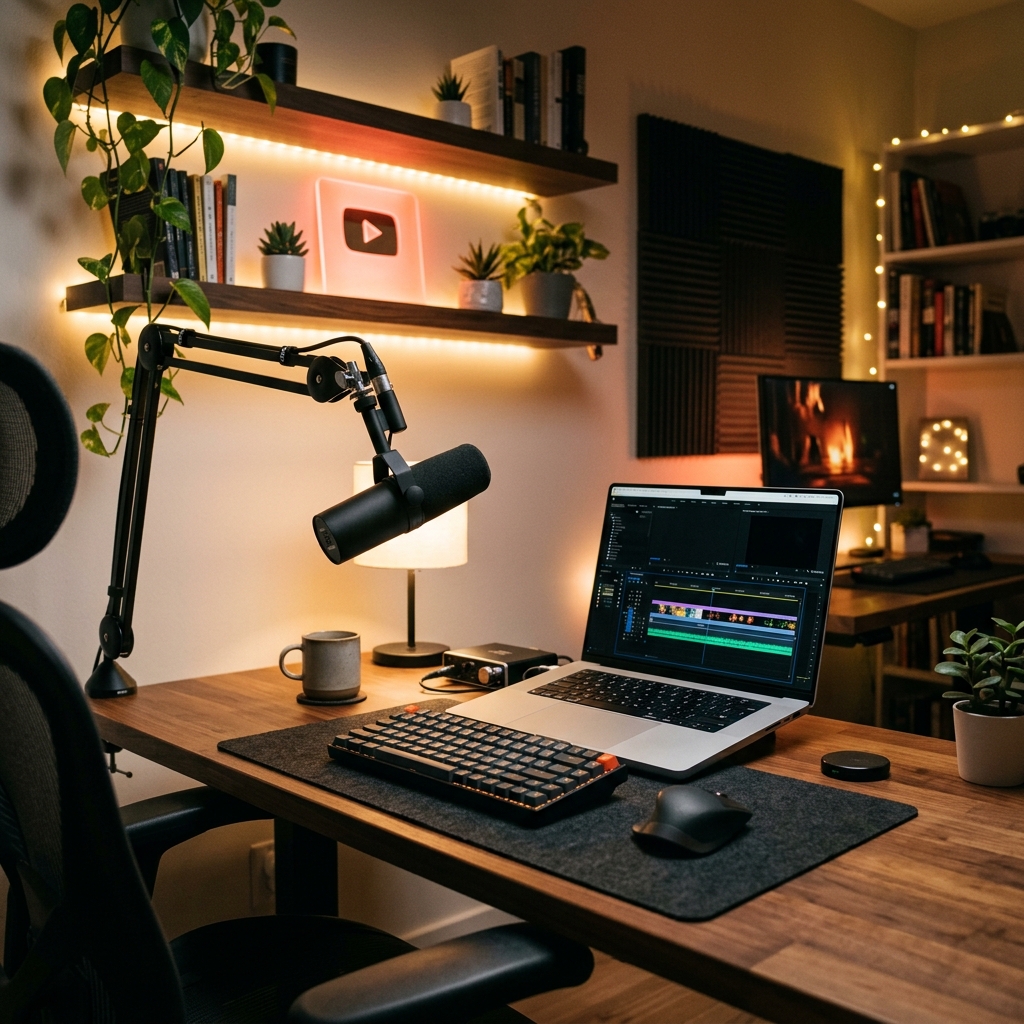
2. Clean Your Digital Workspace
Nothing screams "amateur" like a messy desktop. Before recording:
- Close all unnecessary browser tabs.
- Hide your bookmarks bar (Ctrl+Shift+B on Windows, Cmd+Shift+B on Mac).
- Turn off all system notifications, Slack messages, and email pop-ups.
- Hide your desktop icons to provide a clean canvas.
3. Optimize Your Audio
Audio is actually more important than video. Viewers will tolerate a slightly blurry screen, but they will click away instantly if your voice echoes or sounds like it is underwater. Do not use your laptop’s built-in microphone. Invest in a simple USB microphone, place it about six inches from your mouth, and record in a room with soft furnishings (carpets, curtains) to absorb echo.
Phase 2: Choosing Your Software
For years, the standard advice was to use a heavy broadcasting tool like OBS Studio, capture your entire screen, and then spend hours in an editor like Premiere Pro manually adding zooms so mobile viewers could read your text.
Today, that manual workflow is a massive waste of time. To produce YouTube tutorials efficiently, you want software that edits the visual experience while you record.
The Ultimate Tool: Cubix Capture
For YouTube creators, Cubix Capture has become the gold standard. Instead of capturing a flat, raw video that requires hours of post-production, it acts as an automated digital producer:
- Cinematic Auto-Zooming: It tracks your clicks and automatically pans and zooms into your active windows, ensuring your viewers on mobile phones can perfectly read your text.
- Cursor Smoothing: It takes your jumpy, erratic mouse movements and translates them into a buttery-smooth glide.
- Webcam & Background Polish: It drops your face into a clean floating bubble and intelligently blurs your background, no green screen required.
(If you are an old-school editor who insists on manual timeline editing, Camtasia is still a reliable, albeit expensive, fallback).
Enjoying this read?
Get weekly insights on video editing, AI workflows, and creator growth straight to your inbox.
Phase 3: The Recording Process
Once your script is ready and your software is open, it is time to perform.
1. Move Slower Than You Think
When we work on our computers, we move at lightning speed. On video, this looks frantic and chaotic. Consciously slow down your mouse movements. When you are about to click a crucial button, hover over it for one second, click, and leave your mouse there for another second. This gives your viewer time to process the action.
2. The "Clap and Repeat" Method for Mistakes
You will make mistakes while recording. You will stumble over a sentence or click the wrong menu. Do not stop the recording. Instead, stop talking, clap your hands loudly once (this creates a massive visual spike in your audio waveform), take a deep breath, and repeat the sentence or action. When you are trimming the video later, you can just look for the audio spikes, easily find your mistakes, and cut them out.
3. Narrate the "Why," Not Just the "What"
Do not just say, "Click here, then click here." Your viewers have eyes. Instead, explain the reasoning: "We are clicking the Export tab next, because we need to ensure our file is compressed before uploading." Providing context is what makes you a great teacher.
📖 Keep reading: the best screen recorder for YouTube tutorials with no editing, how to make a tutorial video people actually watch, and the best screen recorder for YouTube tutorial creators.
Phase 4: Exporting and Publishing
If you used an intelligent tool like Cubix Capture, your video is already zoomed, smoothed, and ready to go. If you used traditional software, you will need to take your footage into an editor, cut out the dead air, and manually add zoom keyframes to your most important on-screen actions.
Uploading to YouTube:
- The Thumbnail: Do not use a random screenshot of your desktop. Design a bright, high-contrast thumbnail in Canva or Photoshop featuring a large icon of the software you are teaching, and no more than three to four words of text.
- The Title: Make it highly searchable. Instead of "My Photoshop Process," use "How to Remove Backgrounds in Photoshop (2026 Guide)."
- Timestamps: YouTube allows you to break your video into chapters. In your description box, type out the timestamps (e.g., 00:00 - Introduction, 01:15 - Setting up the Canvas). This dramatically improves the viewer experience and helps your video rank higher in Google search results.
Recording a successful YouTube tutorial is not about having the most expensive camera or the flashiest editing skills. It is about respecting your viewer's time, delivering on the promise of your title, and ensuring your presentation is crystal clear. Plan your steps, upgrade your recording software to a tool that handles the visual heavy lifting, and start sharing your expertise with the world.
Don’t miss the next one.
Join our newsletter for exclusive tips, product updates, and the latest from the Cubix team.