
Out of the box, OBS is configured to stream. That means a constant bitrate sized for an upload connection, one merged audio track, and a container chosen for compatibility with a service you are not using.
Recording locally has none of those constraints and several different priorities. You have no bandwidth ceiling, you want text to stay crisp rather than smooth motion to stay fluid, you want your voice and your system audio separable afterwards, and above all you want the file to survive if something crashes twenty minutes in.
Five decisions, spread across four settings tabs. This guide covers the decisions and the reasoning; if you want a table of encoder values to copy without the explanation, OBS best settings for screen recording is that page. If you have never opened OBS, start with the first-session walkthrough instead.
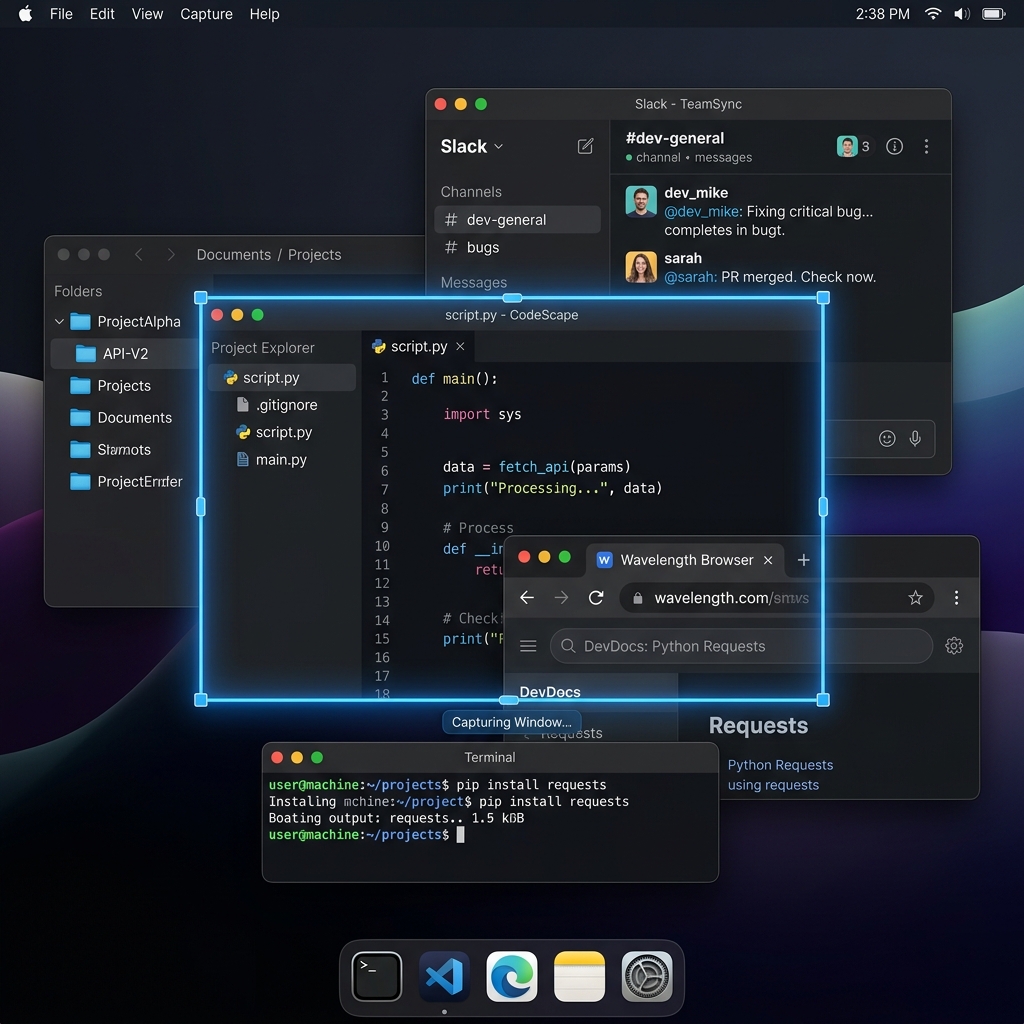
Step 1: Pick the Right Capture Source
This is the decision with the largest effect on the finished video, and it is made before you touch a single setting.
| Source type | What it captures | Where it breaks | Best for |
|---|---|---|---|
| Display Capture | An entire monitor, everything on it | Catches notifications, alt-tabs, and your desktop | Multi-app workflows, anything spanning windows |
| Window Capture | One application window only | Some apps render in ways it cannot see | Software tutorials, product demos |
| Game Capture (Windows) | A game via a direct graphics hook | Not for regular applications | Full-screen games |
| Browser | A web page rendered inside OBS | Not your actual browser session | Overlays, timers, alerts |
Why Window Capture Is Usually the Better Habit
For anything you intend to publish, Window Capture earns its slightly higher setup cost:
- A Slack notification arriving mid-demo does not enter the recording.
- You can alt-tab to your script, your notes or your inbox without cutting.
- The frame contains only the application, so there is no desktop clutter to crop later.
- On multi-monitor setups you cannot accidentally record the wrong screen.
The trade-off is that a few applications — some hardware-accelerated apps and certain games — render through paths Window Capture cannot read, and you get a black rectangle. If that happens, switch to Display Capture rather than fighting it, and see how to record only one window in OBS for the capture-method options first.
The Capture Method Sub-Setting on Windows
Open the source's properties and there is a Capture Method dropdown, usually left on Automatic. The modern Windows Graphics Capture path is faster and handles hardware-accelerated windows that the legacy path cannot, at the cost of a yellow border drawn around the captured window. That border is drawn by Windows, appears in the recording, and can be turned off in the source properties on current Windows builds. If a window captures as black on Automatic, switching this dropdown manually is the first thing to try.
Step 2: Match the Canvas to What You Are Recording
Settings → Video.
- Base (Canvas) Resolution — set to the resolution of the screen or window you are recording. This defines the frame you are composing.
- Output (Scaled) Resolution — set it identical to the base. Downscaling is the fastest way to make on-screen text mushy, and text legibility is the whole point of a screen recording. If you need a smaller file, reduce quality settings rather than resolution.
- Downscale Filter — only relevant if you ignored the previous line. Lanczos is the sharpest option.
- Common FPS Values — 30 or 60, and the right answer depends on content:
| Content | FPS | Why |
|---|---|---|
| Slides, documents, mostly static UI | 30 | Half the data for no visible loss |
| Cursor-heavy walkthroughs, drag interactions, scrolling | 60 | Cursor motion and scroll read as smooth rather than steppy |
| Games | 60 | Motion is the content |
Recording a mostly static interface at 60 fps doubles your file size to encode the same frame twice.
Step 3: Choose a Format That Survives a Crash
Settings → Output. Switch Output Mode from Simple to Advanced, then open the Recording tab.
Recording Format
This is the setting that decides whether a crash costs you five minutes or the whole session.
- Standard MP4 — the container writes its index when recording stops cleanly. Crash before then and you have a large unplayable file. Avoid.
- Hybrid / fragmented MP4 — writes in recoverable chunks while producing a normal, widely compatible MP4. This is the right default on current OBS versions.
- MKV — the traditional crash-safe answer. Fully recoverable, but many editors and players refuse it, so you remux afterwards via File → Remux Recordings.
If your build offers a hybrid MP4 option, take it. If not, record MKV and remux. OBS MKV vs MP4 goes deeper on the trade-off, and how to convert OBS MKV to MP4 covers the conversion.
Recording Path and Disk Space
Set a folder you will actually look in. Then do the arithmetic once, because screen recordings are larger than people expect:
| Settings | Rough size per hour |
|---|---|
| 1080p 30 fps, quality-based encoding | 3–8 GB |
| 1080p 60 fps, quality-based encoding | 6–14 GB |
| 4K 60 fps, quality-based encoding | 20–50 GB |
The spread is wide because quality-based encoding spends data only where the picture changes — a static document costs almost nothing, a scrolling page costs a lot. Record onto a drive with room to spare; running out mid-session produces a specific and irritating failure.
Encoder, Briefly
Pick a hardware encoder if you have one — NVENC on NVIDIA, AMF on AMD, QuickSync on Intel, VideoToolbox on Apple silicon — so encoding runs on dedicated silicon instead of competing with whatever you are demonstrating. Then switch Rate Control from CBR to CQP or CRF, which targets a quality level rather than a bandwidth ceiling. CBR exists for streaming; using it locally wastes data on still frames and starves busy ones.
Exact values are a page of their own: OBS best settings for screen recording. If the encoder dropdown refuses to cooperate, OBS "Failed to open NVENC codec" is the most common way that goes wrong.
Enjoying this read?
Get weekly insights on video editing, AI workflows, and creator growth straight to your inbox.
Step 4: Get the Audio Right Before You Need It
Settings → Audio.
Devices
Set Mic/Auxiliary Audio to your actual microphone and Desktop Audio to your actual playback device. Set Sample Rate to 48 kHz and leave it there — mismatched sample rates between devices are a classic source of gradual audio drift over a long recording.
On macOS, Desktop Audio will show nothing no matter what you select here. That is macOS, not OBS: the system does not route application audio to other applications without help. How to record system audio in OBS on Mac covers the options.
Separate Audio Tracks — Do This Now
In Output → Recording, you can enable multiple audio tracks, then assign each source to specific tracks in the mixer's Advanced Audio Properties (the gear icon → Advanced Audio Properties).
A useful arrangement:
- Track 1 — everything mixed. Your ready-to-upload version.
- Track 2 — microphone only.
- Track 3 — desktop audio only.
Thirty seconds of setup. The payoff arrives the first time a notification chime lands over an important sentence, or the application you are demonstrating turns out to be twice as loud as your voice. With separate tracks you fix it in an editor. Without them, the mix is baked in and your only option is re-recording.
Three Filters Worth Adding
Right-click your mic in the Audio Mixer → Filters:
- Noise Suppression (RNNoise) — removes steady background noise like fans and air conditioning. One click, no configuration.
- Noise Gate — silences the channel below a threshold so room tone does not sit under the whole recording. Set the close threshold just below your quietest speech.
- Compressor — evens out the difference between leaning in and leaning back. A ratio around 4:1 with a few decibels of make-up gain is a safe starting point.
Leave Audio Monitoring off unless you are wearing headphones. Monitoring through speakers feeds your own voice back into the mic and produces echo in the recording.
Step 5: Set Hotkeys So You Never Record the OBS Window
Settings → Hotkeys. Bind at minimum:
- Start Recording and Stop Recording — or a single Start/Stop toggle.
- Pause Recording — genuinely underrated. Pause while you find the right tab, resume, and there is nothing to trim later.
- Push-to-mute on the microphone, for coughs and interruptions.
Without hotkeys, every recording opens and closes with a shot of you clicking around in OBS, and you trim it by hand every time. On macOS, global hotkeys require Accessibility permission in System Settings → Privacy & Security.
A Baseline You Can Copy
| Setting | Value | Reason |
|---|---|---|
| Source type | Window Capture | Excludes notifications and desktop clutter |
| Base resolution | Match the screen or window | Defines the frame you are composing |
| Output resolution | Same as base | Downscaling softens text |
| FPS | 30 static, 60 cursor-heavy | Match the content, not the maximum |
| Output mode | Advanced | Simple mode hides the settings that matter |
| Format | Hybrid MP4, else MKV + remux | Survives a crash |
| Encoder | Hardware (NVENC / AMF / QuickSync / VideoToolbox) | Keeps the CPU free for the app you are demonstrating |
| Rate control | CQP or CRF | Targets quality, not bandwidth |
| Audio sample rate | 48 kHz | Prevents long-recording drift |
| Audio tracks | Separate mic and desktop | Makes the mix fixable afterwards |
| Hotkeys | Start, stop, pause, push-to-mute | No OBS window in your footage |
Save it once and it is done. Consider making a dedicated Profile for this — the setup guide explains how profiles let you keep separate recording and streaming configurations without reconfiguring anything.
Where This Setup Still Falls Short
Every setting above controls fidelity — how accurately OBS reproduces what was on your screen. Configure it well and you get a technically excellent recording.
None of them control composition: where the viewer should be looking, when to move closer so a label is readable, how to make a cursor path read as deliberate rather than nervous. OBS has no opinion on any of that, by design. It records a fixed frame at a fixed size for the whole duration.
For a live stream that is correct behaviour. For a tutorial someone will watch on a phone, it means the composition work still has to happen — in an editor, afterwards, one keyframed zoom per click.
Cubix Capture makes those decisions during capture instead. It follows what you click, zooms in on it, smooths the cursor path, and frames the window against a clean background, so the composed version is the file you get when you stop. It runs on Windows and macOS and the free Starter plan needs no account, which is enough to record the same walkthrough both ways and compare them side by side.
Keep Reading
- OBS Best Settings for Screen Recording for exact encoder and bitrate values.
- How to Record Only One Window in OBS for the capture-method details.
- OBS Recording Looks Blurry: Fix Video Quality if text is still soft after this.
- OBS Studio Setup Guide: Everything You Need to Know for profiles, streaming, plugins and backups.
Don’t miss the next one.
Join our newsletter for exclusive tips, product updates, and the latest from the Cubix team.