
"How do I set up OBS" is really ten separate questions wearing one coat. Installing it, granting it permissions, laying out scenes, configuring it for recording, configuring it for streaming, organising profiles, wiring audio, binding hotkeys, adding plugins, backing the whole thing up — these are distinct jobs with different failure modes, and most setup guides cover the first three and stop.
This page is the complete map. Each section is short by design and points at the dedicated guide where one exists. Read it end to end once, or use the router below to jump to the part you actually need.
Which Part of Setup Do You Need?
| Your goal | Section | Full guide |
|---|---|---|
| Get OBS onto this machine safely | 1 | Download and install OBS Studio |
| I have never opened it | 2 | How to use OBS for the first time |
| Record my screen well | 4 | Set up OBS for screen recording |
| Exact encoder and bitrate numbers | 4 | OBS best settings for screen recording |
| Go live on Twitch or YouTube | 5 | This page |
| Keep streaming and recording configs apart | 6 | This page |
| Clean up my microphone | 7 | This page |
| Use OBS as a webcam in Zoom or Teams | 8 | This page |
| Add a plugin without breaking things | 9 | This page |
| Not lose all of this | 10 | This page |
1. Install and Permissions
The install itself is uneventful on every platform. What catches people is what comes after it:
- Windows needs the Visual C++ Redistributable, and a missing one produces a DLL error that looks like a broken OBS.
- macOS requires you to grant Screen & System Audio Recording in System Settings and then fully relaunch OBS. Skip it and every capture source is black.
- Linux behaves differently depending on packaging — a sandboxed Flatpak reaches your screen through portals and needs plugins installed inside the sandbox.
Full detail, including how to spot a repackaged installer and how to reinstall without carrying a broken config back in: how to download and install OBS Studio.
2. First Run: What the Auto-Config Wizard Actually Does
The wizard is not a formality. It benchmarks your CPU and GPU, and on the streaming path it also tests your upload, then writes concrete values into your Video and Output settings: canvas and output resolution, frame rate, encoder selection, and a bitrate.
Use it when you are setting up a machine for the first time, or after a hardware change. Its answers are conservative and they work.
Ignore it when you have specific requirements it cannot know about — recording a 4K window losslessly, or matching a spec someone gave you. It optimises for "will not drop frames," which is the right default and not always the right answer.
You can re-run it any time from Tools → Auto-Configuration Wizard. It overwrites your video and output settings, so export your profile first if you have tuned anything (see section 10).
New to the interface itself? How to use OBS for the first time walks through what each dock does and one complete recording.
3. Scenes, Sources, and the Layer Model
Four rules cover almost everything:
- A scene is a saved layout, not a recording. Switching scenes changes what is composited, live.
- Sources are layers. Top of the Sources list draws in front. Drag to reorder.
- Ctrl + F (Cmd + F) fits the selected source to the canvas. This is the fix for unexplained black bars.
- Right-click a source → Filters applies effects to that source alone — crop, chroma key, colour correction, scaling.
Two organisational features worth knowing early:
- Groups. Select several sources, right-click → Group Selected Items. Move, hide and reorder them as one.
- Nested scenes. Add a Scene as a source inside another scene. Build a reusable overlay once, drop it into six scenes, and edit it in one place.
4. Recording Configuration
The short version:
- Prefer Window Capture over Display Capture for anything you will publish — it excludes notifications and lets you alt-tab freely.
- Set Output (Scaled) Resolution equal to your base resolution. Downscaling softens on-screen text.
- Use 30 fps for static content, 60 fps for cursor-heavy walkthroughs.
- Record to a crash-safe container — hybrid MP4 where available, otherwise MKV and remux afterwards.
- Use a hardware encoder with CQP/CRF rate control, not the CBR that streaming defaults to.
- Enable separate audio tracks for mic and desktop, before you need them.
Each of those decisions and its reasoning: how to set up OBS for screen recording. Exact values to copy: OBS best settings for screen recording.
5. Streaming Configuration
Streaming is where OBS's defaults are actually appropriate, and where a handful of numbers matter.
Connect the Service
Settings → Stream. Pick your service, then either Connect Account (recommended — it authorises OBS and can pull chat and stream metadata) or Use Stream Key and paste the key from your platform dashboard. Treat a stream key like a password; anyone holding it can broadcast to your channel, and platforms let you reset it if it leaks.
Encoder Settings for Live
Unlike recording, live output has a hard ceiling: your upload bandwidth. That changes every answer.
- Rate Control: CBR. Streaming platforms want a predictable data rate. This is the one place CBR is correct.
- Keyframe Interval: 2 seconds. Effectively mandatory on most platforms; leaving it at 0 causes intermittent ingest problems.
- Encoder: hardware where available, so the CPU stays free for the game or application you are streaming.
| Output | Bitrate range |
|---|---|
| 720p 30 fps | 2,500–4,000 Kbps |
| 720p 60 fps | 3,500–5,000 Kbps |
| 1080p 30 fps | 4,000–6,000 Kbps |
| 1080p 60 fps | 6,000–9,000 Kbps |
Set your bitrate to roughly 70–75% of your tested upload speed, not to the maximum. Upload is shared with everything else on the connection, and a stream that saturates the link drops frames the moment anything else asks for bandwidth.
"Ignore streaming service setting limits" is a checkbox that exists for edge cases and is almost always the wrong choice. Exceeding a platform's advertised limits does not improve your stream; the service transcodes or rejects it.
Enjoying this read?
Get weekly insights on video editing, AI workflows, and creator growth straight to your inbox.
Before You Go Live
Stream to a private or unlisted destination first and watch the OBS Stats dock (View → Docks → Stats). Dropped frames due to network means bitrate too high; skipped frames due to encoding lag means the encoder cannot keep up — OBS encoding overloaded covers the second case.
6. Profiles and Scene Collections
The most useful OBS feature almost nobody has explained to them, and the answer to "I reconfigure everything every time I switch between recording and streaming."
They are two independent things, both in the menu bar:
- Profile = your settings. Output, video, audio, hotkeys, stream credentials.
- Scene Collection = your layouts. Scenes, sources, filters, transforms.
Because they are independent, you can pair any collection with any profile. A practical arrangement:
| Profile | Scene collection | Used for |
|---|---|---|
| Recording — Local | Tutorial | Window capture, CQP, separate audio tracks |
| Streaming — Twitch | Stream Layout | CBR, 2s keyframes, stream key, alerts |
| Recording — 4K | Tutorial | Same layout, higher-quality output settings |
Switching is two menu clicks and nothing has to be reconfigured. Both support Export and Import, which is also how you move a working setup to another machine — and how you back it up, which is section 10.
7. Audio Filters and the Mixer
Three things to know beyond picking devices:
Advanced Audio Properties (the gear icon in the Audio Mixer) is where per-source volume, mono downmix, sync offset and track assignment live. The sync offset field, in milliseconds, is the fix when one input consistently lags the video — OBS audio delay covers diagnosing it.
Filters on the mic, in this order: Noise Suppression (RNNoise) to remove steady background noise, Noise Gate to silence room tone between sentences, Compressor to even out volume swings. Right-click the mic in the mixer → Filters.
Monitoring off unless you are on headphones. Monitoring through speakers puts your own voice back into the microphone and creates echo you cannot remove afterwards.
8. Hotkeys, Studio Mode, and the Virtual Camera
Hotkeys (Settings → Hotkeys) are the difference between a clean recording and one that opens with you clicking around in OBS. Bind start, stop, pause and push-to-mute at minimum. On macOS this needs Accessibility permission.
Studio Mode (button in Controls) splits the interface into Preview and Program. You arrange the next scene on the left while the current one stays live on the right, then click Transition. Essential for live production, unnecessary for recording.
Virtual Camera (button in Controls) publishes your OBS output as a webcam device, so Zoom, Teams, Meet and Discord can select "OBS Virtual Camera" as their video source. It is the simplest way to put a composed scene — slides with your camera in the corner, say — into a meeting. Note that portable Windows installs cannot provide it, because it needs a registered system driver.
9. Plugins: What They Add and What They Break
Plugins are where a stable OBS install usually goes wrong, and the causes are predictable:
- Architecture and version mismatch. A plugin built for a different OBS major version, or for Intel macOS while you run Apple silicon, fails at load. The symptom is a "failed to load plugin" dialog on startup, and sometimes a crash instead.
- Sandboxed installs. Flatpak and Snap builds need plugins installed inside the sandbox. Following a guide written for a normal install silently does nothing.
- Stale plugins after an OBS update. Updating OBS does not update plugins. This is the most common cause of "OBS was fine and now it crashes on launch."
Two habits make this manageable: install plugins one at a time and restart between each, and if OBS starts crashing, launch with safe mode (which loads without third-party plugins) to confirm whether a plugin is responsible before troubleshooting anything else. OBS keeps crashing and OBS freezes on startup both start there.
10. Back Up Your Setup Before You Need To
Scene collections and profiles live in your user data — %APPDATA%\obs-studio on Windows, ~/Library/Application Support/obs-studio on macOS — which means they survive an uninstall and are also invisible enough that people lose them to a reinstall, an OS migration or a corrupted profile.
Once your setup works:
- Scene Collection → Export and save the JSON somewhere backed up.
- Profile → Export and do the same.
- Note which plugins you have installed. Neither export includes them, and a scene referencing a missing plugin imports broken.
Restoring on a new machine is Import, Import, reinstall plugins. Two minutes instead of an evening.
When Setup Is Not the Problem
Plenty of "OBS setup" searches are actually troubleshooting. If the configuration is fine and the behaviour is not:
| Symptom | Where to go |
|---|---|
| Capture is a black rectangle | OBS black screen: every cause and solution |
| Recording has no audio | OBS recording has no audio |
| Encoder fails to start | OBS "Failed to open NVENC codec" |
| Dropped or skipped frames | OBS encoding overloaded |
| Recording stutters or lags | OBS lagging: how to fix it |
| Output looks soft or pixelated | OBS recording looks blurry |
| Cannot find the finished file | Where do OBS recordings go? |
| Crashes on launch or mid-session | OBS keeps crashing |
The Setup You Do Not Have to Do
Ten sections is an honest measure of what OBS asks of you, and it is not a criticism. Every one of those settings exists because a live broadcast operator somewhere genuinely needs to control it, and OBS being free and fully configurable is why it has outlasted a decade of paid competitors.
It is also a lot of surface area for someone who wants to record a product walkthrough on a Tuesday afternoon.
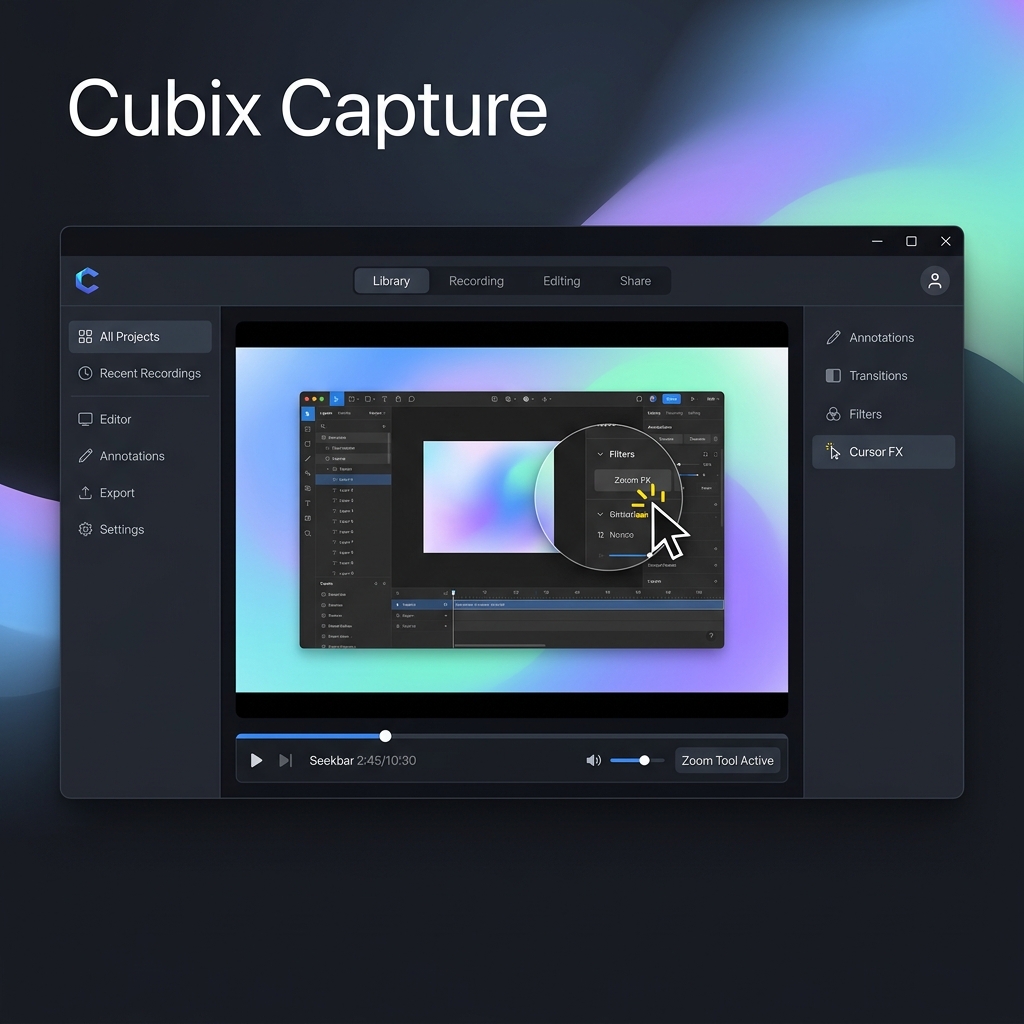
Cubix Capture has no encoder dropdown, no rate control, no scene graph and no profiles, because it does one job: record your screen and hand back something ready to publish. It follows your clicks and zooms in on them while capturing, smooths the cursor path, and frames the window against a clean background — so there is no editing pass between stopping and sharing. It runs on Windows and macOS, and the free Starter plan needs no account if you want to compare its output against what you get out of OBS today.
Keep Reading
- How to Download and Install OBS Studio for the safe download route and permissions.
- How to Use OBS for the First Time for the interface tour and a first recording.
- How to Set Up OBS for Screen Recording for the recording-specific configuration.
- OBS Best Settings for Screen Recording for exact values to copy.
Don’t miss the next one.
Join our newsletter for exclusive tips, product updates, and the latest from the Cubix team.