
Most guides to this problem make the same mistake: they hand you a list of ten fixes for "bad audio" and hope one sticks.
But your audio is present — that's what separates this from a silent recording. It's arriving, it's just wrong. And "wrong" comes in five distinct flavours with five completely different causes. The fix for clipping does nothing for crackling. The fix for crackling does nothing for hiss.
So before you change a single setting: name the sound.
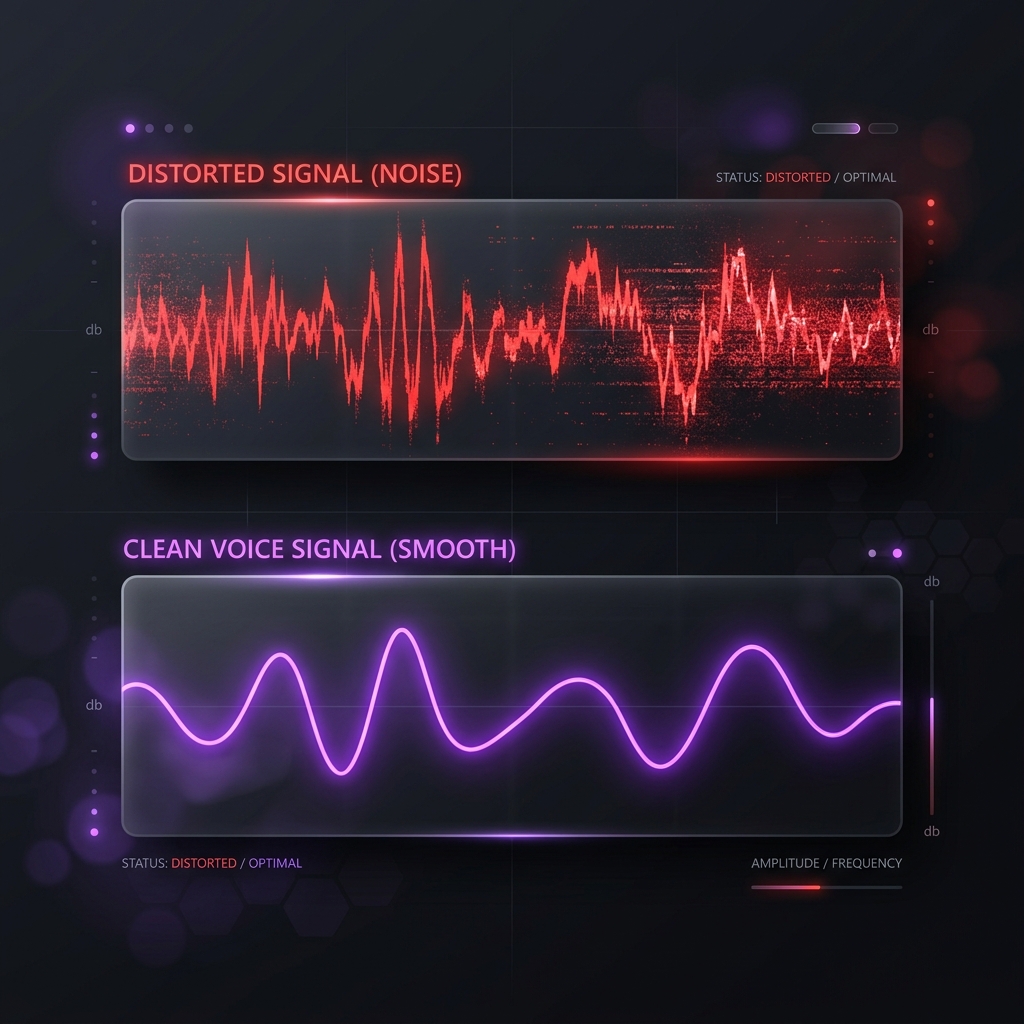
Name the sound
Listen back to a bad clip and find yourself in this table.
| What it sounds like | When it happens | The cause | Go to |
|---|---|---|---|
| Harsh, breaking up, fuzzy | Only when you get loud or laugh | Clipping — gain too high | Fix 1 |
| Sharp pops, ticks, static, like a bad vinyl record | Randomly, throughout | Buffer underrun — sample rate or CPU | Fix 2 |
| Robotic, garbled, underwater, slow-motion | Randomly, often on USB mics | USB bandwidth / driver | Fix 3 |
| Constant hiss or hum behind your voice | Always, at a steady level | Gain too high on a weak mic, or a ground loop | Fix 4 |
| Muffled, boxy, distant, thin | Always, consistently | Wrong mic, wrong pattern, wrong position | Fix 5 |
| You can hear yourself echoing | Always | Monitoring feedback loop | Fix 6 |
Get this right and you'll fix it in one move instead of ten.
Fix 1: Clipping — it only breaks up when you're loud
This is the most common one by a wide margin, and it's the easiest to confirm.
Confirm it: watch the mixer level bar while you speak normally, then laugh or raise your voice. If the bar slams into the red zone at 0 dB, you're clipping. Digital audio has a hard ceiling at 0 dBFS — there is no "louder." Everything above it gets flattened, and flattened waveform is exactly what distortion is.
The fix is gain staging, and there are real numbers for it:
- Speaking normally, you want to sit around -18 to -12 dB on the meter (the yellow-green band).
- Your loudest peaks — a laugh, a raised voice — should stay below -6 dB.
- You should never touch 0 dB. Ever. Headroom is not wasted volume; it's the room your peaks live in.
Get there in this order:
- Turn the gain down at the source first. The physical gain knob on your mic or interface, or Windows:
mmsys.cpl→ Recording → your mic → Properties → Levels. Bring it down until your loud peaks land under -6. - Then add a Limiter as a safety net. Mixer → ⋮ → Filters → + → Limiter. Set Threshold to -2 dB. This is a hard ceiling that catches anything unexpected.
The Limiter is a seatbelt, not a fix. If your gain is wildly too hot, the limiter will be crushing your audio constantly and it'll sound squashed and lifeless. Fix the gain at the source first, then add the limiter.
Fix 2: Crackling and popping — buffer underruns
Sharp digital ticks and static are the sound of the audio buffer running dry. Data didn't arrive in time, so the stream had a gap, and a gap in a waveform is a click.
Two things starve the buffer.
A. Sample rate mismatch. Your hardware clock and OBS's clock tick at different rates, so the buffer slowly drifts out of alignment.
- Windows key + R →
mmsys.cpl. - Recording tab → your mic → Properties → Advanced. Note the format, e.g. 2 channel, 24 bit, 48000 Hz.
- Playback tab → your headphones → Properties → Advanced. Set it to the same rate. Your two devices disagreeing with each other causes this just as reliably.
- OBS → Settings → Audio → Sample Rate → match (48 kHz or 44.1 kHz).
- Restart OBS completely.
B. CPU starvation. If the crackling starts exactly when you open a heavy app, compile, or launch a game, your CPU has no cycles left for the audio thread.
- Settings → Output → Recording → Encoder: switch from x264 to a hardware encoder — NVENC, AMF, or QuickSync. x264 encodes on your CPU and competes with your audio thread. This is the biggest single win.
- Settings → Advanced → General → Process Priority → Above Normal.
- Check View → Docks → Stats for skipped frames while recording.
Fix 3: Robotic, garbled, underwater — USB bandwidth
If a USB mic (Blue Yeti, Shure MV7, Elgato Wave) periodically drops into a slurred, robotic, slow-motion sound, its data packets aren't getting through. The USB host controller is congested.
The fixes:
- Move the mic to a port on the opposite side of the machine. USB ports share controllers in groups — physically distant ports usually sit on different controllers.
- Get it off the hub. No unpowered hubs, no monitor USB passthrough, no daisy-chaining. Plug it directly into the machine.
- Separate it from your webcam. A 1080p webcam and a USB mic on the same controller is a classic bandwidth collision. Note that a USB 2.0 port is often better than USB 3.0 for a microphone — USB 3.0 is notorious for radio-frequency interference in the 2.4 GHz band, and some mics pick it up.
- Disable USB power saving: Device Manager → USB Root Hubs → Properties → Power Management → untick Allow the computer to turn off this device to save power.
Enjoying this read?
Get weekly insights on video editing, AI workflows, and creator growth straight to your inbox.
Fix 4: Hiss and hum
A steady hiss behind your voice usually means the gain is cranked up to compensate for a mic that's too far away or not sensitive enough. You're amplifying the noise floor along with your voice. Move the mic closer (see Fix 5) and turn the gain down — that improves the signal-to-noise ratio, which is the actual problem.
A low hum (a 50/60 Hz drone) is usually electrical — a ground loop, or an interference source. Try a different power outlet, move the mic cable away from power cables and your monitor, and unplug USB devices one at a time to find the offender.
Then clean up what's left with filters — and the order matters, because OBS applies them top to bottom:
| Order | Filter | Why here |
|---|---|---|
| 1 | Noise Suppression (RNNoise) | Strip the noise floor first, before anything amplifies it |
| 2 | Noise Gate | Cut the silence between sentences. Now that noise is already reduced, the gate can be set gently |
| 3 | Compressor | Even out your levels. Runs on clean, gated audio |
| 4 | Limiter (Threshold -2 dB) | Always last. It's the final ceiling — anything after it could push past 0 dB again |
Getting this order wrong is a real and common mistake. A Compressor before a Noise Suppressor amplifies your quiet passages — including all the noise — and then asks the suppressor to remove it, which it now can't. A Limiter that isn't last isn't a limiter at all; it's just a loud filter with something after it.
This is the point where it's fair to ask what you signed up for. Correct filter order is an audio-engineering skill, and OBS expects you to have it — because for a live broadcast, you genuinely need that chain. To record a tutorial, you needed a microphone that sounds right. Cubix Capture ships sane gain staging with no filter chain to misorder.
Also: don't stack all four by default. Start with just a Limiter. Add Noise Suppression only if you actually have noise. Every filter is a small quality cost.
Fix 5: Muffled, boxy, or thin — it's not the software
If your audio is consistently dull, no setting in OBS will save it. This is physics.
Check you're using the right microphone. In Settings → Audio → Mic/Auxiliary Audio, is it actually set to your nice USB mic — or has it quietly defaulted to your laptop's built-in array or your webcam's mic? This happens constantly, and it explains a lot of "my $200 mic sounds terrible" posts. Never leave it on Default; select the device by name.
Check your distance. Aim for 15-20 cm (6-8 inches). Too far and you get the room — reverb, boxiness, and a hiss you'll try to fix with gain. Too close and you get boominess from the proximity effect, plus plosives.
Check your polar pattern. If you're on a Blue Yeti and it sounds hollow and distant, you are almost certainly speaking into the wrong side, or it's set to Omnidirectional. Set it to Cardioid and speak into the side of the grille, not over the top of it. Side-address mics catch out nearly everyone the first time.
Speak slightly off-axis — aim past the mic rather than straight into it — and use a pop filter. That kills plosive "p" and "b" bursts without a single filter.
More on room and environment: how to record your screen without background noise.
Fix 6: Echo
If you can hear yourself, a monitoring path is looping back.
Advanced Audio Properties → Audio Monitoring. If your mic is on Monitor and Output while you're listening through speakers, your mic is picking up its own playback. Either wear headphones, or set the mic to Monitor Off.
The 60-second setup that prevents most of this
If you're starting from scratch, do these five things and you'll never see most of this page:
- Select your mic explicitly by name. Not Default.
- Match sample rates: mic, headphones, and OBS all on 48 kHz.
- Set gain at the source so normal speech sits at -18 to -12 dB and peaks stay under -6.
- Add one filter: a Limiter at -2 dB. Nothing else, yet.
- Mic 15-20 cm away, cardioid, slightly off-axis, pop filter on.
That's it. Every remaining fix on this page is for a specific failure, not a default.
The bigger picture
OBS hands you a full mixing desk: gain staging, a filter chain, monitoring routing, sample rate control, process priority. Every one of those is a lever a broadcast engineer genuinely wants — and every one is a lever that can be set wrong.
For a live stream, that control is the point. For recording a tutorial, it's five ways for your voice to arrive broken, and you usually find out afterwards.
Cubix Capture takes the opposite position: it locks onto your mic and system audio with sane gain staging and no filter chain to misorder, so the audio is simply correct when you stop recording. Fewer knobs, fewer ways to be holding a ruined take.
Related: OBS microphone not working · how to record screen with an external microphone
Don’t miss the next one.
Join our newsletter for exclusive tips, product updates, and the latest from the Cubix team.