
You hit record, walk through your app, and the capture feels fine. Then you open the file and the motion judders: cursor movements smear, scrolling tears, and the picture hitches every second or two even though your narration sounds perfectly clean. That gap between smooth audio and choppy video is the classic OBS stutter.
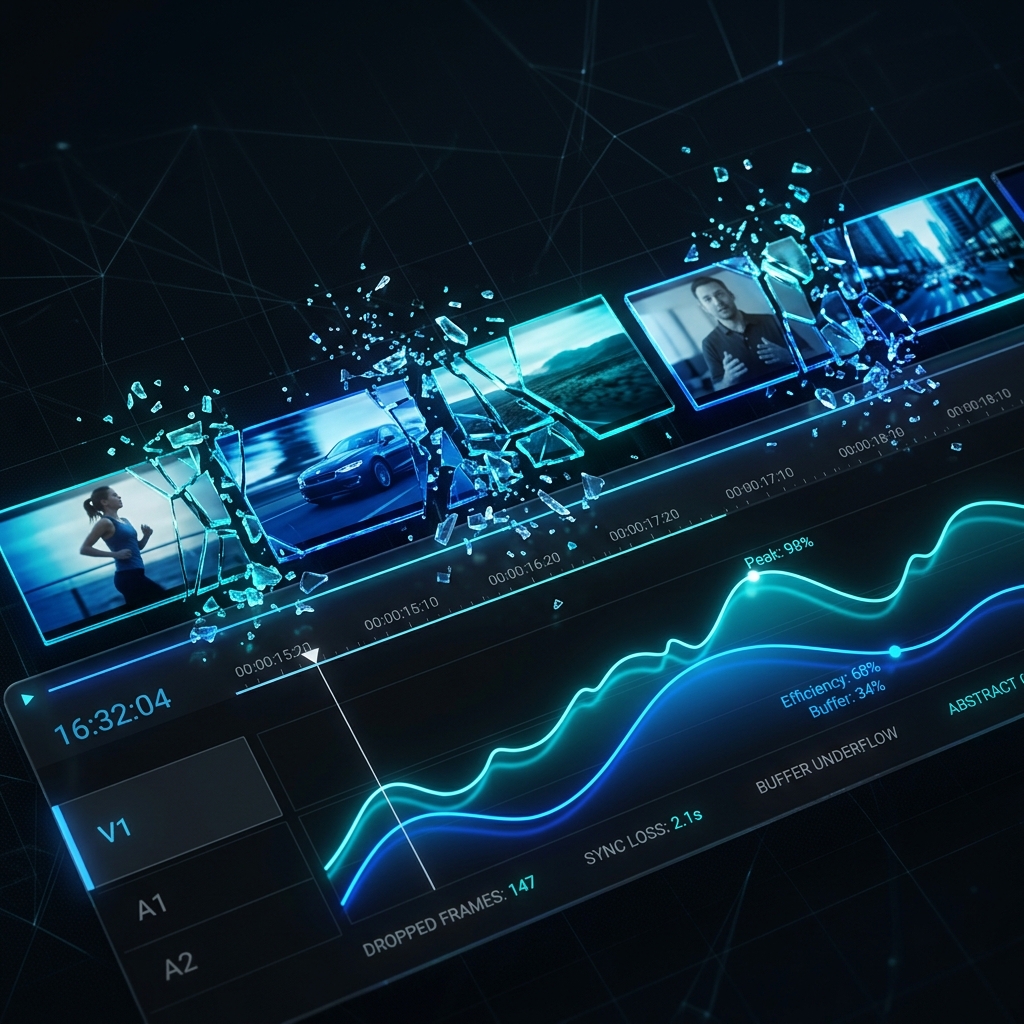
Choppy output is almost never a random glitch. It means one stage of the capture pipeline is missing its deadline. At 60 fps OBS has roughly 16 milliseconds to draw and compress each frame, and when it runs over that budget it discards frames to stay in sync with your audio, which is exactly the stutter you see on playback.
The cause sits in one of two places: Rendering Lag, where the GPU cannot draw your scene fast enough, or Encoding Lag, where the CPU or encoder chip cannot compress it in time. Work through the steps below in order and the choppiness clears.
Step 1: Run OBS as Administrator (The Instant Render Fix)
If your recording stutters specifically when you open a visually heavy desktop application, browser-heavy web app, or 3D development sandbox, you are experiencing Rendering Lag.
By default, the Windows operating system kernel routes nearly 100% of your Graphics Processing Unit (GPU) processing power to whatever application is actively focused on your screen. Because OBS needs a small slice of GPU power just to map your layout components onto its video canvas, it gets pushed to the back of the line, causing it to drop visual frames before it can even attempt to save them.
- The Fix: Close OBS Studio completely. Right-click the OBS Studio desktop shortcut or application launcher icon and select Run as administrator.
- Make it Permanent: Right-click the OBS shortcut, go to Properties, click the Compatibility tab, check the box for "Run this program as an administrator", and click Apply.
Why this works: Launching OBS with administrative privileges activates a special priority flag inside the Windows graphics subsystem. It commands the operating system to allocate OBS's background rendering pipeline equal graphics memory access alongside your active foreground application, ensuring your video canvas never starves for GPU clock cycles.
Step 2: Offload Encoding to Hardware
If the stutter arrives alongside an "Encoding Overloaded" warning in the status bar, the compression stage is the culprit rather than frame pacing. OBS is defaulting to the CPU-bound x264 profile. In Settings > Output, set Output Mode to Advanced, switch the Video Encoder to your hardware chip (NVENC, AMD HW, QuickSync, or Apple VT), and set Rate Control to CBR at roughly 6000 Kbps for 1080p60.
That is the short version, and for most people it is enough. The full walkthrough, including when x264 still beats hardware and how to read the encoder numbers, lives in OBS Encoder Lag: NVENC vs x264 Fix.
Enjoying this read?
Get weekly insights on video editing, AI workflows, and creator growth straight to your inbox.
Step 3: Align Base Canvas and Match Your Display Refresh Rates
A massive, silent cause of choppy video is frame desynchronization. If your physical monitor is running at a high refresh rate (like 144 Hz or 240 Hz), but OBS is trying to capture at a standard 60 fps, the two mathematical values do not divide evenly into one another. This causes erratic frame pairing, which presents as a jarring micro-stutter in the final file.
- Match FPS Fractions: If you use a 144 Hz monitor, lock your screen refresh rate down to 120 Hz or 60 Hz while recording, or cap your focused app's frame rate to a clean multiple of 60.
- Remove Downscale Strain: Go to the Video tab in OBS Settings. Ensure your Base (Canvas) Resolution matches your monitor's native layout dimension perfectly. If OBS has to constantly recalculate and scale your display down to a different size in real time before encoding it, it places a heavy tax on your machine's processor.
Performance Parameters At a Glance
| System Optimization | Targets Rendering Lag (GPU) | Targets Encoding Lag (CPU) | Impact on Video Smoothness |
|---|---|---|---|
| Run as Administrator | Highest Priority (Direct Fix) | Neutral | Eliminates sudden, severe freezing |
| Dedicated Hardware Encoder | Neutral | Highest Priority (Direct Fix) | Eliminates choppy background stutter |
| Lower FPS Target (60 to 30) | Reduces load by half | Reduces load by half | Guarantees fluid playback on older laptops |
| Turn Off Heavy Overlays | Frees up VRAM memory | Frees up CPU cycles | Clears out random micro-stutters |
When You Would Rather Not Chase Stutters at All
OBS gives you total control, which is exactly why it also gives you this many ways to stutter. If you stream complex live scenes, that trade is worth it. If you just need clean tutorials, the tuning is pure overhead.
Cubix Capture records smooth by default. There is no encoder preset, refresh-rate matching, or frame-budget math to get wrong, because it captures through a single optimized pipeline and finishes the video the instant you stop. It also zooms and smooths the cursor automatically, so the result is mobile-ready without an edit.
Related reading:
- OBS FPS Drop Fix: Stop Frame Rate Issues
- OBS Recording Laggy But Preview Looks Fine: Fix
- OBS Lag Fix on Windows 11: Complete Guide
Don’t miss the next one.
Join our newsletter for exclusive tips, product updates, and the latest from the Cubix team.