If you recently upgraded to Windows 11, or if you simply haven't checked out the built-in utilities lately, you might be surprised by how much has changed. Gone are the days when you had to immediately download sketchy third-party software just to capture a quick video of your screen. Microsoft has quietly overhauled its native tools, making screen recording more accessible than ever.
Whether you need to show a colleague how to navigate a new company dashboard, save an important webinar, or demonstrate a software bug to IT, video is the most efficient way to communicate.
Here is everything you need to know about the built-in screen recording tools in Windows 11, how to use them effectively, and what to do when you need a truly professional presentation.
The New Standard: The Snipping Tool
For years, the Snipping Tool was strictly for taking static screenshots. However, Windows 11 transformed it into a highly capable video recorder. It is now the most versatile free tool on your PC because it allows you to record specific areas of your screen and capture audio simultaneously.
How to Use It:
- Open the Start Menu, search for "Snipping Tool," and open the app (or press Windows + Shift + S).
- At the top of the interface, click the Video Camera icon to switch to recording mode.
- Click the New button. Your screen will dim, allowing you to click and drag a box to highlight the exact portion of the screen you want to film.
- Check the top toolbar before you start. You will see a microphone icon (to record your voice) and a speaker icon (to record system sounds, like a video playing). Ensure these are turned on if you want audio. If sound is your main concern, we go deeper in How to Record Screen and Audio Together on Windows.
- Click Start. When finished, hit the red stop button, and you can save the MP4 file or export it directly to Clipchamp for basic editing.
The Quick App Capture: Xbox Game Bar
If you do not want to bother drawing boxes and just want to instantly record the specific app or web browser you are currently using, the Xbox Game Bar is your fastest option.
How to Use It:
- Open the application you want to record.
- Press Windows + G on your keyboard to summon the Game Bar overlay.
- In the "Capture" widget, look for the microphone icon to unmute yourself if necessary.
- Click the circular Record button (or press Windows + Alt + R to start instantly).
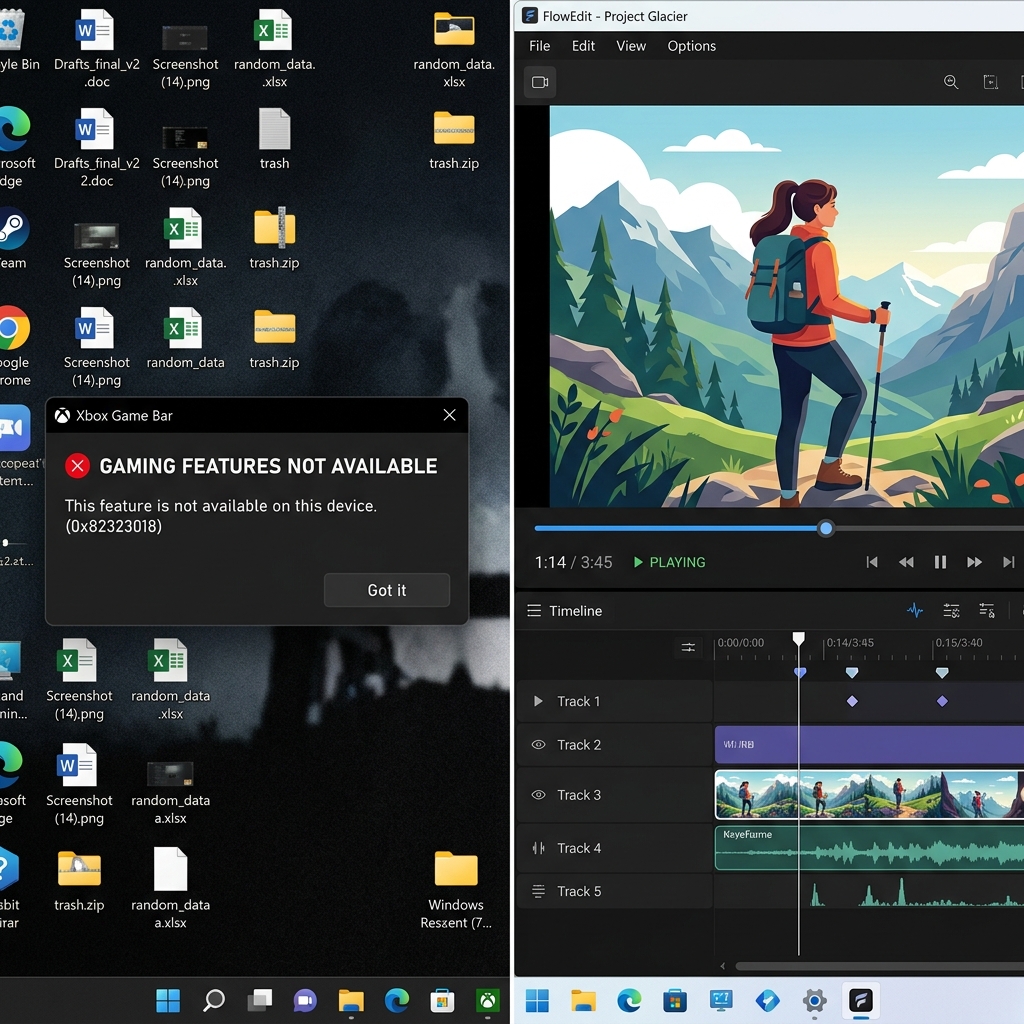
(Note: The Game Bar is somewhat restricted. It cannot record your Windows desktop or File Explorer, and it will automatically stop recording if you switch to a different application. If Windows + G does nothing at all, see Xbox Game Bar Not Working, Fix It.)
The Big Screen Problem
Windows 11 provides great tools for sending a rapid, casual clip to a friend. But if your goal is to create a formal tutorial, an educational guide, or a client presentation, these native tools share a massive flaw: they only capture raw footage.
If you are using a standard 24-inch or 27-inch desktop monitor, your screen looks great to you. But when you record that entire screen and share it with someone who watches the video on a smartphone or a small laptop, disaster strikes. The interface shrinks dramatically. The text becomes microscopic, and your viewers will have to squint just to see which menu you are clicking.
Furthermore, standard physical mouse movements often translate into jittery, erratic motion on video. An unpredictable cursor paired with shrunken text is exhausting to watch, and it is the fastest way to lose a viewer before your point lands.
The Effortless Upgrade for Visual Clarity
To solve the "tiny text" problem traditionally, you would have to record your video, import it into heavy editing software, and spend hours manually keyframing zoom effects and trying to smooth out your mouse path.
A much smarter, modern approach is to use a tool that intelligently edits the visual experience for you while you are speaking.
This is exactly why Cubix Capture completely transforms the recording workflow for Windows 11 users. Instead of wrestling with raw footage that makes your audience squint, Cubix Capture acts as your personal digital producer:
- Dynamic Focus Amplification: It entirely removes the burden of post-production by automatically tracking your mouse and zooming into key areas, ensuring every detail is brilliantly legible on any device.
- Cinematic Glide Technology: It magically smooths out erratic, shaky cursor movements into a professional, continuous glide that keeps your viewers perfectly engaged without distraction.
- Instant Virtual Environments: If you choose to present on-camera, it seamlessly replaces your messy physical background with a polished, high-end virtual setting without needing a green screen.
Knowing the ins and outs of Windows 11’s built-in screen recording tools is a fantastic foundation for quick tasks. But when it is time to guide a client, teach a class, or share a critical workflow, upgrading to a platform that guarantees effortless visual clarity ensures your audience actually understands the solution you are providing.
Keep Going
- Want to skip third-party software entirely? Record your screen on Windows 11 without installing anything.
- Need clean sound on every clip? How to record screen and audio together on Windows.
- Game Bar throwing errors? Fix Xbox Game Bar when it stops working.
- On a specific machine? See the dedicated guides for Dell, HP, Lenovo ThinkPad, and Surface Pro.