The MacBook Air is the most popular Mac on earth, and it is a fantastic machine for screen recording. The Apple Silicon chips inside it (M1, M2, M3, and newer) handle video capture with almost no effort.
But the Air is also Apple's thinnest, lightest laptop, and a couple of its design choices, a smaller starting SSD and a fanless body, mean there are a few Air-specific things worth knowing before you hit record. This guide covers the how, then the parts that actually matter on an Air.
The Core Method (Same on Every Air)
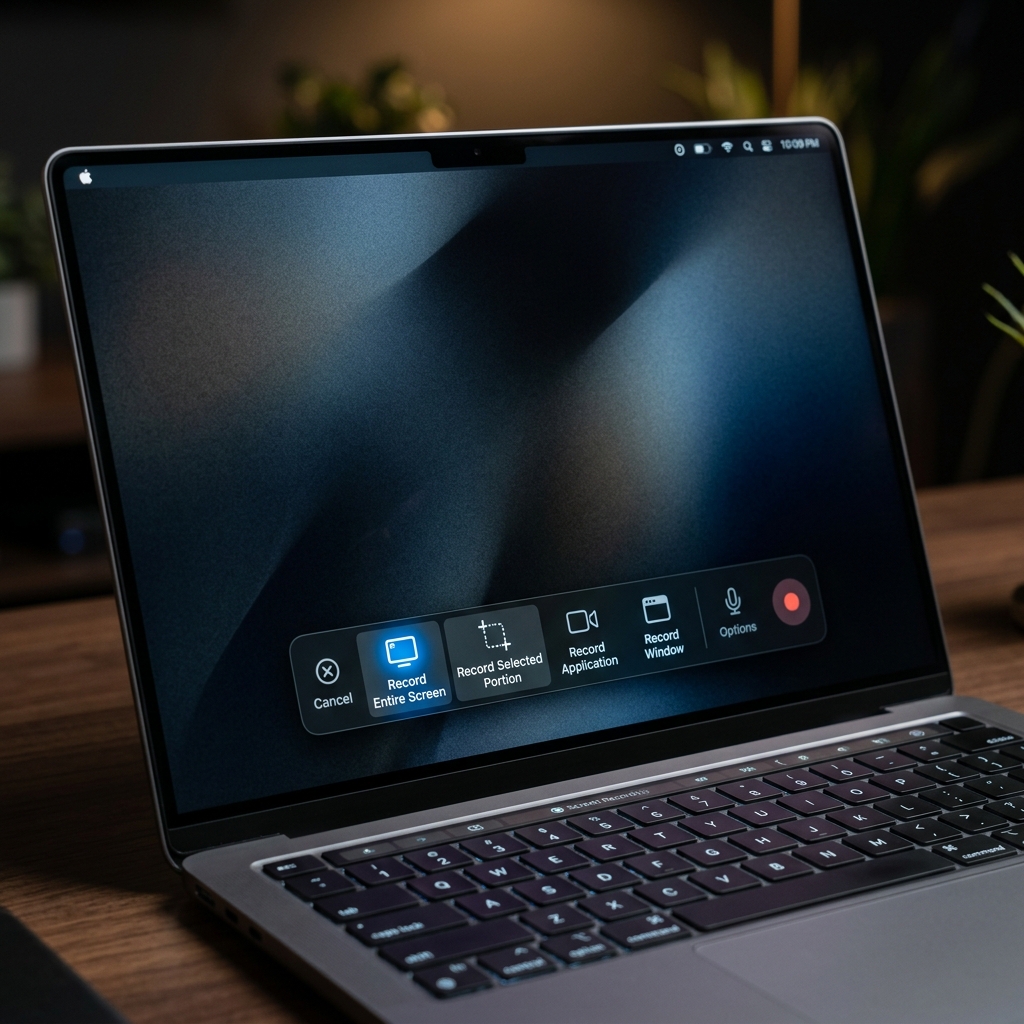
Every MacBook Air, regardless of year or chip, uses the same built-in recorder:
- Press
Command+Shift+5. - The capture toolbar appears at the bottom of your screen.
- Choose Record Entire Screen or Record Selected Portion.
- Click Options to set your microphone, save location, and a countdown timer.
- Click Record to start.
- To stop, click the stop icon in the top-right menu bar, or press
Command+Control+Escape.
If you have never done this before, our plain-English beginner's guide to filming your Mac screen walks through it slowly.
So far, identical to any Mac. Now the Air-specific part.
Air Tip 1: Watch Your Storage
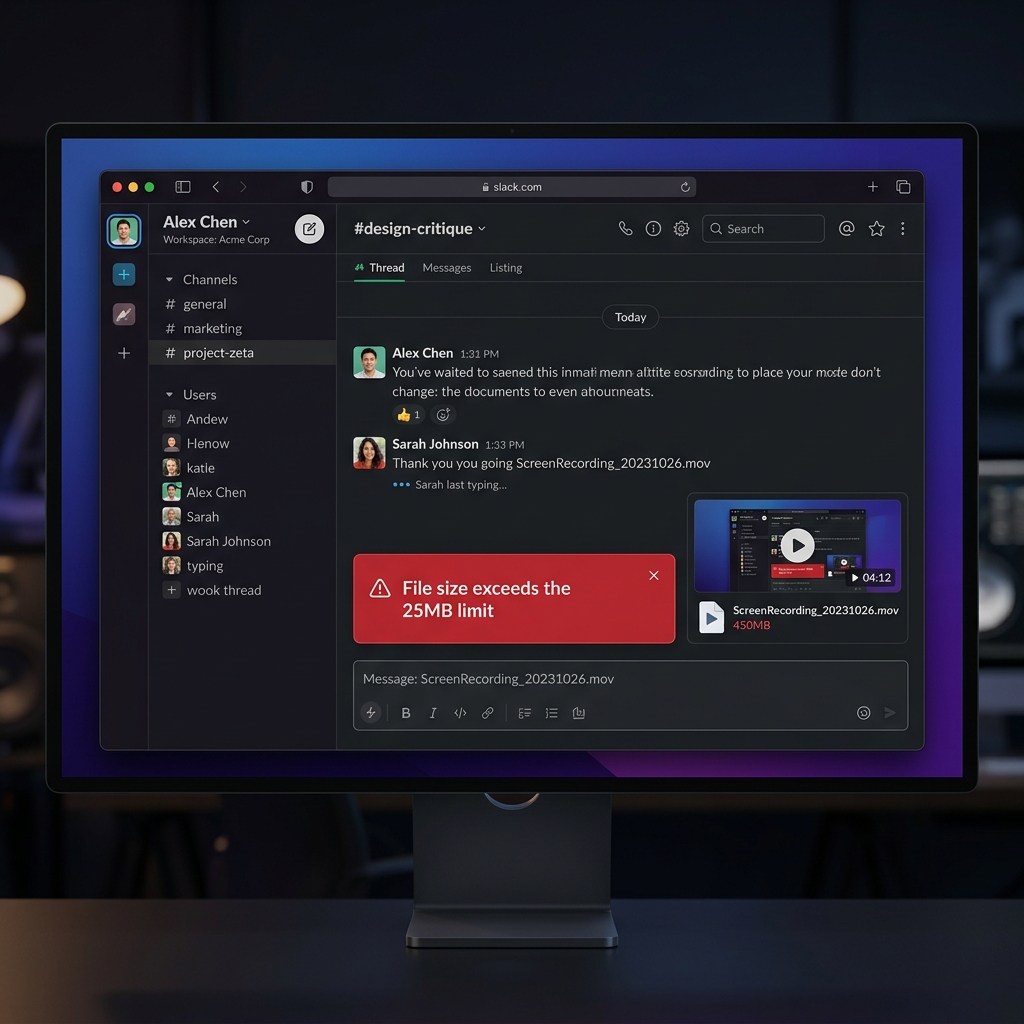
This is the big one. Many MacBook Airs ship with a 256 GB SSD, and screen recordings are large. The Air saves recordings as high-bitrate .mov files, and at the Air's Retina resolution, a single 10-minute full-screen recording can easily land between 1 and 2 GB.
Record a few tutorials in a week and you can quietly eat 10 GB of a drive that did not have much to spare.
A few habits keep this under control on an Air:
- Record a selected portion instead of the entire screen whenever you can. A smaller capture area means a dramatically smaller file.
- Move finished recordings off the SSD to iCloud or an external drive once you have used them.
- Compress before sending. Our video compressor can shrink a 1.5 GB recording to a fraction of the size without obvious quality loss, which also makes it emailable.
Air Tip 2: The Fanless Body and Long Recordings
The MacBook Air has no fan. It cools itself passively, which is why it is silent, but it also means that during very long or very heavy capture sessions, the chip can warm up and gently throttle to stay cool.
For 99% of screen recording, this is a non-issue. The Air's efficiency cores sip power during a basic screen capture. You would only notice slowdown if you were, say, recording the full screen in 4K while also running a video call and exporting something else at the same time.
To keep long recordings buttery on an Air:
- Close apps you are not actively filming.
- Avoid recording on top of a heavy export or a big browser with 40 tabs.
- For sessions longer than 20 to 30 minutes, record a selected portion rather than the entire Retina display.
Enjoying this read?
Get weekly insights on video editing, AI workflows, and creator growth straight to your inbox.
Air Tip 3: Function Keys and the Microphone
Modern MacBook Airs have a physical row of function keys (the Touch Bar was a Pro-only feature that Apple has since retired). That means your screenshot and recording shortcuts are pure keyboard combos, nothing on a touch strip to learn.
The Air's built-in three-mic array is genuinely good for narration. Before recording a tutorial, open Options in the capture toolbar and confirm the microphone is set to MacBook Air Microphone rather than "None," otherwise you will record a beautiful silent video and only notice afterward. That exact mistake is so common we wrote a whole troubleshooting guide for Mac recordings with no sound.
Air Tip 4: Recording System Audio
Like every Mac, the Air's built-in recorder captures your microphone but not the internal sound coming from the computer itself (a YouTube video, a Zoom call, music). That is an Apple limitation, not an Air limitation.
If you need to capture the actual audio playing on your Air, see How to Record Screen on Mac With Internal Audio.
When the Built-In Tool Is Not Enough
The native recorder is great for raw clips, but it gives you a flat, unedited file with a jittery cursor and no zoom. On an Air especially, where you may be recording a lot of quick tutorials, the time spent cleaning those up adds up fast.
Cubix Capture runs beautifully on Apple Silicon Airs and produces polished, auto-zoomed recordings with a smoothed cursor straight out of the box, so you skip the editing step entirely. It is also lighter on storage than raw .mov exports.
If you want to compare options, see our roundup of the best free screen recorders for Mac.
Don’t miss the next one.
Join our newsletter for exclusive tips, product updates, and the latest from the Cubix team.