
You open your analytics dashboard, pull up your latest software tutorial or product walkthrough, and look at the audience retention graph. Within the first 30 to 45 seconds, the line takes a massive, steep dive. More than half of your viewers have clicked away before you even finished your introduction.
It is easy to blame a short digital attention span, but the real reason your tutorial videos lose viewers usually comes down to a physical bottleneck: the smartphone screen resolution squeeze.
If you record a coding lesson, a design workflow, or a business spreadsheet on a standard 27-inch desktop monitor, everything looks perfectly crisp and legible to you while filming. But over 60% of technical video consumption now happens on mobile devices. When a massive desktop environment is compressed onto a 6-inch phone viewport, your text shrinks aggressively, making it look microscopic.
The exact millisecond a student has to squint to read a setting, strain their eyes to track your cursor, or guess what line of code you just typed, cognitive fatigue sets in and they swipe away.
Here is the exact breakdown of why traditional flat screen captures destroy viewer engagement, and how algorithmic auto-zoom fixes it instantly while giving you your weekends back.
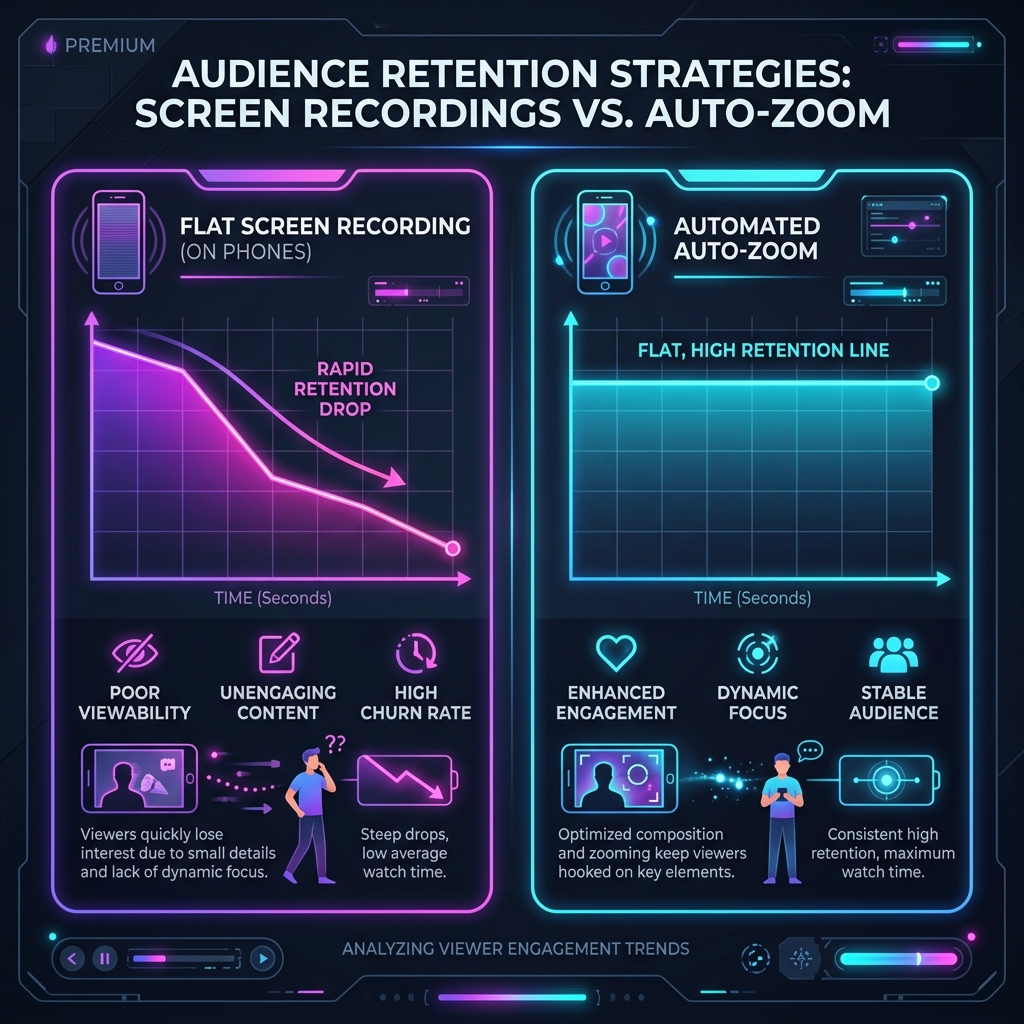
The Silent Engagement Killers in Standard Screen Captures
1. High Cognitive Load (The Cursor Hunt)
Modern software dashboards are incredibly dense. Whether you are teaching inside a full-stack IDE, Salesforce, or Photoshop, the interface is flooded with hundreds of tiny icons, timeline tracks, and parameter inputs. When a viewer watches a flat full-screen capture of a complex layout, their brain is forced to work twice as hard. They have to listen to your voice while simultaneously hunting across a vast screen to track your tiny mouse pointer. When you don't explicitly guide the eye, the brain gets tired and drops off.
2. Erratic Trackpad Jitters
When we use a computer naturally, our hand movements are frantic and messy. We flick the cursor across the screen, circle things aggressively while trying to remember our next point, or shake the mouse out of habit. Under close visual scrutiny, these rapid, chaotic trackpad micro-movements create visual friction and make your presentation look unprofessional.
3. Visual Stagnation and Boredom
Human eyes are biologically hardwired to track motion and depth shifts. When a software recording remains completely flat and stationary for ten straight minutes, the viewer's brain quickly categorizes it as a static document. Attention drifts, their focus drops, and they exit the browser tab.
How Auto-Zoom Rewrites the Rules of Tutorial Engagement
Instead of treating your recorder like a passive security camera that blindly logs raw screen pixels, modern presentation recording tools like Cubix Capture function as an automated digital director running live in the background while you talk.
As you naturally navigate through your workspace, the software logs your interaction data tracking your absolute cursor coordinates ($X$ and $Y$ pixel points), click triggers, and targeted window regions. The exact millisecond you execute an action, such as opening a tiny settings gear or typing an expression, the engine uses predictive framing algorithms to scale down the viewport, smoothly gliding the camera inward to magnify the point of interest.
[ Flat Monitor Capture ] ---> Squeezed onto Mobile ---> Text is Unreadable (High Drop-Off)
[ Auto-Zoom Capture ]   ---> Cropped Dynamically  ---> Text stays 1:1 Large  (High Retention)
By keeping the active workspace magnified and cropped tightly, user interface labels remain incredibly crisp, large, and perfectly legible on any mobile phone display, eliminating the phone readability crisis entirely.
Bypassing the Timeline Tax
The traditional method of adding zoom animations manually to keep viewers engaged is incredibly tedious. It forces you to pay a heavy post-production pipeline tax:
-
Phase 1: Raw Capture: Record a Static Screen You record your full desktop canvas completely flat, capturing all background clutter and frantic cursor movements over an hour.
-
Phase 2: The Timeline Chop: Import and Slice the Track You drag the raw MP4 file into a heavy editor like Premiere Pro or DaVinci Resolve and slice the track into dozens of tiny fragments based on cursor changes.
-
Phase 3: Keyframe Tuning: Animate Camera Scales Manually You spend hours manually adjusting scale coordinates and open up a speed graph editor to smooth out velocity curves for every individual zoom frame.
-
Phase 4: Render Wait: Compile the Final Asset You wait for your local computer hardware to process the complex keyframe coordinates and compress a final video file for upload.
With auto-zoom, this multi-hour timeline is completely flattened into a zero-second wait. Because smart recorders handle your camera pans, app window masking, and background canvas staging live while you talk, your tutorial video is fully styled and ready to publish the exact millisecond you hit stop recording.
Enjoying this read?
Get weekly insights on video editing, AI workflows, and creator growth straight to your inbox.
The High-Velocity Filming Blueprint
To get the absolute best results out of an auto-zoom recorder, adopt a continuous batch filming framework using these three simple operational steps:
-
Sanitize Your Active Workspace: Prune background distractions before filming. A messy screen shatters student focus. Hide your desktop icons, clear out unrelated browser tabs, hide your bookmarks bar, and toggle your operating system to Do Not Disturb mode to block personal alerts from hijacking your frame.
-
Adopt a Deliberate Physical Pace: Provides tracking software with clean visual data. Move your mouse cursor across your application at half-speed. When approaching a button or dropdown menu, hover over the target for one full second before clicking, and leave your pointer resting there for a brief moment afterward. This calm pacing allows the automated camera engine to calculate silky-smooth, organic glides.
-
Deploy the 'Clap and Repeat' Rule: Handle errors continuously without stopping the clock. If you stumble over a technical term or misclick an option, do not stop the recorder. Pause for three seconds, clap your hands loudly to create a giant visual spike on your audio waveform track, reset your cursor position, and repeat the take. You can easily slice out those mistakes in seconds later.
Head-to-Head Performance Matrix
| Retention & Production Metrics | Traditional Flat Captures | Automated Auto-Zoom Captures |
|---|---|---|
| Mobile Viewport Clarity | Microscopic labels (High bounce rate) | Crisp, magnified text (High retention) |
| Cognitive Strain | High (Students must hunt for the mouse) | Zero (Visual focus is explicitly directed) |
| Cursor Path Behavior | Jittery, rapid, and distracting lines | AI-smoothed, elegant cinematic sweeps |
| Time Investment | Hours of manual timeline keyframing | Zero (Processed in real-time while speaking) |
Ultimately, maximizing your view count or course completion rate isn't about working longer hours in a complex video editor it's about respecting your viewer's viewport and protecting your own creative calendar. By moving your design and cinematography into the capture phase with a smart tool like Cubix Capture, you can produce beautiful, mobile-optimized tutorials completely on autopilot and spend your afternoons doing what you love.
Keep Reading
- The Psychology of Zoom: Why It Matters for Viewer Retention
- Why Auto-Zoom Makes Tutorial Videos More Engaging
- How Auto-Zoom Replaces 90% of Tutorial Video Editing
- How Tutorial Creators Are Using Auto-Zoom to Get More Views
- Why Auto-Zoom Is the Most Important Feature Nobody Talks About
Don’t miss the next one.
Join our newsletter for exclusive tips, product updates, and the latest from the Cubix team.