
If you are an online course creator, software educator, or SaaS founder, your single biggest time sink isn’t writing scripts or recording audio. It’s the hours spent staring at a complex video editing timeline afterward.
The formula for building a high-retention tutorial video has always been incredibly demanding. Because over 60% of audiences watch videos on mobile devices, a flat recording of a large desktop monitor makes text look microscopic on a smartphone screen.
To make your videos legible, you have historically had to pay a steep "timeline tax": slicing up your footage, manually calculating scale percentages, placing anchor points, and tweaking ease curves for every individual action.
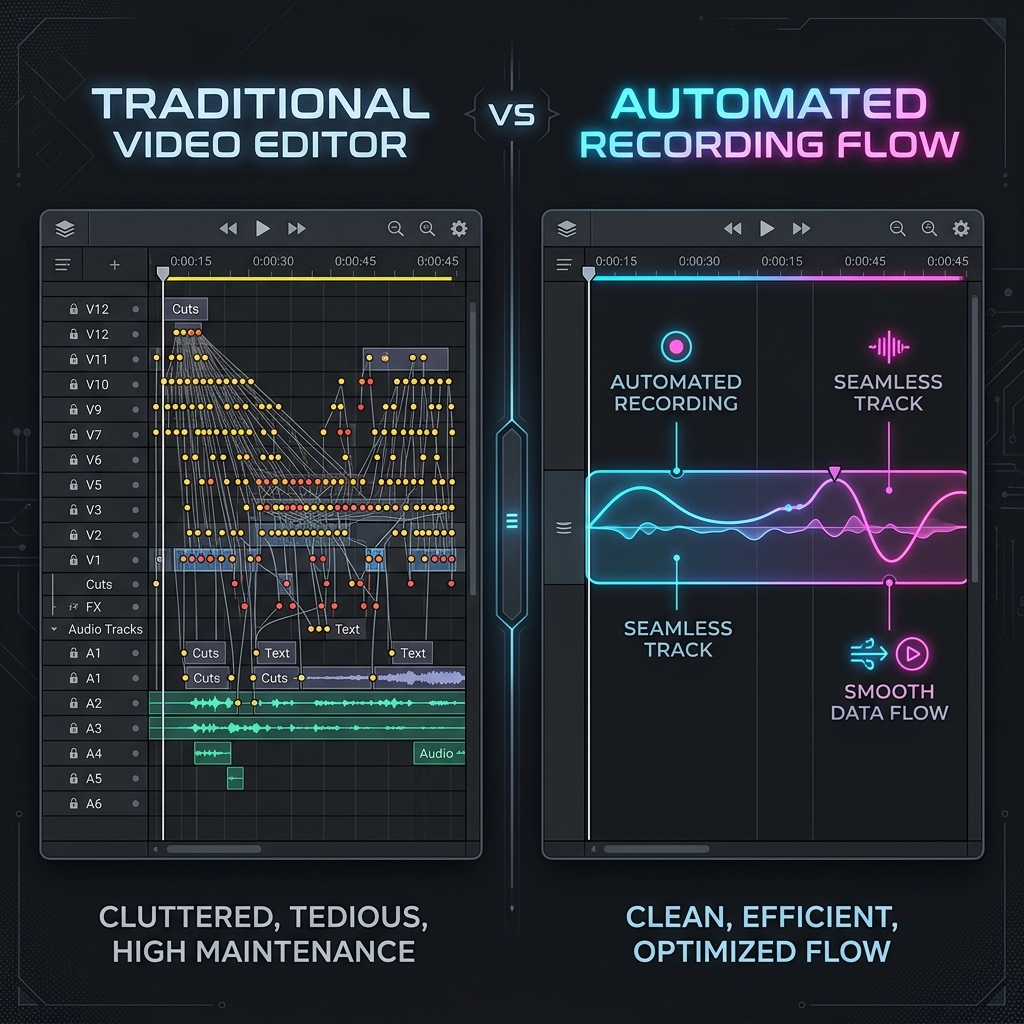
Today, elite technical creators are bypassing this manual post-production bottleneck entirely by using algorithmic auto-zoom. By shifting the cinematography directly into the recording phase, this technology eliminates up to 90% of the manual video editing process. Here is the unvarnished breakdown of how it works and how it can give you your weekends back.
The Manual Editing Assembly Line (The Time Sink)
To understand exactly how much time auto-zoom saves, look at the traditional, multi-step editing pipeline required to make a standard 10-minute software tutorial mobile-friendly:
-
Step 1: The Visual Audit Scrubbing through your raw video file to identify every single moment your mouse clicks a dropdown menu, highlights a code block, or toggles an obscure settings gear.
-
Step 2: The Razor Cut Using the razor tool to slice the video track into dozens of isolated fragments precisely at the beginning and end of each action.
-
Step 3: Keyframe Placement Manually adjusting the scale (e.g., jumping from 100% to 160%) and position ($X$ and $Y$ coordinates) for every single fragment to frame the active menu block.
-
Step 4: Curve Interpolation Opening up the speed graph editor to manually smooth out the camera movement curves so the zooms don't look incredibly robotic or jarring to the viewer.
This manual process quickly adds up to 1 to 2 hours of editing for every 5 minutes of footage. It creates a massive content bottleneck that completely stalls your publishing velocity.
The Tech Solution: How Auto-Zoom Eliminates the Timeline
Instead of treating your recorder like a passive security camera that blindly logs pixels, smart presentation recording platforms like Cubix Capture function as an automated digital director running live in the background while you talk.
As you navigate through an application naturally, the software monitors your real-time interaction data:
- Your explicit cursor coordinates ($X$ and $Y$ pixel points).
- Physical click triggers and active text inputs.
- The bounding areas of your active software windows.
The exact millisecond you execute an action such as typing text into a code block or picking a dropdown setting the system applies predictive framing math. It scales down the viewport and uses smooth interpolation curves to glide the camera inward toward your focus target. Because this data-driven camera work happens automatically during the capture session, 90% of your editing is already finished the exact moment you hit stop.
The 3 Core Automations Baked into Auto-Zoom
When you use an automated screen recorder, you aren't just getting camera zooms; you are unlocking an entire suite of post-production automations natively.
1. AI Cursor Path Smoothing
Naturally, our hands make incredibly frantic, jittery movements when we track across a screen. Under macro close-up editing, these micro-stumbles look highly unprofessional. Auto-zoom tools intercept your raw trackpad coordinates and translate them into fluid, cinematic sweeps that elegantly guide your viewer's focus.
2. Instant Brand Staging
Instead of recording a messy desktop full of unorganized files, private browser extensions, and random app windows, automated platforms isolate your target window. It instantly frames your open software against gorgeous, dynamic canvas backdrops while setting your webcam into a clean floating circle with background blurring.
3. Perfect Mobile Optimization
By cropping out surrounding visual noise automatically, text elements remain large, crisp, and 1:1 readable on small smartphone displays, crushing the mobile readability crisis that causes viewers to drop off.
Enjoying this read?
Get weekly insights on video editing, AI workflows, and creator growth straight to your inbox.
High-Velocity Production Blueprint
By combining auto-zoom mechanics with a continuous filming framework, your tutorial creation workflow scales down into a single, continuous sweep:
-
Sanitize Your Digital Canvas: Prune background visual clutter. Hide your desktop icons, clear out unrelated browser tabs, and toggle your operating system configuration into Do Not Disturb mode to block personal alerts from disrupting your take.
-
Adopt a Deliberate Physical Pace: Gives real-time tracking engines clean data points. Move your mouse cursor across your application layout at half-speed. Hover over a button or dropdown menu for one full second before clicking, and leave your pointer resting there for a brief moment afterward. This deliberate pace allows the camera engine to calculate smooth glides.
-
Deploy the 'Clap and Repeat' Rule: Handle mistakes continuously without stopping the clock. If you stumble over a sentence or misclick an option, do not stop the recording. Pause for three seconds, clap your hands loudly to create a giant visual spike on your audio waveform track, reset your cursor position, and repeat the take.
-
Hit Stop and Share Instantly: Skip the manual post-production editing suite. Conclude your lesson. Because the platform baked in your canvas backgrounds, cursor smoothing, and algorithmic focal zooms live while you spoke, you can instantly slice out your clap-marked errors and push the polished video straight to your audience.
Head-to-Head Post-Production Comparison
| Editing Variable | Traditional Manual Editing Stack | Automated Recording Setup |
|---|---|---|
| Mobile Screen Zooming | Hours of manual timeline keyframing | Algorithmic, real-time focus crops |
| Mouse Cursor Tracking | Jagged, distracting physical hand movements | AI-smoothed, elegant cinematic sweeps |
| Visual Canvas Layout | Manual layer cropping and asset alignment | Instant application masking & gradients |
| Total Production Loop | ~2 Hours of manual post-editing per video | Zero-edit output (Ready instantly) |
Ultimately, maximizing your course throughput or video view count isn't about working longer hours in a complex video editor; it’s about respecting your own creative calendar. By moving your design and cinematography into the capture phase with a smart tool like Cubix Capture, you can produce beautiful, mobile-optimized tutorials completely on autopilot and spend your afternoons doing what you love.
Keep Reading
- The Death of Manual Screen Editing: What Auto-Zoom Changes
- Auto-Zoom Screen Recording - How It Works and Why You Need It
- Why Your Tutorial Videos Lose Viewers (And How Auto-Zoom Fixes It)
- How Tutorial Creators Are Using Auto-Zoom to Get More Views
- Why Auto-Zoom Makes Tutorial Videos More Engaging
Don’t miss the next one.
Join our newsletter for exclusive tips, product updates, and the latest from the Cubix team.