
Few things block a content creator’s momentum quite like finishing a flawless video take, looking over at the mixer panel, and realizing that your Desktop Audio track was completely dead. The green volume meters didn’t move a single millimeter, leaving your gameplay, browser videos, or computer audio completely silent.
Because OBS Studio operates like a professional digital mixing console rather than a basic screen grabber, it doesn't just mirror your speakers. It creates an explicit digital handshake with the Windows 11 audio subsystem. If a system update, device change, or sample rate clock mismatch disrupts that line, OBS falls dead silent.
If Windows 11 has broken your audio routing, here is your step-by-step diagnostic roadmap to unmute your desktop feed instantly.
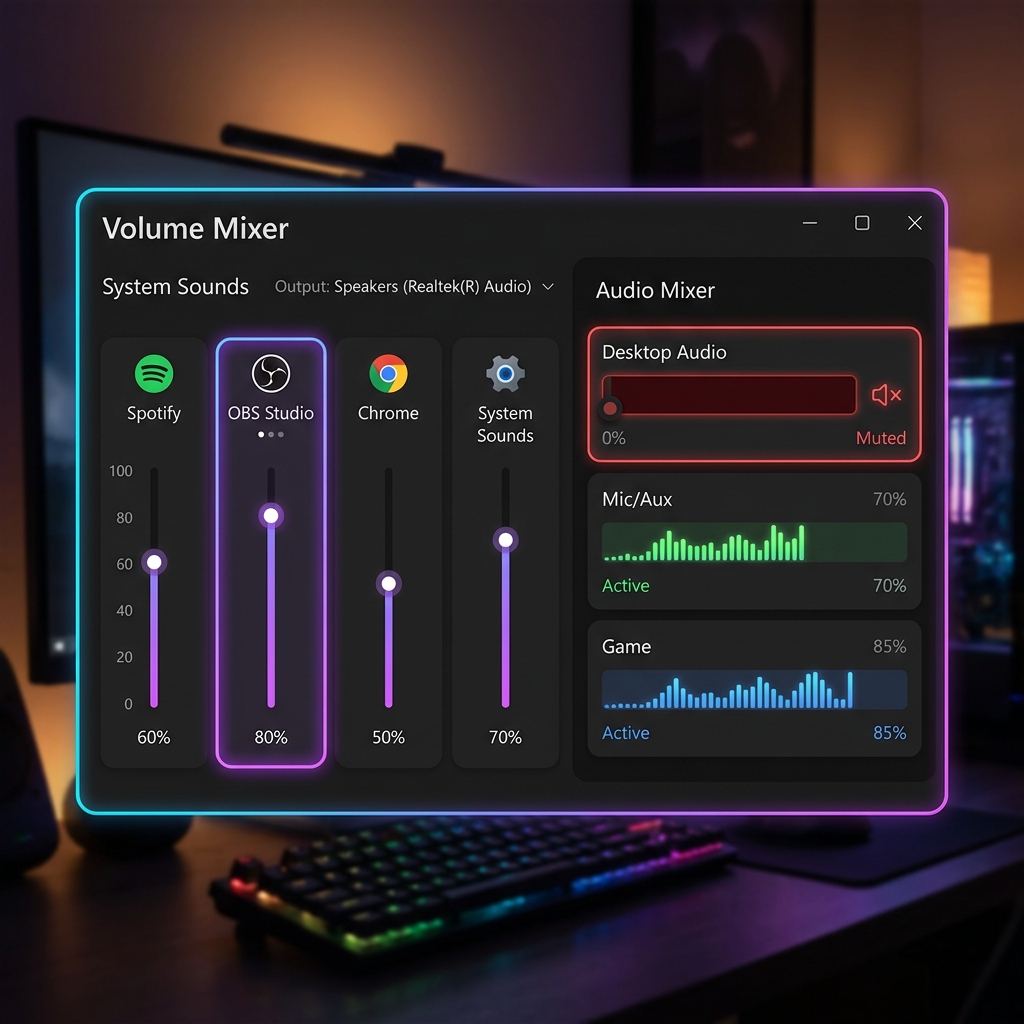
Step 1: Align Your System Sample Rates (The Frequency Lock)
This is the hidden culprit behind most sudden audio blackouts on Windows 11. Your computer's sound card processes digital audio at a specific clock speed (typically 44.1 kHz or 48 kHz). If OBS is configured to listen for a different speed than your operating system is outputting, the data stream breaks and outputs zero sound.
-
Open the Windows Sound Control Panel: Access the deep system audio subsystem. Press the Windows Key + R to open the Run box, type
mmsys.cpl, and hit Enter. This launches the classic Windows Sound panel. -
Check Your Playback Device Properties: Identify your active hardware frequency. Under the Playback tab, locate your active headphones or speakers (marked with a green checkmark). Right-click it, select Properties, and open the Advanced tab. Take note of the default format frequency (e.g.,
24-bit, 48000 Hz). -
Launch the OBS Audio Settings Menu: Navigate to internal app preferences. Open OBS Studio, click Settings in the bottom-right control corner, and switch to the Audio tab in the sidebar.
-
Match the Sample Rate Values: Synchronize the clock metrics. Look at the Sample Rate dropdown at the top of the window. If your Windows panel displayed 48000 Hz, switch OBS to 48 kHz. If it said 44100 Hz, select 44.1 kHz. Click Apply and restart OBS completely.
Step 2: Unmute OBS inside the Windows 11 Volume Mixer
Windows 11 manages application audio on an individual basis. It is highly common for the operating system to silently mute OBS behind the scenes while leaving your actual headphones active.
- Right-click the Speaker Icon in the bottom-right corner of your Windows 11 taskbar tray and select Open volume mixer.
- Scroll down to the Apps section and locate OBS Studio.
- Verify that the volume slider is pushed up to 100% and ensure the small speaker symbol next to it doesn't have a red slash indicating it is muted.
Step 3: Stop Relying on "Default" Global Devices
By default, OBS points its capture tracks to Default, which asks Windows to automatically hand over whatever audio device is active. However, if you use Bluetooth earbuds, plug in a USB mic, or use an external monitor, Windows 11 frequently forks your audio lines across hidden virtual channels, causing OBS to lose the trail.
- The Fix: Go to OBS Settings > Audio. Under the Global Audio Devices section, change Desktop Audio from Default to the exact name of your active headphones or speakers (e.g., Headphones - Realtek Audio). Avoid selecting your monitor's internal speakers unless you actively listen through them.
Enjoying this read?
Get weekly insights on video editing, AI workflows, and creator growth straight to your inbox.
Step 4: Bypass the Global Layer via Application Audio Capture
If you are running a modern application or a game that uses protected audio streams, the traditional global "Desktop Audio" pipeline might fail. You can bypass Windows system routing entirely by pulling audio straight from a single target application.
- Go to your Sources box at the bottom of the OBS window, click the + (Add) button, and select Application Audio Capture.
- Name the source after the software you want to track (e.g., Game Sound or Chrome Audio).
- In the properties popup, choose your specific application window from the dropdown menu. This forces OBS to read the audio data directly out of that single program's memory thread, bypassing any global Windows 11 audio bugs.
Tired of Dealing with Virtual Audio Patch Cables?
OBS Studio is an incredible open-source console for live broadcasters who need advanced multi-track hardware separation and custom streaming encoders. But if you are a professional creator, online course educator, founder, or teacher whose primary goal is simply producing crisp software tutorials or product demonstrations, you shouldn't be playing audio technician every week. It is time to upgrade your workspace to Cubix Capture.
Instead of running like a complex, manual broadcast mixer that breaks under basic Windows 11 updates, Cubix Capture uses a modernized, automated capture engine:
- Unified Audio Handshaking: It completely eliminates sample rate math. It automatically locks onto your active desktop application sound waves and microphone feeds simultaneously with zero manual device assignment loops.
- Algorithmic Focal Zooming: Because over half of your audience watches videos on smartphones, full-desktop screen recordings make application labels look microscopic. Cubix Capture automatically tracks your cursor paths and smoothly glides the camera inward to magnify dropdown menus, text blocks, and settings panels dynamically while you talk.
- AI Cursor Path Smoothing: It catches naturally frantic micro-movements from your physical trackpad or mouse and smooths them into an elegant, cinematic glide that anchors student attention.
If you are a streaming engineer building an advanced live multi-camera broadcast stream, syncing your sample rates inside the Windows 11 sound panel will restore your OBS desktop audio layer. But if your goal is to save your schedule, avoid technical troubleshooting, and output polished, mobile-optimized tutorials the exact millisecond you click stop recording, moving your setup to a smart, automated platform like Cubix Capture handles the entire technical framework for you seamlessly.
Keep Reading
- OBS No Audio - How to Fix Desktop Audio Not Working
- OBS Microphone Not Working - Fix It in 5 Minutes
- How to Record System Audio on Windows
- How to Screen Record on Windows With Audio
- OBS Best Settings for Screen Recording in 2026
- OBS Audio Delay - How to Fix Audio Sync Issues
Don’t miss the next one.
Join our newsletter for exclusive tips, product updates, and the latest from the Cubix team.