If you have recently set up a new Windows 11 PC or opened up your video settings, Microsoft has likely pointed you toward Clipchamp as its default screen recorder and video editor. While Clipchamp is a highly capable tool for traditional linear editing, it isn't always the right fit for every user or every project.
Some creators find its web-app interface sluggish, while others simply don't want to sign up for another account, deal with browser cache lags, or navigate a full, multi-track editing timeline just to save a quick screen capture.
The good news is that Windows is packed with powerful, completely free alternative pathways to record your desktop canvas. Whether you want a native, hidden tool that requires zero downloads or a smart utility that automates video formatting for you, here is how to record your screen on Windows without opening Clipchamp.
Method 1: The Snipping Tool (The Best Lightweight Native Route)
Many Windows users are surprised to learn that the classic Snipping Tool does far more than just capture static screenshots. Microsoft has completely overhauled it into an exceptional, lightweight regional video recorder that is built straight into the core operating system.
-
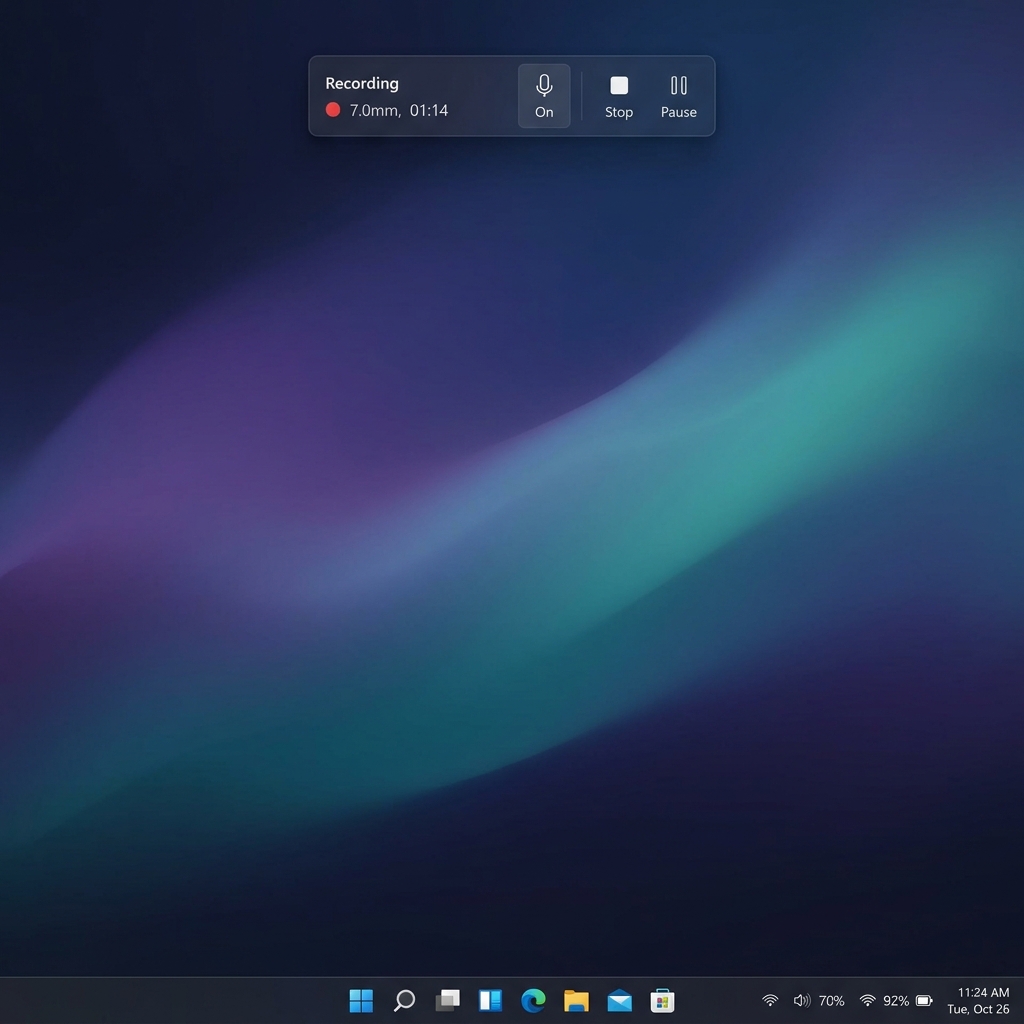
Trigger the Video Overlay: Launches the hidden utility instantly. On your keyboard, press the Windows Key + Shift + R simultaneously. Your screen will immediately dim, and a minimal recording toolbar will float into view at the top of your monitor.
-
Select Your Recording Field: Drag your bounding box. Unlike full-canvas recorders, the Snipping Tool lets you choose exactly what to capture. Click and drag a crop frame over the specific application window, website, or region of the screen you want to record.
-
Check Your Audio Toggles: Configure your hardware inputs. Look closely at the floating toolbar overlay. You will see toggle icons for your Microphone and System Audio (the internal sound coming out of your computer apps). Click them to ensure they are turned on or off based on your recording needs.
-
Start and Stop Recording: Commence and wrap your session. Click the blue Start button. A brief 3-second countdown will play, and the tool will begin recording your framed region. When you are finished presenting, click the red stop button on the widget. A preview window will instantly appear, allowing you to quickly trim the clip and save it directly to your
Videos > Screen Recordingsfolder.
Method 2: The Xbox Game Bar (Best for Single-App Fluidity)
If you need to record a continuous walkthrough inside a single application (like a video game, a browser tab, or a coding environment) without any framing steps, the Xbox Game Bar is another zero-download tool baked into Windows.
- Open the application window you wish to record.
- Press Windows Key + Alt + R on your keyboard.
- A tiny recording widget will instantly light up in the corner of your screen, proving that the recording has started.
- Speak into your microphone to narrate, and when you are finished, click the stop button on the widget or hit Windows Key + Alt + R again. Your raw video file will be waiting for you natively inside your
Videos > Capturesfolder as a high-quality MP4.
The Game Bar Catch: Because it is designed specifically for gaming safety and performance, the Game Bar cannot record your full desktop canvas or File Explorer. If you minimize your active application to show something on your desktop background, the recording will automatically cut off.
The Modern Limitation: The "Raw Pixel" Bottleneck
Whether you choose the Snipping Tool for its regional cropping or the Game Bar for its seamless audio hooks, both native Windows utilities suffer from the exact same modern restriction: they are passive encoders.
They record a flat, unmoving pixel map of your monitor exactly as it sits. If you record a software guide on a massive high-resolution desktop monitor, everything looks perfectly clear to you. But today, over 60% of digital content is consumed on mobile phones. When that massive display layout is forced onto a small 6-inch smartphone screen, your text shrinks aggressively and becomes microscopic.
To make a raw video from a native recorder watchable for a mobile audience without Clipchamp, you would traditionally have to buy heavy, complex video editors and spend hours manually cutting clips and keyframing camera movements.
Enjoying this read?
Get weekly insights on video editing, AI workflows, and creator growth straight to your inbox.
The Smart, Zero-Edit Upgrade: Cubix Capture
If you want to bypass Clipchamp's heavy timeline while producing elite, professional videos that look spectacular on both desktop monitors and mobile phone screens, the premier modern choice is Cubix Capture.
Instead of acting like a blind security camera, Cubix Capture serves as an automated digital director designed to design, style, and zoom your video while you talk:
- Context-Aware Algorithmic Zooming: It completely solves the small-text crisis. As you click and navigate through a website or application, Cubix Capture tracks your cursor natively and smoothly magnifies your active windows, ensuring text is perfectly legible on smartphones with zero manual editing.
- AI Cursor Path Smoothing: It catches the natural, jittery micro-movements of your physical mouse or laptop trackpad and translates them into an elegant, cinematic glide that guides the viewer's focus.
- Instant Studio Aesthetics: It automatically isolates your open application windows and frames them against gorgeous canvas backgrounds, while placing your webcam into a clean floating geometric bubble with automated background blurring.
Summary
If you just need a quick, raw, unedited grab of a specific window to share with a colleague, bypassing Clipchamp is incredibly easy. Pressing Windows Key + Shift + R to trigger the built-in Snipping Tool handles the job natively in a fraction of a second.
But if you are an educator, creator, or professional trying to create premium software tutorials, product demonstrations, or client updates that look like they were built by a studio design team without losing your afternoon to a tedious video editing process upgrading your workspace to Cubix Capture handles the entire production pipeline for you dynamically.
Keep Reading
- How to Record Your Screen on Windows Without Xbox Game Bar
- How to Screen Record on Windows 11 Without Installing Anything
- How to Record Your Screen on Windows Without a Watermark
- Clipchamp Alternatives: Better Screen Recorders for Windows
- Clipchamp vs OBS vs Cubix Capture — Full Comparison
- The Complete Windows 11 Screen Recording Guide
Don’t miss the next one.
Join our newsletter for exclusive tips, product updates, and the latest from the Cubix team.