Windows 11 quietly turned the humble screenshot into one of the most capable built-in tools on the operating system — and most people are still capturing their screen like it's 2018.
Gone are the days of pressing one key, opening MS Paint, and pasting a giant unedited image. Microsoft retired the old standalone apps, folded everything into a single modernized Snipping Tool, and bolted on genuinely useful tricks: pull text straight out of any image, blur sensitive info before you share, and record video of your screen — all without installing a thing.
This is the definitive guide to every native way to screen capture on Windows 11, including the 2026 features that make it worth relearning. (On an older PC, or jumping between Windows versions? Read our broader guide to capturing a screenshot on Windows, which covers Windows 10 too.)
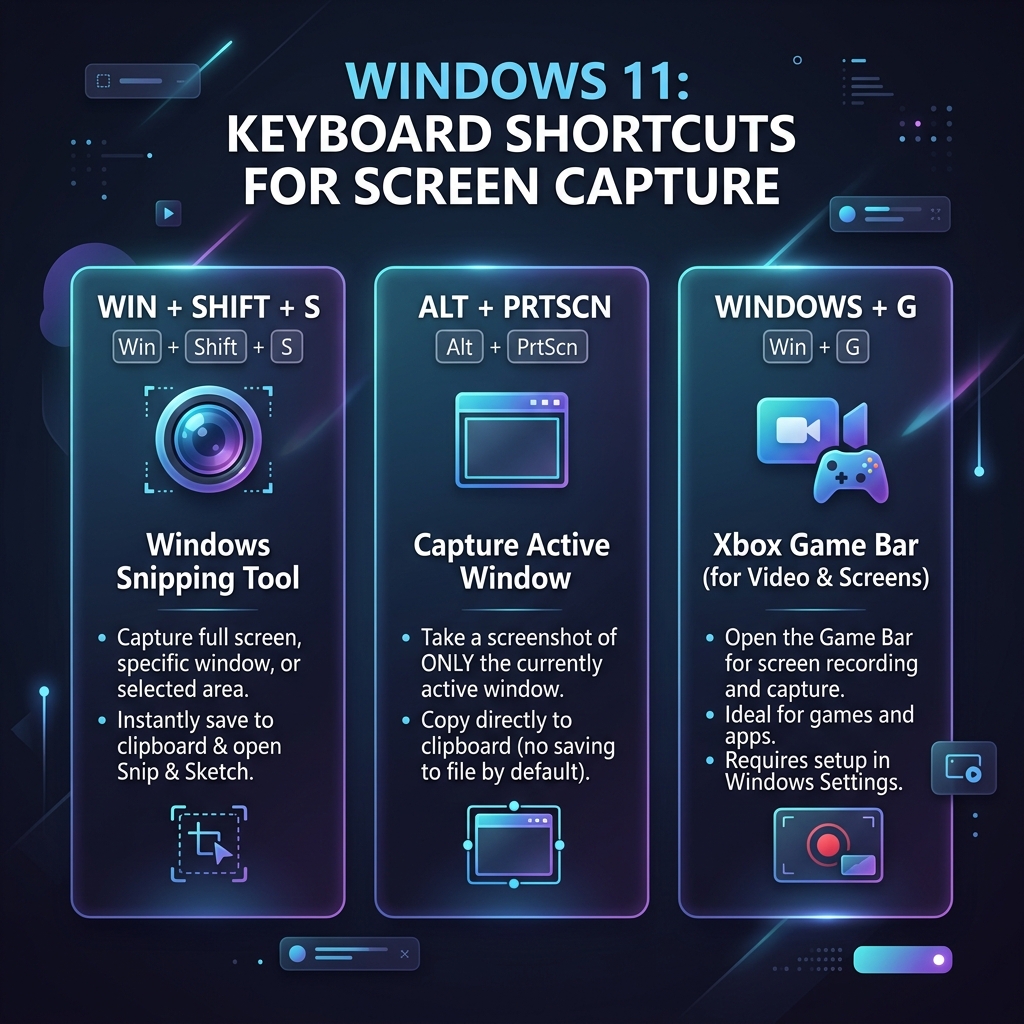
1. The One Shortcut to Learn First: Windows + Shift + S
This is the Swiss Army knife of Windows 11 capture. Press Windows + Shift + S and the screen dims while a small toolbar slides in at the top with four modes:
- Rectangular Snip — drag a box around anything.
- Freeform Snip — draw a custom shape around an object.
- Window Snip — hover any open app to grab just that window, complete with a clean border.
- Full-Screen Snip — capture your entire monitor.
Your snip is instantly copied to the clipboard for pasting into an email or Slack, and a notification appears in the corner — click it to open the full Snipping Tool editor for arrows, highlights, and cropping.
2. The Windows 11 Superpowers Nobody Uses
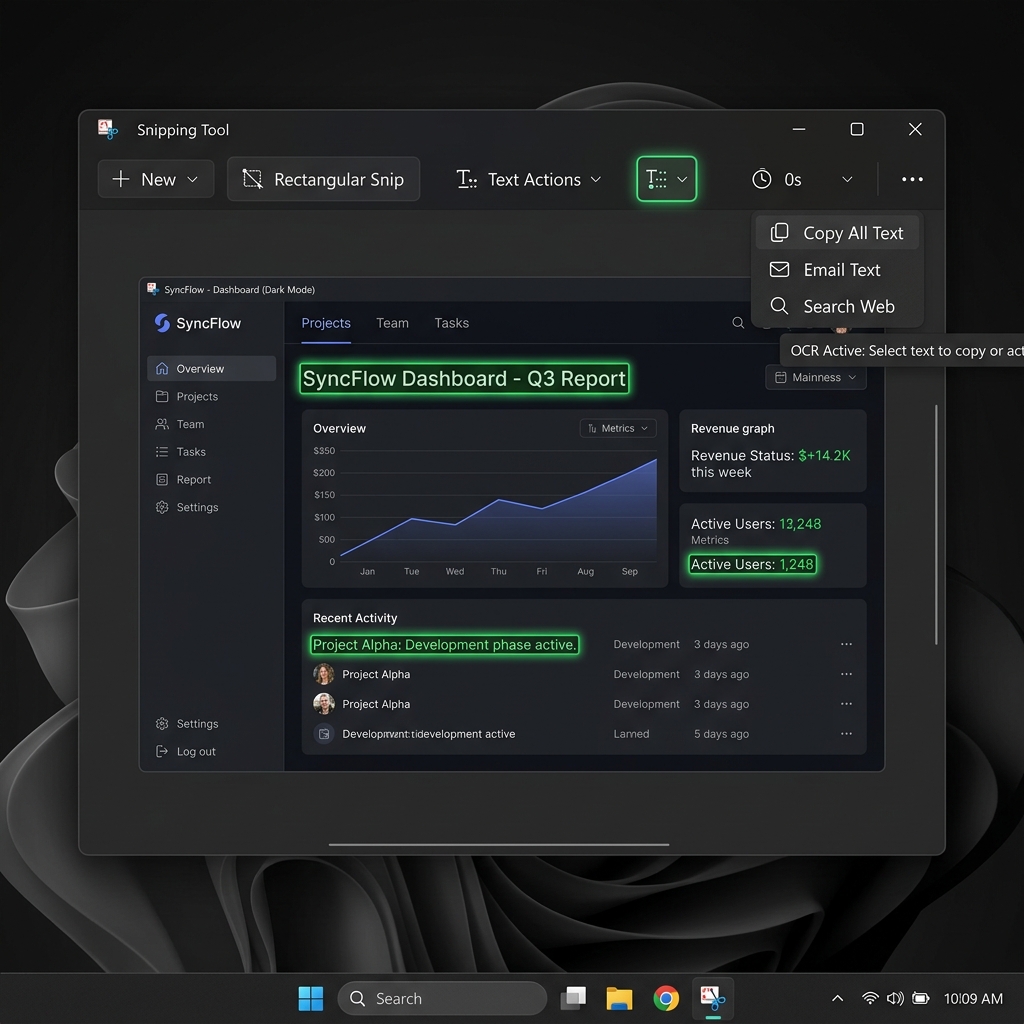
This is where Windows 11 leaves every old screenshot habit behind. Inside the Snipping Tool editor:
- Text Actions (OCR): Screenshot a Zoom slide, an uncopyable PDF, or an error dialog, then click Text Actions to instantly extract and copy the words out of the image. No retyping.
- Quick Redact: One click automatically blacks out detected email addresses and phone numbers — so you can share a screenshot without leaking personal data.
- Built-in annotation: Pen, highlighter, ruler, and shapes mean you almost never need a separate image editor.
3. The Print Screen Key — Reinvented
The Shortcut: PrtScn
The physical Print Screen key still exists, but Windows 11 changed what it does. By default, pressing it now launches the Windows + Shift + S snip toolbar rather than quietly copying the whole screen to your clipboard.
Prefer the old behavior? Go to Settings → Accessibility → Keyboard and toggle off "Use the Print screen key to open screen capture." (Want to drop the Snipping Tool entirely? Here's how to screenshot on Windows without it — and a breakdown of Snipping Tool vs. the legacy shortcuts if you're weighing the two.)
4. Auto-Save a Full-Screen Shot: Windows + PrtScn
Grabbing reference images quickly with no time to paste or edit? Press Windows + PrtScn. The screen dims for a beat and a full-screen PNG saves itself to Pictures → Screenshots automatically — no clipboard step required.
Enjoying this read?
Get weekly insights on video editing, AI workflows, and creator growth straight to your inbox.
5. Grab a Single Window: Alt + PrtScn
Click the window you want so it's active, then press Alt + PrtScn. Windows copies a pixel-perfect image of just that application to your clipboard, ignoring your wallpaper and taskbar entirely.
6. Xbox Game Bar for App Captures: Windows + G
The Game Bar isn't just for gaming. Press Windows + G and use the Capture widget to screenshot or record the active app.
- The catch: it locks onto a single app and can't record your raw desktop or File Explorer.
- The fast path: press
Windows + Alt + PrtScnto instantly save a Game Bar screenshot of your active app to Videos → Captures.
If the Game Bar feels clunky or refuses to record what you need, you're not alone — here's what to do when Xbox Game Bar isn't working, and a cleaner way to record your screen on Windows 11.
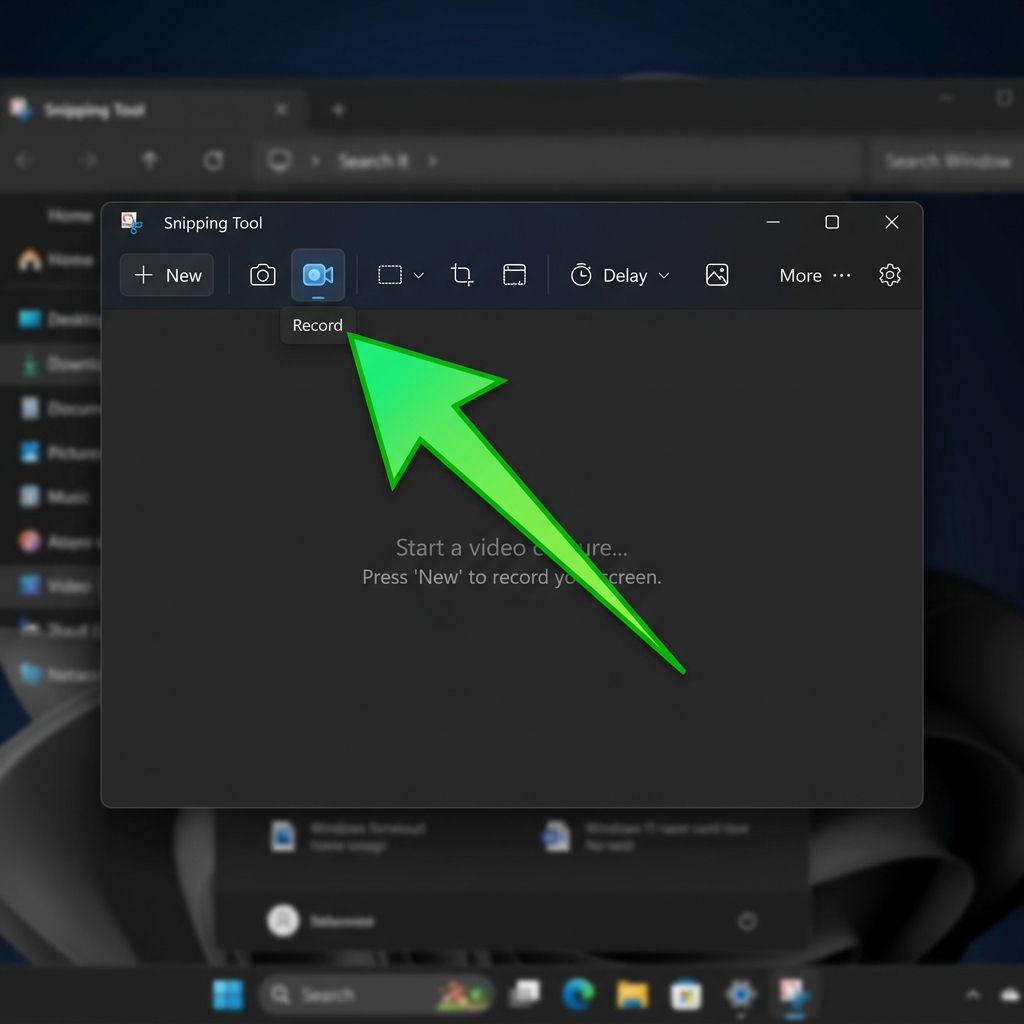
7. Record Video Natively — No Download
Windows 11 now records screen video through the Snipping Tool itself:
- Open the Snipping Tool from your Start Menu (or press
Windows + Shift + S). - Click the video camera icon on the toolbar to switch to recording mode.
- Click New (or press
Windows + Shift + R). - Drag a box around the area you want to record.
- Choose your microphone and system audio options, hit Start, and capture your workflow.
With native text extraction, clean window snapping, and built-in video recording, the days of messy workarounds are officially over. Master these shortcuts and your digital communication gets faster and cleaner than ever.
When a Screenshot Isn't Enough
Native tools are great for stills and quick clips. But the moment you're explaining a multi-step process — onboarding a customer, reporting a bug, demoing a feature — a raw recording with no zoom or polish loses people fast. (Not sure whether you even need video? Here's screen recording vs. screen capture explained.)
Cubix Capture takes a plain screen recording and automatically turns it into a smooth, auto-zoomed, cinematic walkthrough that looks professionally edited — in minutes, with no editor. It's the obvious upgrade once the built-in tools hit their ceiling. Bouncing between machines? Bookmark our guide to screenshots on any device.
Don’t miss the next one.
Join our newsletter for exclusive tips, product updates, and the latest from the Cubix team.